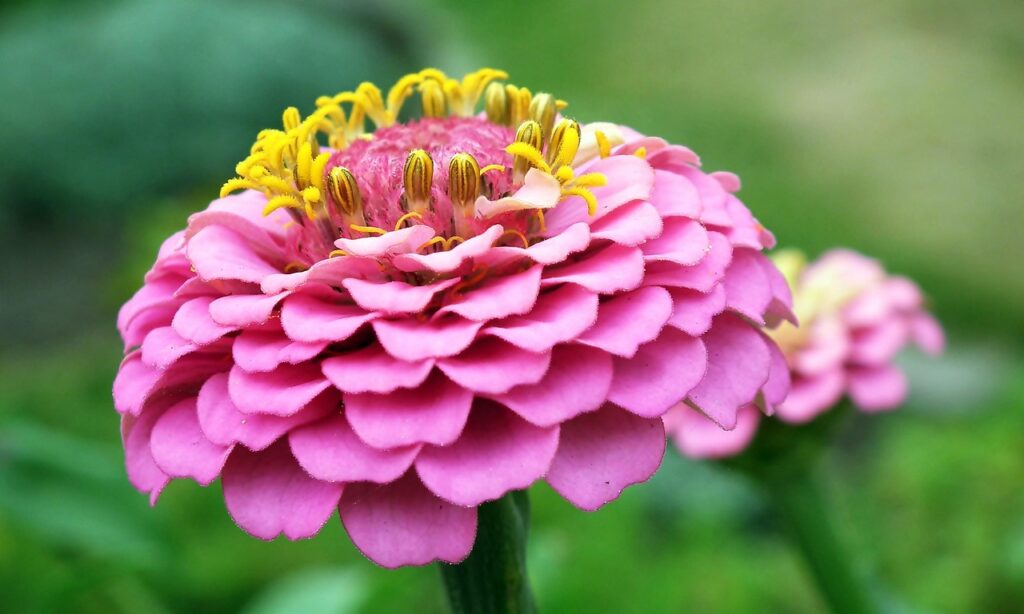
Zinnias are beloved for their vibrant colors and ability to attract pollinators like bees and butterflies. While they’re often sown directly in the garden, starting zinnia seeds indoors can give you a head start on the growing season, especially in cooler regions where late frosts linger.
Starting seeds indoors allows you to:
- Control temperature and light conditions
- Avoid early-season pests
- Get blooms earlier in the season
According to the University of Minnesota Extension, starting seeds indoors is particularly beneficial for gardeners in northern climates where the growing season is shorter.
Tools and Supplies You’ll Need
Here’s a list of essential tools and supplies to get started:
- Seed trays or pots: Look for ones with good drainage.
- Seed-starting mix: Use a light, well-draining mix designed specifically for seed starting.
- Zinnia seeds: Choose varieties based on your garden design and color preferences.
- Grow lights: Essential for strong, healthy seedlings if natural light is limited.
- Heating mat (optional): Helps maintain a consistent soil temperature for faster germination.
- Spray bottle: For gentle watering to keep the soil evenly moist.
Step-by-Step Guide to Starting Zinnia Seeds Indoors
1. Timing is Everything
Start zinnia seeds indoors about 4 to 6 weeks before your last expected frost date. In Minnesota, that typically means starting seeds in early to mid-April.
2. Prepare Your Seed Trays
Fill seed trays or pots with seed-starting mix. Lightly moisten the mix before planting.
3. Plant the Seeds
Plant zinnia seeds about ¼ inch deep. Cover them lightly with soil and gently press down.
4. Water Wisely
Use a spray bottle to mist the soil, ensuring it stays evenly moist but not waterlogged.
5. Provide Light and Warmth
Place trays under grow lights or near a sunny window. Keep the lights about 2 inches above the seedlings. Maintain a temperature of 70–75°F for optimal germination.
6. Thin the Seedlings
Once the seedlings develop their first set of true leaves, thin them by snipping the weaker ones at the base. This ensures strong, healthy plants.
7. Transplanting Tips
Harden off your zinnia seedlings by gradually introducing them to outdoor conditions over 7 to 10 days. Plant them in well-draining soil in a sunny spot after the danger of frost has passed.
Pro Tip from the Experts
Dr. Mary Meyer from the University of Minnesota Extension advises gardeners to be patient when transplanting. “Zinnias thrive in warm soil, so don’t rush to plant them outdoors,” she says. Waiting until the soil temperature reaches at least 60°F will ensure healthier plants and more vibrant blooms.
Troubleshooting Common Issues
- Leggy seedlings: Increase light exposure or reduce the distance between the seedlings and the grow lights.
- Dampening off: Avoid overwatering and ensure good air circulation.
- Slow germination: Check soil temperature; it may be too cold.
Actionable Tips for Success
- Keep a seed-starting journal to track planting dates and germination rates.
- Label your trays to avoid confusion between varieties.
- Invest in a timer for your grow lights to maintain consistent light cycles.
- Fertilize seedlings lightly with a diluted, balanced fertilizer once they develop true leaves.
By following these steps and expert tips, you’ll set yourself up for a stunning zinnia display come summer. Happy planting!