Landscape & Leisure is reader-supported. When you buy through links on our site, including Botanical Interests links, we may earn a commission at no extra cost to you. Prices change, so click through to confirm current pricing.
Starting seeds indoors is the closest thing gardening has to a time machine. While your neighbors wait for the soil to warm up, your tomatoes and peppers are already six weeks old — stocky, green, and ready to hit the ground running the day frost danger passes. It sounds technical, but the whole process comes down to four things: timing, containers, warmth, and light. Get those right and the seeds do the rest. (Pair this guide with our best vegetable seeds for beginners if you haven’t picked varieties yet.)
What You Actually Need
The seed-starting aisle can sell you a lot of things. The honest short list: something to plant in, something to plant into, steady warmth, and strong light. Everything else is optional.
Containers that make life easier
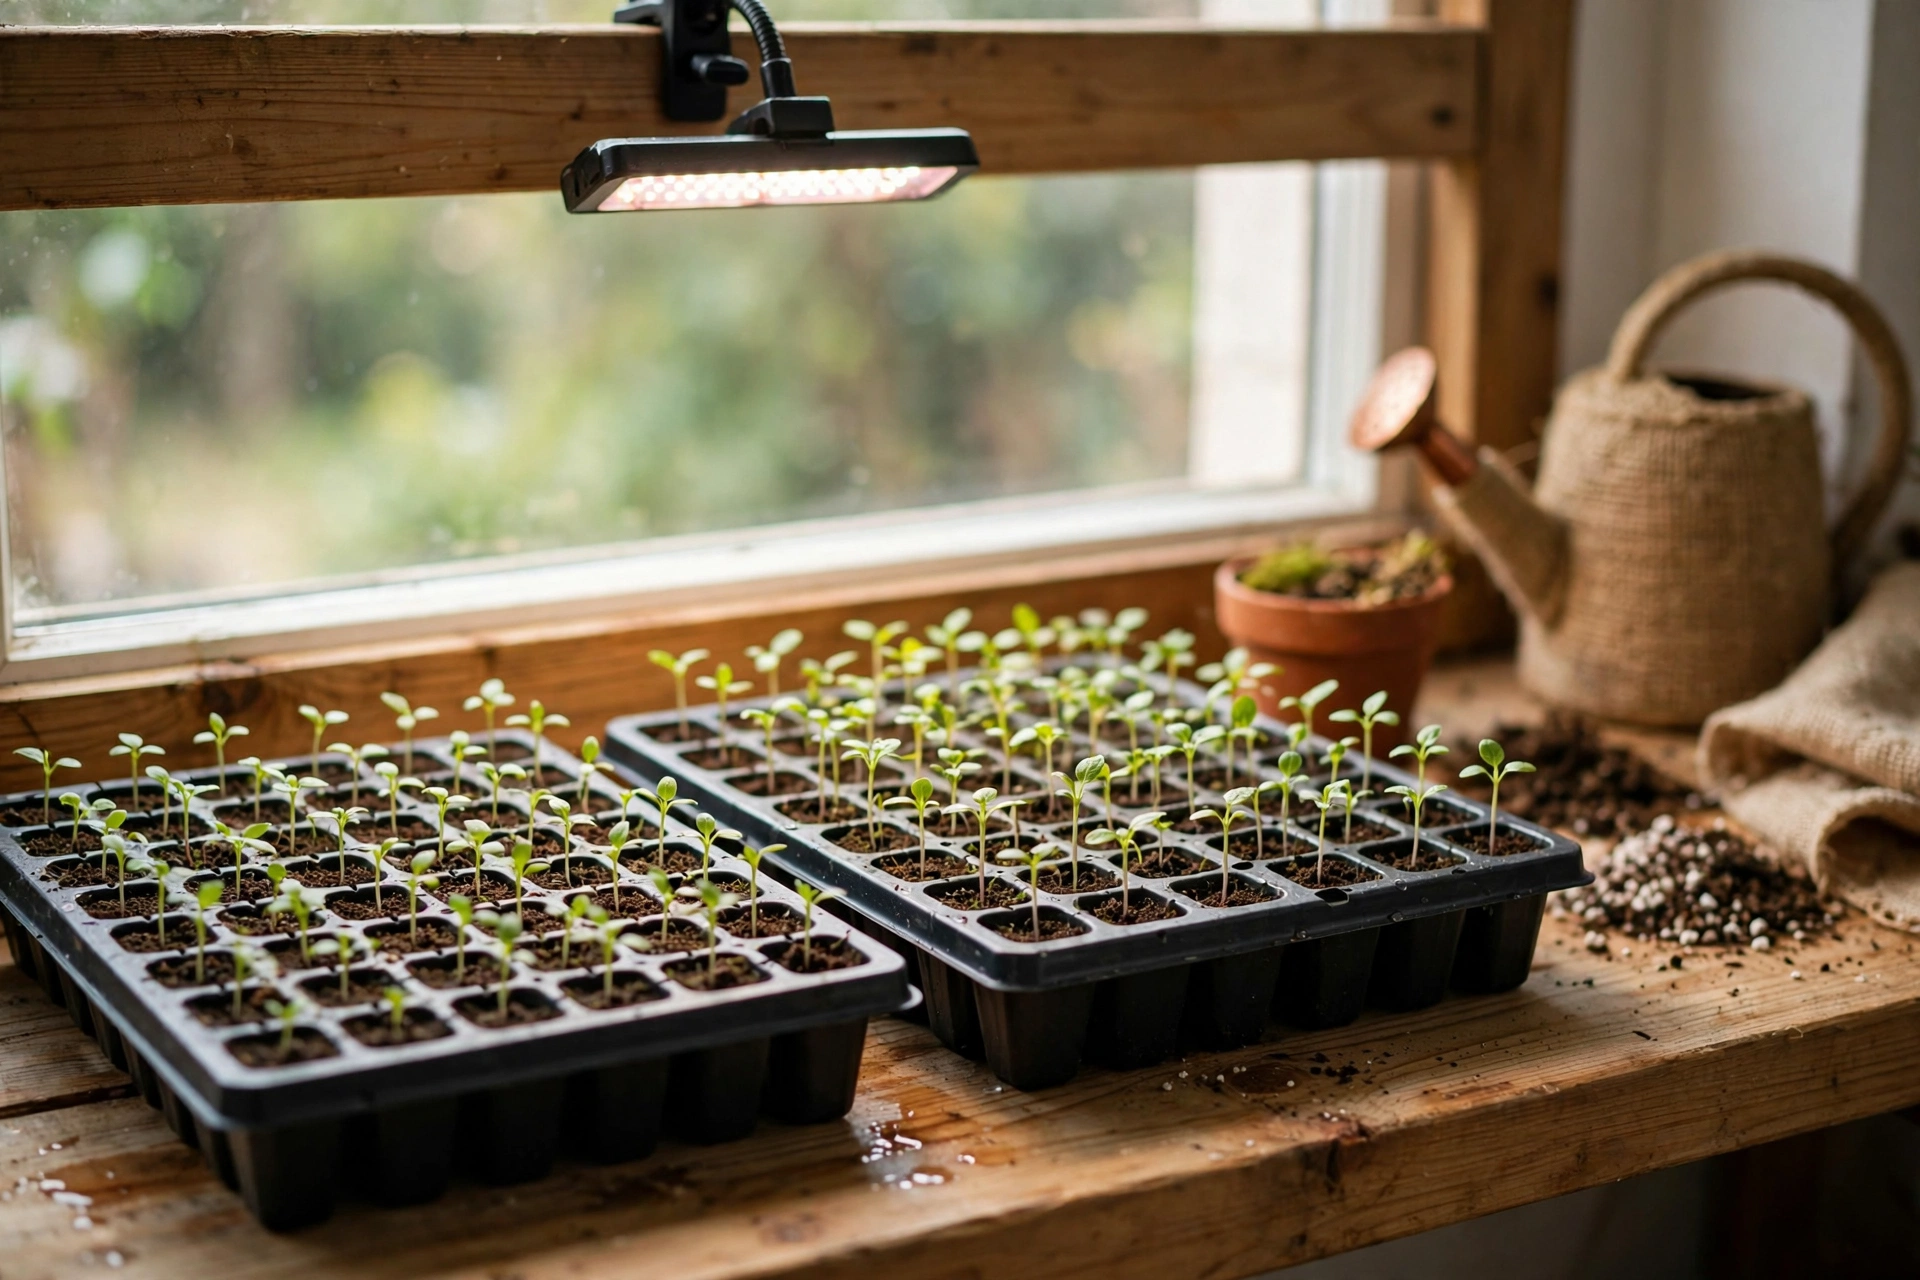
Cell trays beat yogurt cups for one reason: each seedling gets its own cell, so transplanting doesn’t tear roots. A divided 6-cell tray is the sweet spot for beginners — big enough cells for tomatoes and peppers, small enough to fit a lot on one shelf. Pair it with a solid 1020 bottom tray (no drainage holes) underneath, and you can water from below, which keeps the soil surface dry and discourages the damping-off disease that kills tiny seedlings.
Epic 6-Cell Seed Starting Trays — Botanical Interests
Sturdy, reusable cells sized right for tomatoes, peppers, and squash — the tray we’d hand every first-timer.
Epic 1020 Universal Bottom Tray — Botanical Interests
The solid tray that goes under your cells — enables bottom-watering, which is the single best damping-off prevention.
Warmth: the heat mat difference
Most seeds germinate fine at room temperature, but warmth-loving seeds — tomatoes, peppers, basil — germinate faster and more evenly with bottom heat. University of Minnesota Extension’s seed-starting guidance notes that warm potting mix produces healthier roots and that bottom heat helps prevent damping-off. A seed-starting heat mat under your tray is a small investment that pays off most with peppers, the slowest germinators in the beginner lineup.
Seed Starting Heat Mat — Botanical Interests
Gentle bottom heat that coaxes peppers, tomatoes, and basil out of the soil faster and more evenly.
Light: the step beginners skip
A sunny windowsill feels like enough light. It isn’t — not even close. Seedlings grown on windowsills stretch toward the glass and turn leggy and weak. Per UMN Extension, seedlings need 12 to 16 hours of light daily, with the fixture hanging just 2 to 4 inches above the tops of the plants. An inexpensive shop light with cool-white fluorescent or LED tubes on a timer does the job beautifully; raise it as the seedlings grow. Botanical Interests’ seed-starting supplies collection covers the trays, domes, and heat mats side of the setup.
Step 1: Count Backwards from Your Last Frost
Every seed packet lists a “start indoors X weeks before last frost” number. Look up your area’s average last frost date (your local extension service publishes one), count back, and mark it on the calendar. Tomatoes want 6–8 weeks; peppers want 8–10; basil 6–8. Starting too early is the classic beginner error — oversized, root-bound seedlings transplant worse than younger ones. When in doubt, start a week later than the packet says, not earlier.
Step 2: Fill, Moisten, and Sow
Fill your cells with sterile seed-starting mix — not garden soil, which is too heavy and can carry disease. Moisten the mix before sowing (it should feel like a wrung-out sponge), then sow at roughly twice the seed’s diameter in depth. The seed packet’s sowing depth is the authority; tiny seeds like lettuce barely get covered at all. Two seeds per cell is fine insurance; snip the weaker seedling later rather than pulling it, which can disturb the roots of the keeper.
Step 3: Warmth and Moisture Until Sprouting
Cover the tray with a humidity dome or plastic wrap to hold moisture, and set it on the heat mat if you’re starting warmth-lovers. Check daily. The moment seedlings emerge, remove the cover and get them under the lights — this is the handoff point where light takes over from warmth as the priority. Bottom-water by pouring into the 1020 tray and letting the cells wick it up; keep the mix moist but never soggy.
Step 4: Light, Air, and a Little Tough Love
Keep lights 2–4 inches above the seedlings for 12–16 hours a day, raising the fixture as they grow. Run a small fan nearby on low for a few hours a day — the gentle movement produces stockier stems (it’s the indoor equivalent of wind). If seedlings stretch despite the lights, the lights are too far away or the room is too warm; cool them down and lower the fixture.
Step 5: Harden Off — Don’t Skip This
A seedling raised indoors is a hothouse flower; moving it straight into full sun and wind will shock it. UMN Extension’s hardening-off protocol: start with a couple of hours outside in the shade, then add more time and light over 7 to 10 days. Bring plants in at night if temperatures dip. By the end of the stretch they should handle a full day outdoors — and then they’re ready for the garden bed. This step feels fussy. It is also the difference between transplants that thrive and transplants that stall for two weeks.
Common Seed-Starting Mistakes
- Starting too early. Leggy, root-bound transplants lose to younger ones every time.
- Windowsill-only light. The #1 cause of weak, stretched seedlings.
- Overwatering. Soggy mix invites damping-off. Bottom-water and let the surface dry slightly between waterings.
- Skipping hardening off. A week of gradual outdoor exposure saves a month of stalled growth.
- Planting out too early. Warm-season crops sulk in cold soil. Wait until nights are reliably above 50°F for tomatoes and peppers.
Seed-Starting FAQ
Do I need a grow light, or is a window enough?
A window alone rarely produces strong vegetable seedlings — they stretch and weaken. An inexpensive shop light hung close above the tray is the single biggest upgrade a beginner can make.
Can I reuse seed-starting trays?
Yes, if they’re sturdy. Wash them with a mild bleach solution (about 1 part bleach to 9 parts water), rinse well, and let them dry before refilling. Flimsy single-use trays crack after a season; rigid trays like the Epic cells last for years.
My seeds haven’t sprouted. Are they dead?
Probably not — probably cold. Check the packet’s germination temperature; peppers in particular can take two weeks or more without bottom heat. Keep the mix moist and be patient before declaring defeat.
Takeaways
Start with the right varieties (see our beginner seed picks), count back from your last frost, and invest your effort in light and hardening off — those two steps separate thriving transplants from sad ones. The gear is simple: cell trays, a bottom tray for watering, a heat mat for the warmth-lovers, and a shop light on a timer. Once your seedlings are hardened off and in the ground, the watering routine matters — our drip irrigation guide for vegetable gardens keeps new transplants evenly watered without the daily hose drag.