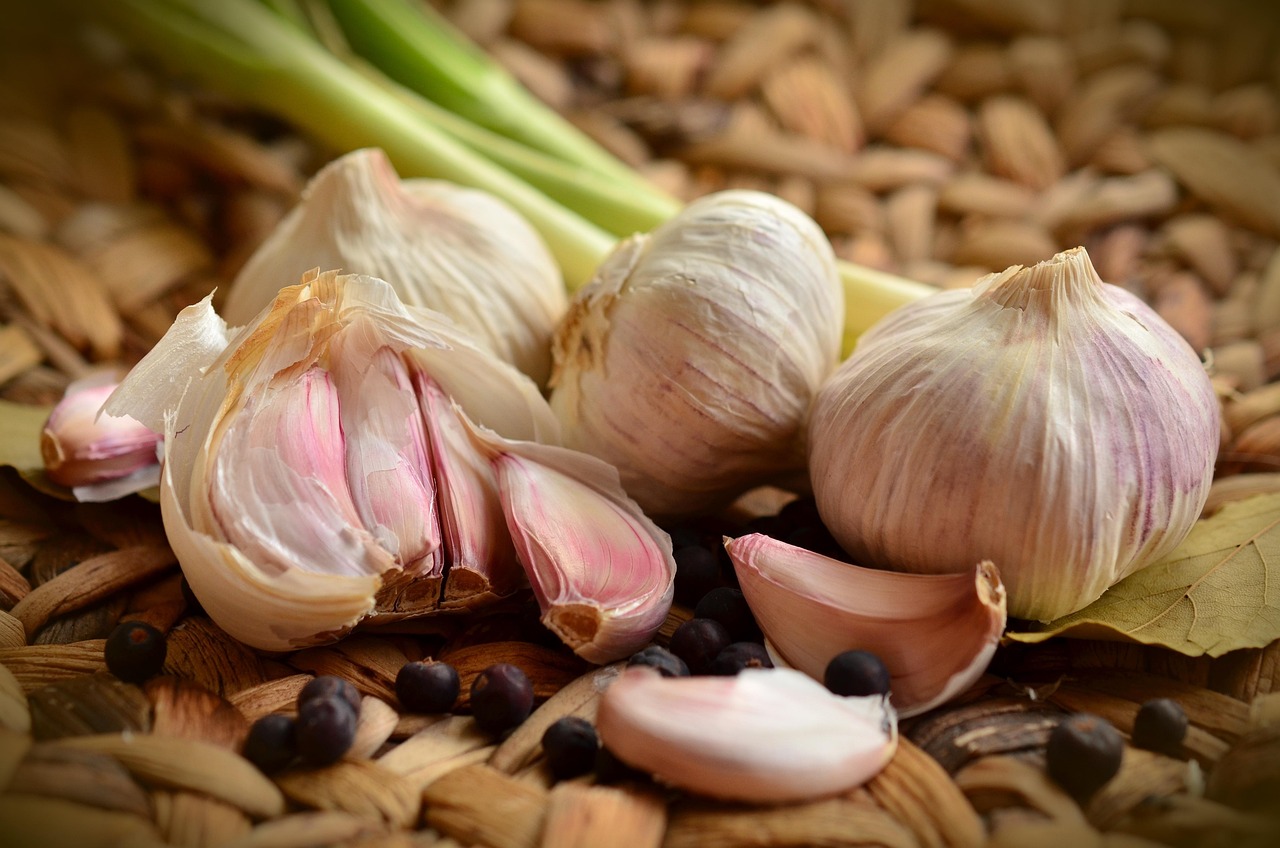
1. Selecting Your Garlic Cloves
Look for healthy, organic garlic bulbs from a reputable source. Avoid using grocery store garlic, as it may be treated to prevent sprouting. Separate the bulb into individual cloves, choosing the largest ones for planting.
2. Choosing the Right Planting Time
Garlic is typically planted in the fall, about 4-6 weeks before the first hard frost. This allows the cloves to establish roots before winter dormancy.
3. Preparing the Soil
Garlic thrives in well-drained, nutrient-rich soil with a pH between 6.0 and 7.5. Prepare the planting area by:
- Loosening the soil to a depth of 8 inches.
- Adding compost or aged manure for fertility.
- Ensuring good drainage to prevent rot.
4. Planting the Cloves
Follow these steps to plant garlic cloves properly:
- Plant cloves pointed side up, 2 inches deep.
- Space cloves 4-6 inches apart in rows 12 inches apart.
- Cover with soil and a layer of mulch (such as straw or leaves) to protect against winter temperatures.
5. Watering and Maintenance
Garlic needs consistent moisture, especially during the growing season in spring. Water regularly but avoid overwatering to prevent rot. Apply mulch to retain moisture and suppress weeds.
6. Fertilizing for Healthy Growth
In early spring, use a balanced organic fertilizer to support leafy growth. Avoid nitrogen-heavy fertilizers late in the season, as they can delay bulb formation.
7. Watching for Pests and Diseases
Garlic is relatively pest-resistant, but keep an eye out for common issues like white rot and onion maggots. Practice crop rotation and avoid planting garlic in the same spot each year to prevent soil-borne diseases.
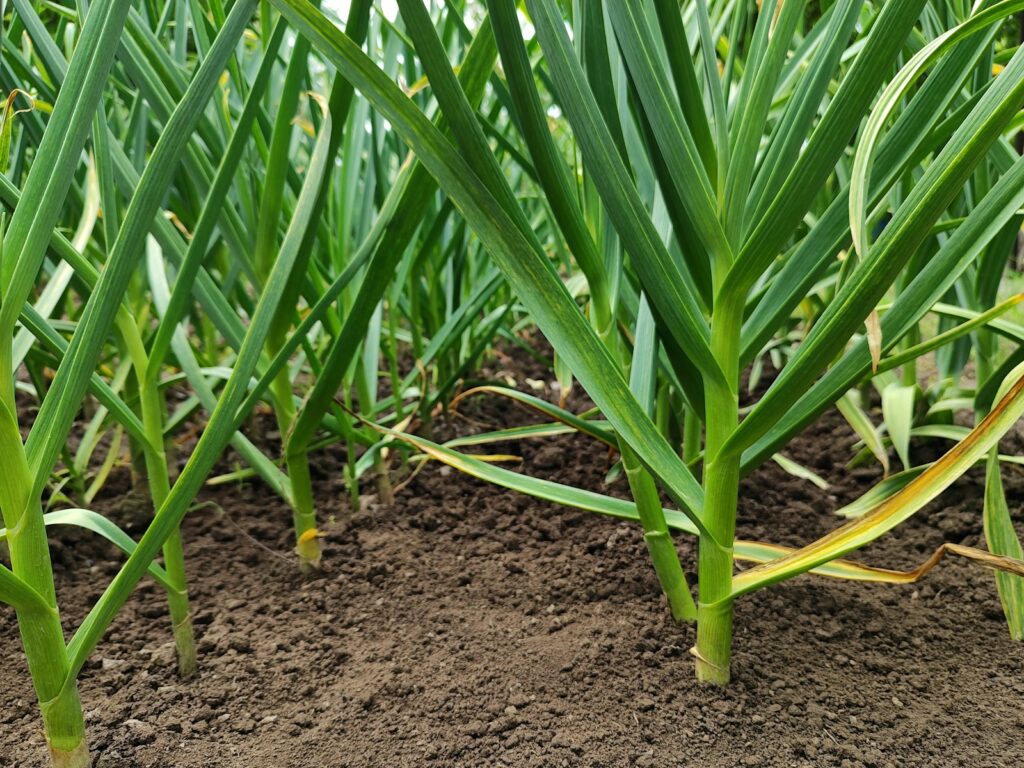
8. Harvesting Your Garlic
Garlic is ready to harvest when the lower leaves begin to turn brown, typically in mid to late summer. Carefully lift the bulbs with a garden fork and let them cure in a dry, well-ventilated area for a few weeks.
9. Storing Garlic for Long-Term Use
Once cured, trim the roots and stems and store the bulbs in a cool, dark place. Properly stored garlic can last for several months.
My Personal Garlic Growing Journey
I remember the first time I planted garlic. I had a few leftover cloves from a farmers’ market purchase and decided to give it a try. I didn’t expect much, but after months of patient waiting, I was thrilled to see plump bulbs emerge from the soil. That first harvest was a game-changer—the flavor was richer, and I felt a deep connection to my food. If you’re on the fence about growing garlic, trust me, it’s worth it.
Final Thoughts
Growing garlic from a clove is a simple and rewarding gardening project that anyone can enjoy. With the right preparation and care, you can enjoy flavorful, homegrown garlic that enhances your cooking and connects you to the rhythms of nature. Whether you’re a seasoned gardener or just starting out, give garlic a try and savor the results.