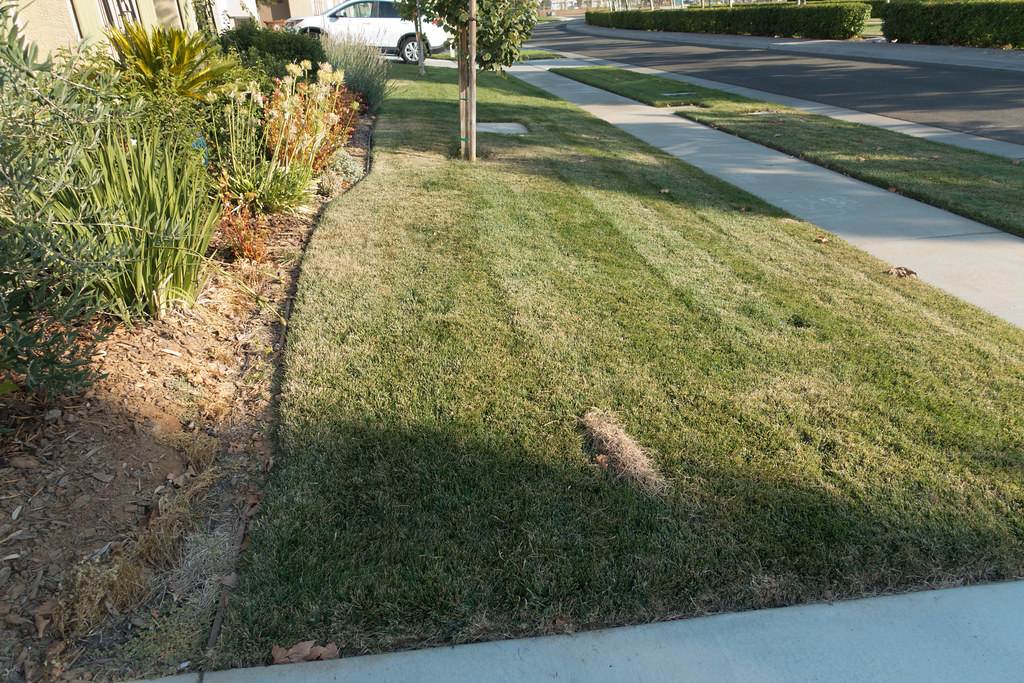
Power raking is a heavier, more aggressive version of dethatching — a process that removes thick layers of dead grass, stems, and organic debris that build up between the soil and living turf. This layer, known as thatch, can block water, nutrients, and oxygen from reaching the roots if it gets too thick. When thatch exceeds about ½ inch, it becomes a true barrier and can make your lawn spongy or slow to recover from stress.
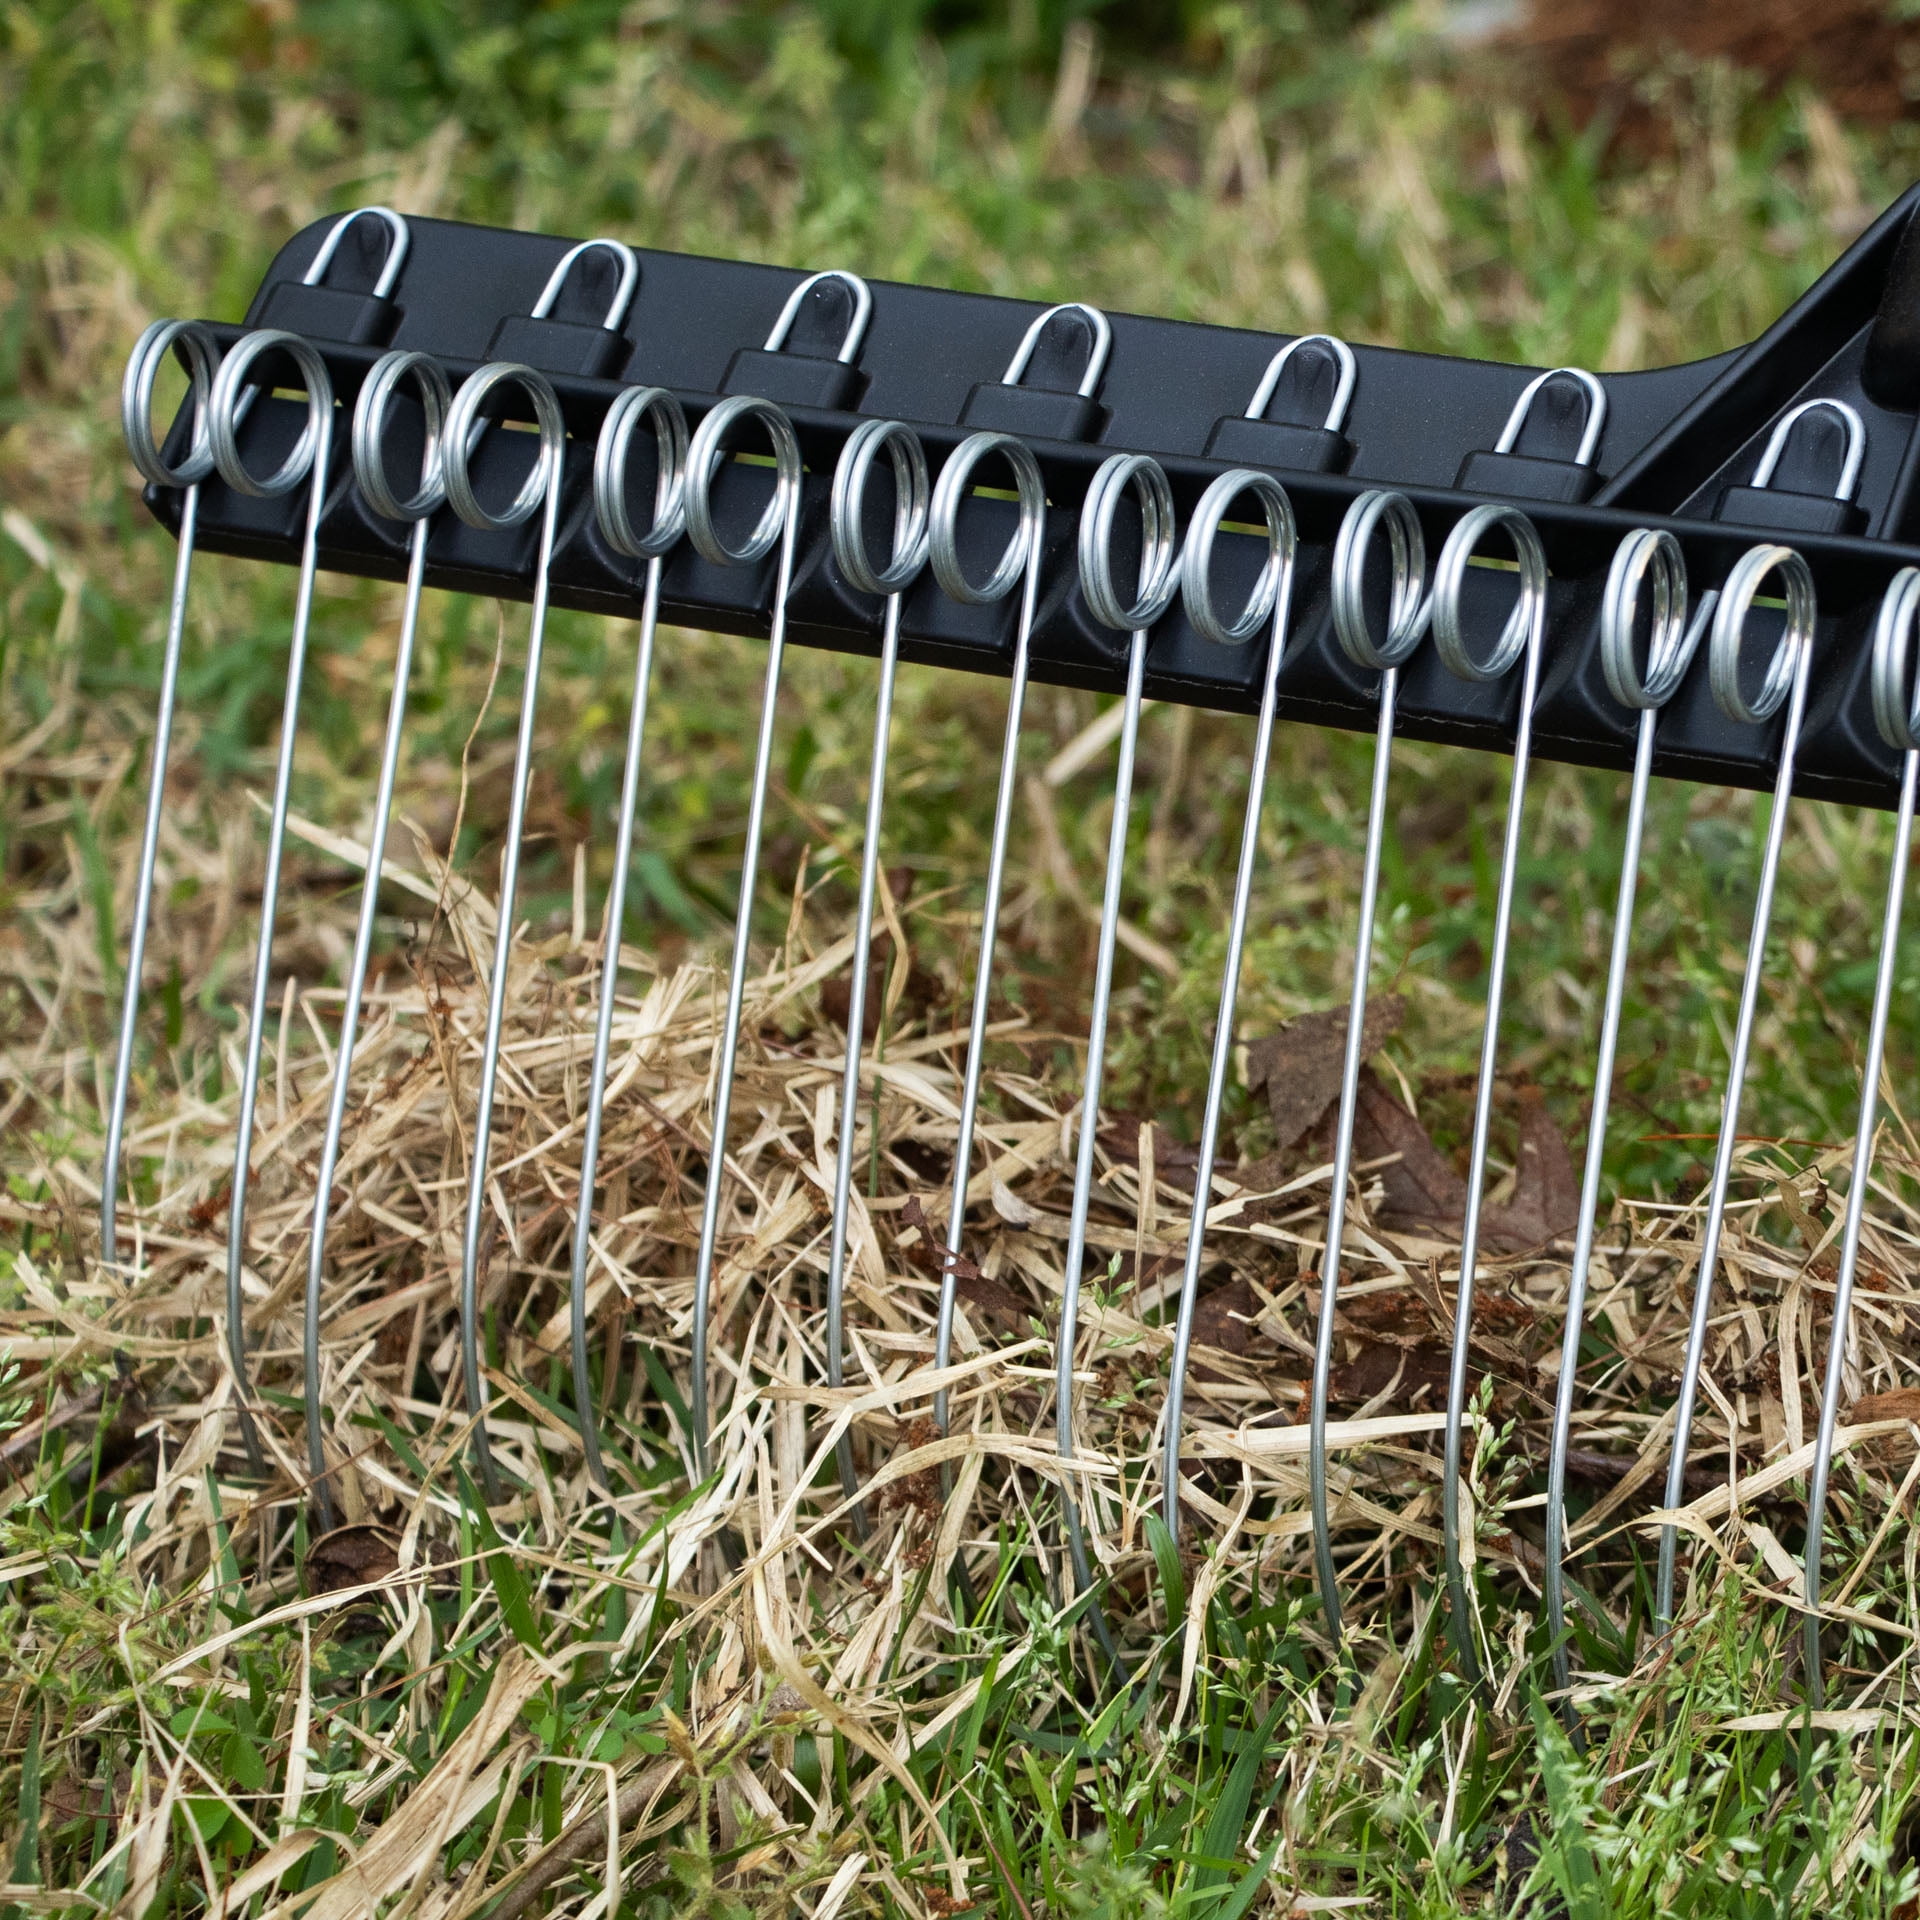
A power rake uses spinning flails or blades that dig into the lawn to break up and lift this dense thatch so you can remove it and restore healthy growth.
Because power raking is more aggressive than regular dethatching, it’s typically done less often — and only when thatch has built up significantly.
When Should You Power Rake Your Lawn?
Timing matters because you want grass to be actively growing so it can recover quickly after the stress of raking.
Cool-season grasses (like fescue or bluegrass):
• Early spring just after green-up
• Or early fall when growth resumes
Warm-season grasses (like bermuda or zoysia):
• Late spring to early summer after full green-up
Avoid raking when grass is dormant, in extreme heat, or in saturated soil. If soil is too wet, the power rake can tear up grass and create ruts.
Tools You’ll Need Before You Start
Below are some excellent tools that make power raking (or dethatching, which is often what DIYers end up doing) far easier. These are all products that homeowners can buy and use themselves — and many pull double duty for dethatching and scarifying.
Pro tip: If your lawn’s thatch isn’t extremely thick (½ inch or more), start with a lighter dethatcher rather than full power rake — it’s easier on grass and faster to recover from.
Recommended Tools
1. Greenworks 14-Inch 10-Amp Corded Dethatcher – A great entry-level electric dethatcher that’s easy to use and effective on small to medium lawns.
2. Sun Joe 13-Amp Electric Scarifier & Dethatcher – Combines dethatching and scarifying in one tool, with adjustable depth and collection bag.
3. Yard Groomer 2-In-1 Lawn Dethatcher & Scarifier – A solid mid-range tool with spring tines that comb through soil to lift thatch.
4. Classen Power Rake Rental – For larger lawns or true power raking needs, renting a heavier power rake from your local hardware store can be ideal.
Why these tools? Electric and manual dethatchers like the ones above are far easier to control than full-size gas power rakes, and they still pull a lot of thatch out without needing professional expertise.
Step-by-Step: How to Power Rake Your Lawn
Step 1 — Check Thatch Depth
Before breaking out any machine, check whether you actually need to power rake. Pull up a small plug of grass and soil — if the thatch layer (dead material between soil and grass blades) is thicker than about ½ inch, you’re a candidate for power raking.
Step 2 — Mow Low and Remove Clippings
Set your mower to a lower setting than usual — this exposes more thatch so the rake can reach it. Collect clippings or bag them so they don’t interfere with your power raking passes.
Step 3 — Adjust Tine/Blade Depth
Most dethatchers let you adjust the depth of their tines. Start shallow — too deep and you risk pulling up healthy grass with the debris. You can make a second pass at a slightly deeper setting if needed.
Step 4 — Power Rake in Overlapping Passes
Work in rows, overlapping slightly with each pass. Don’t rush — clean, smooth movement helps pull thatch up uniformly. Some homeowners choose to make a second cross-pattern pass for a more thorough clean.
Step 5 — Rake and Remove Debris
After power raking, your lawn will have piles of dead grass and thatch. Use a garden rake or leaf blower to gather it up so you can compost or dispose of it.
Many homeowners bag this debris and use it in their yard waste pickup or compost pile.
Step 6 — Overseed, Fertilize, and Water
Power raking opens the lawn surface — a perfect opportunity to overseed, fertilize, and water. Thin spots will easily accept seed, and water can now reach the soil more effectively.
Aftercare: What to Expect
Right after power raking, your lawn might look a bit “tired.” That’s normal — you’ve just removed dense organic material that was choking the turf. As long as you’ve chosen the right timing and grass type, active growth will help the lawn rebound within a few weeks.
For best recovery:
• Keep soil lightly moist for 2–3 weeks
• Avoid heavy foot traffic where you’ve worked
• Fertilize lightly once new grass emerges
Power Raking Mistakes to Avoid
- Power raking too early or too late: Grass must be actively growing for recovery.
- Raking on wet soil: Leads to tearing grass and creating ruts.
- Going too deep on the first pass: Can pull up healthy grass with the thatch.
Power Rake vs Dethatcher: What’s the Difference?
While many people use the terms interchangeably, they’re not the same:
- Power rakes are more aggressive, using rotating flails to dig deeper into thatch thicker than ½ inch.
- Dethatchers are less aggressive tools best suited for lighter thatch and regular yearly maintenance.
If your lawn has severe thatch build-up, a power rake may be the right tool — but for lighter thatch, a standard dethatcher is usually easier on turf and still very effective.
Final Thought
Power raking is one of those lawn care tasks that looks intimidating but delivers massive benefits when done right. By breaking up thick thatch, you restore your lawn’s ability to absorb water and nutrients, revitalize thin spots with overseeding, and generally make your grass healthier.
With the right tools and this step-by-step approach, you can tackle even a thatch-clogged lawn like a pro — and enjoy the lush, green results that follow.