Garlic is one of the easiest and most rewarding crops to grow in your home garden. Whether you’re a seasoned gardener or just starting out, learning how to plant garlic correctly can result in a bountiful harvest of flavorful bulbs. In this guide, we’ll cover everything you need to know about how to grow garlic, from choosing the right variety to harvesting and storing your crop.
Why Grow Garlic at Home?
Growing your own garlic ensures you have access to fresh, chemical-free bulbs with superior flavor. Store-bought garlic often lacks the robust taste that homegrown varieties offer. Plus, garlic is a low-maintenance crop that requires minimal space, making it perfect for small gardens or even container planting.
Choosing the Right Garlic Variety
Before you dive into planting, it’s essential to choose the right type of garlic for your region. Garlic is typically categorized into two main types:
- Hardneck Garlic
- Thrives in colder climates
- Produces a central flowering stalk (scape)
- Offers robust flavor with larger cloves
- Softneck Garlic
- Prefers warmer climates
- Stores longer than hardneck varieties
- Typically yields more cloves per bulb
When to Plant Garlic
The best time to plant garlic is in the fall, about 4-6 weeks before the ground freezes. This allows the bulbs to establish roots before winter dormancy. In warmer climates, garlic can also be planted in early spring, though fall planting typically yields better results.
How to Plant Garlic: A Step-by-Step Guide
Follow these simple steps to ensure your garlic grows successfully:
- Prepare the Soil
- Choose a well-drained location with full sun.
- Loosen the soil to a depth of at least 6 inches.
- Enrich the soil with compost or aged manure to boost nutrients.
- Break Apart Bulbs
- Gently separate the garlic bulb into individual cloves, keeping the papery skin intact.
- Select the largest, healthiest cloves for planting.
- Plant the Cloves
- Place each clove pointed side up, about 2 inches deep.
- Space them 4-6 inches apart in rows.
- Cover with soil and lightly pat down.
- Mulch the Area
- Apply a layer of mulch (such as straw or leaves) to protect cloves during winter.
- Mulching helps retain moisture and suppress weeds.
Caring for Your Garlic Plants
Once planted, garlic requires minimal care:
- Watering: Keep the soil consistently moist but not waterlogged.
- Weeding: Regularly remove weeds that compete for nutrients.
- Fertilizing: Apply a balanced fertilizer in early spring to encourage growth.
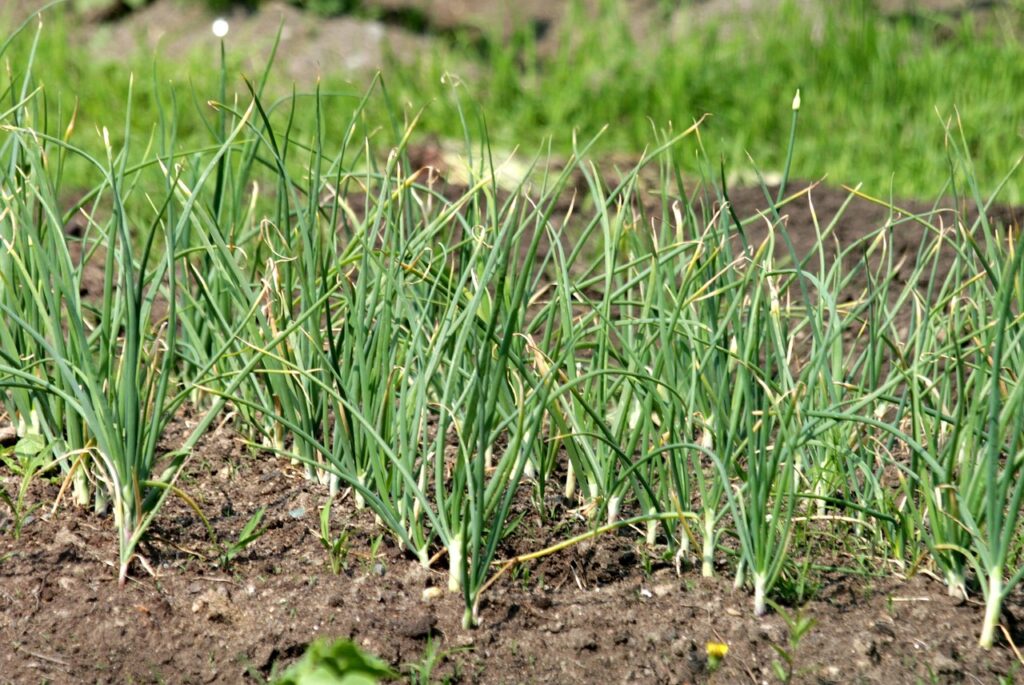
Harvesting and Storing Garlic
Garlic is typically ready for harvest in mid-to-late summer when the lower leaves start to yellow and dry. Follow these steps to ensure proper harvesting and storage:
- Harvesting:
- Carefully dig up bulbs using a garden fork.
- Avoid pulling them out by hand to prevent damage.
- Curing:
- Hang garlic in a well-ventilated, dry area for 2-3 weeks.
- This step allows the bulbs to dry and develop their full flavor.
- Storage:
- Trim the roots and cut the stems.
- Store garlic in a cool, dry place for long-term use.
Common Garlic Growing Mistakes to Avoid
To ensure a successful harvest, steer clear of these common pitfalls:
- Planting cloves too shallow or too deep.
- Overwatering, which can lead to rot.
- Neglecting to mulch, leaving garlic exposed to harsh weather.
Final Thoughts
Growing garlic is a rewarding experience that requires minimal effort but yields flavorful results. Whether you’re adding homegrown garlic to your favorite recipes or storing it for winter use, the satisfaction of cultivating your own food is unparalleled. I remember my first garlic harvest—it was a small batch, but the flavor was unlike anything I had tasted before. With patience and proper care, you’ll soon enjoy your own fresh, homegrown garlic too.