The first hard freeze has a way of arriving on a night you meant to get to it. An outdoor faucet left full of water can freeze, split, and leak inside the wall — and you may not notice until spring, when the damage is already done.
Winterizing takes about ten minutes per faucet, and it is mostly a matter of getting the water out before the cold gets in. Here is the routine, and why each step matters.
Why a faucet freezes
Water expands when it freezes, by roughly nine percent. In an open container that is harmless. Inside a closed pipe, that expansion has nowhere to go, so pressure builds until something gives — usually the pipe or the faucet body itself.
The vulnerable stretch is the pipe between the exterior faucet and the interior shut-off valve. That is the section sitting in an unheated wall or crawl space, and it is the section your winterizing routine protects.
Before you start: find your interior shut-off valve
Most outdoor faucets have a dedicated shut-off valve inside the house, often near where the pipe passes through the wall — in a basement, utility room, or crawl space. Find it now, before you need it in a hurry, and check that it turns freely.
If you cannot find a dedicated valve, or the faucet is the only shut-off for that line, note that now. You can still drain and cover the faucet, but the shut-off step works differently, and a plumber can show you the valve location in one visit.
The four steps
1. Shut off the interior valve
Turn the interior shut-off valve to the closed position. This stops new water from reaching the outdoor line. If the valve has a small drain cap or bleeder on it, open that briefly to let the trapped water out, with a bucket or towel underneath, then close it again.
2. Open the outdoor faucet and drain the line
Go outside and open the faucet fully. Water left between the valve and the faucet will drain out. Leave the faucet open for a few minutes, then leave it open through winter — an open faucet gives any remaining water room to expand instead of building pressure.
3. Disconnect the hose
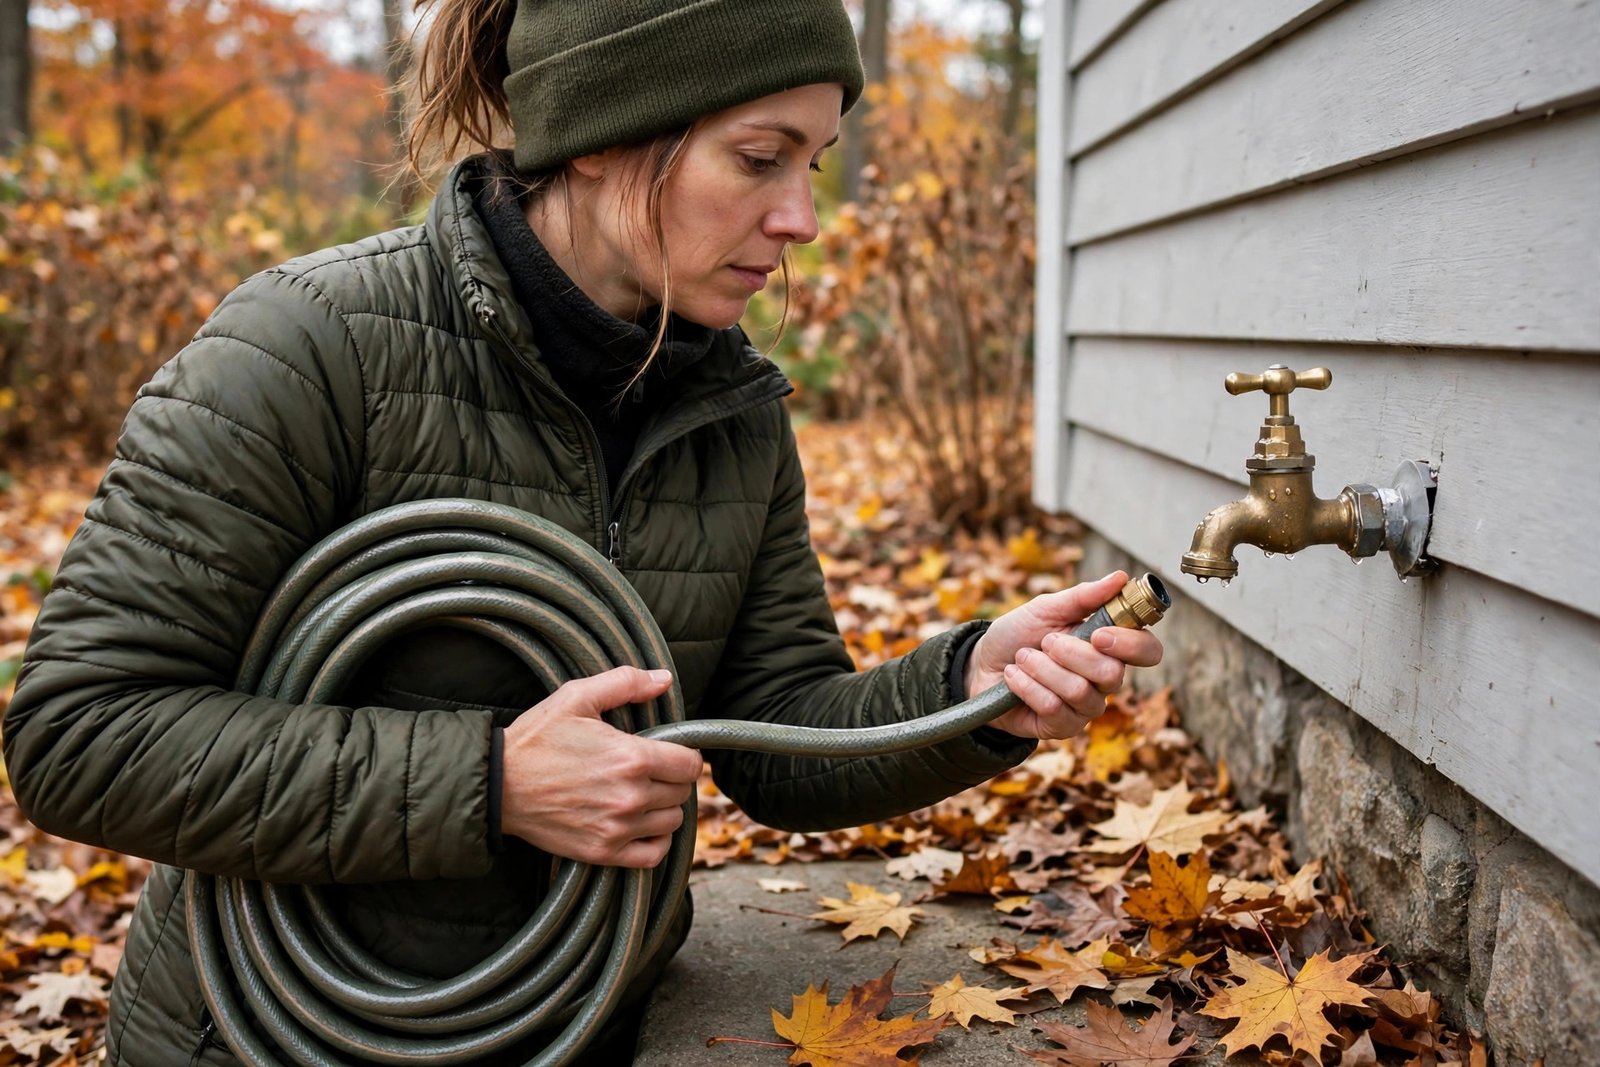
Unhook every hose from the faucet, even if you plan to use it again on a mild day. A connected hose traps water in the faucet and keeps the line from draining. Drain the hose, coil it, and store it out of the weather.
This is the step people skip most often, and it is the one that undoes the other three. A hose left on through winter is the classic cause of a split faucet.
4. Cover the faucet
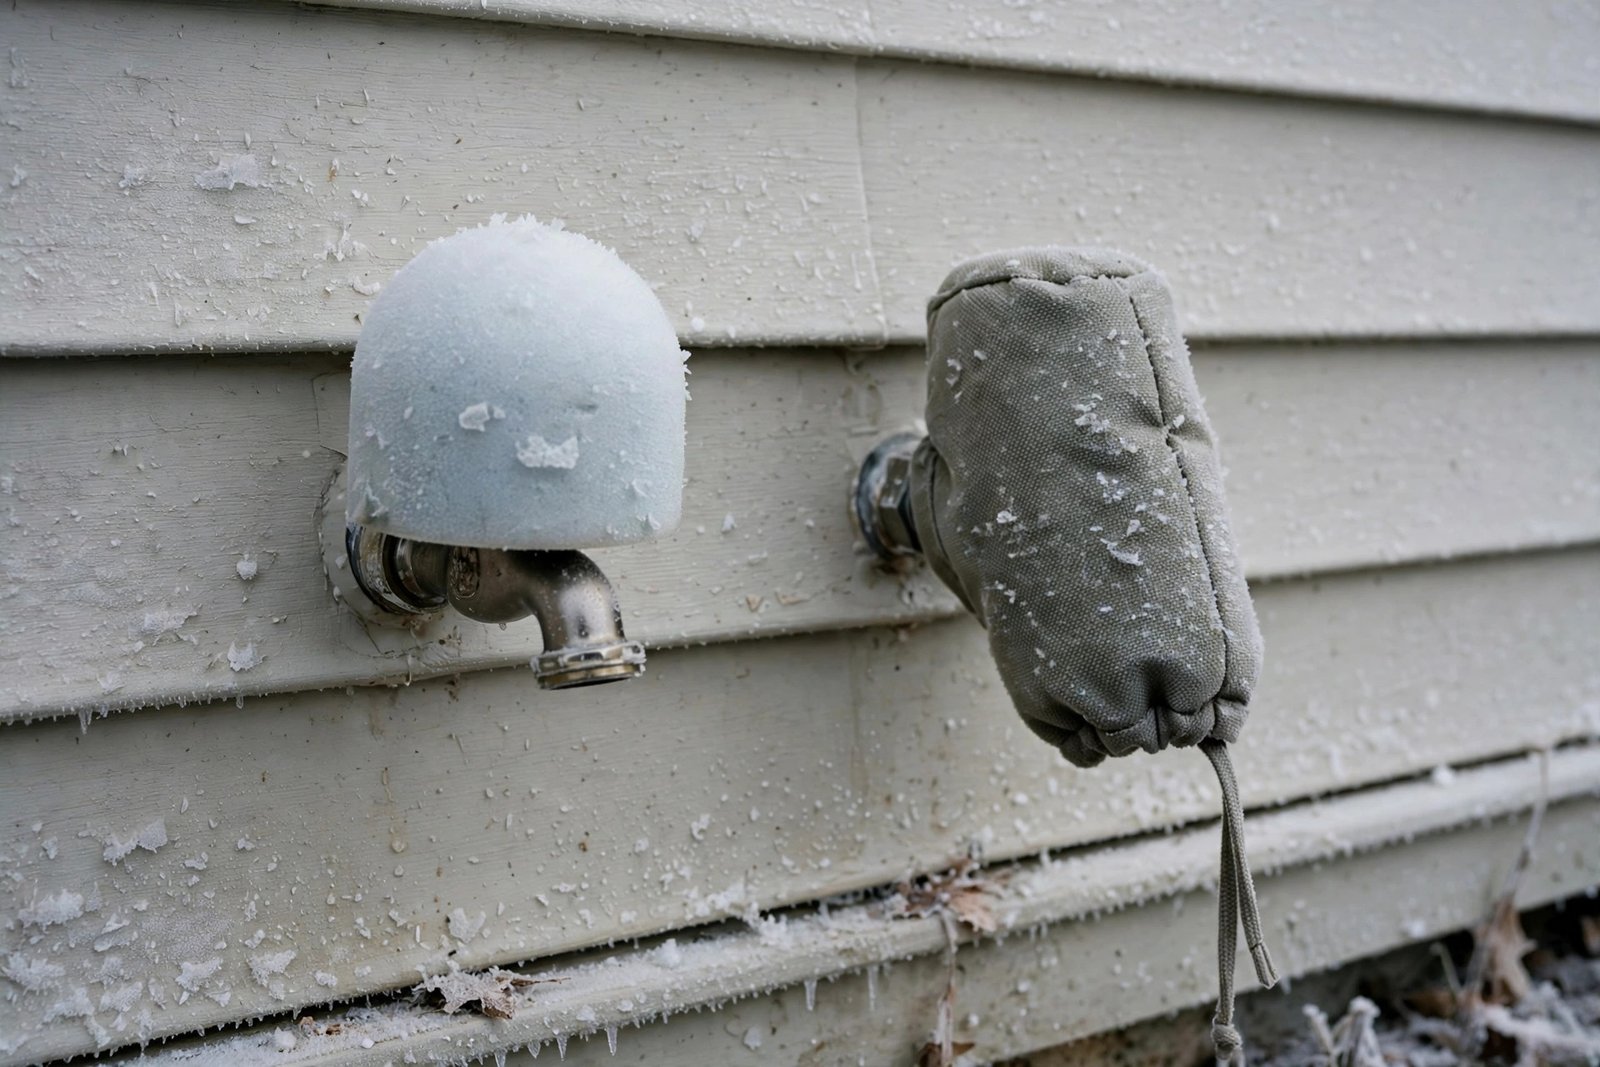
Fit an insulated cover over the faucet and press it flat against the wall, sealing all the way around. Foam, hard-shell, and sock covers all work — the right one depends on your faucet’s shape and exposure. Our comparison, The Best Outdoor Faucet Covers for Winter, walks through the options.
The cover is insulation, not a substitute for draining. It slows heat loss from the faucet and the first inches of pipe. It cannot protect a line that is still full of water.
Frost-free sillcocks are different — but not exempt
A frost-free sillcock has a long stem that shuts the water off deep inside the heated wall, so the exposed part of the faucet drains itself. That design handles cold better than a standard sillcock, and many homeowners never touch them.
They still need the hose disconnected. A hose left attached traps water in the stem, and a frost-free faucet with a hose on it can freeze just like any other. Disconnect the hose, let the faucet drain, and cover it if your winters run hard — the cover costs little and adds a margin of safety.
When to do it
Winterize before the first hard freeze in your area — generally when overnight lows are forecast to drop into the 20s Fahrenheit and stay there. A light frost in the mid-30s rarely damages a drained faucet, but a hard freeze can do it in a single night.
If you missed the window and a cold snap is forecast tonight, at minimum disconnect the hoses and cover the faucets. Then do the full shut-off and drain routine as soon as you can. Partial protection tonight beats perfect protection next weekend.
The one mistake that undoes it
Reconnecting a hose on a mild January day and forgetting it. Every warm spell tempts you to hook the hose back up for a quick job. If you do, disconnect it again the same day. A faucet winterized in November and reconnected in January is a faucet waiting for the next freeze.
What to watch in spring
When freezing weather has passed, close the outdoor faucet, reopen the interior valve slowly, and check the faucet and the wall inside for drips. A slow drip from the faucet body or a damp spot on the interior wall means the pipe may have split over winter — turn the valve off again and call a plumber before the leak grows.
If everything runs dry and clean, coil the covers up with the hoses and store them for next fall. Ten minutes now, ten minutes in spring, and the faucet is one less thing to worry about all winter.