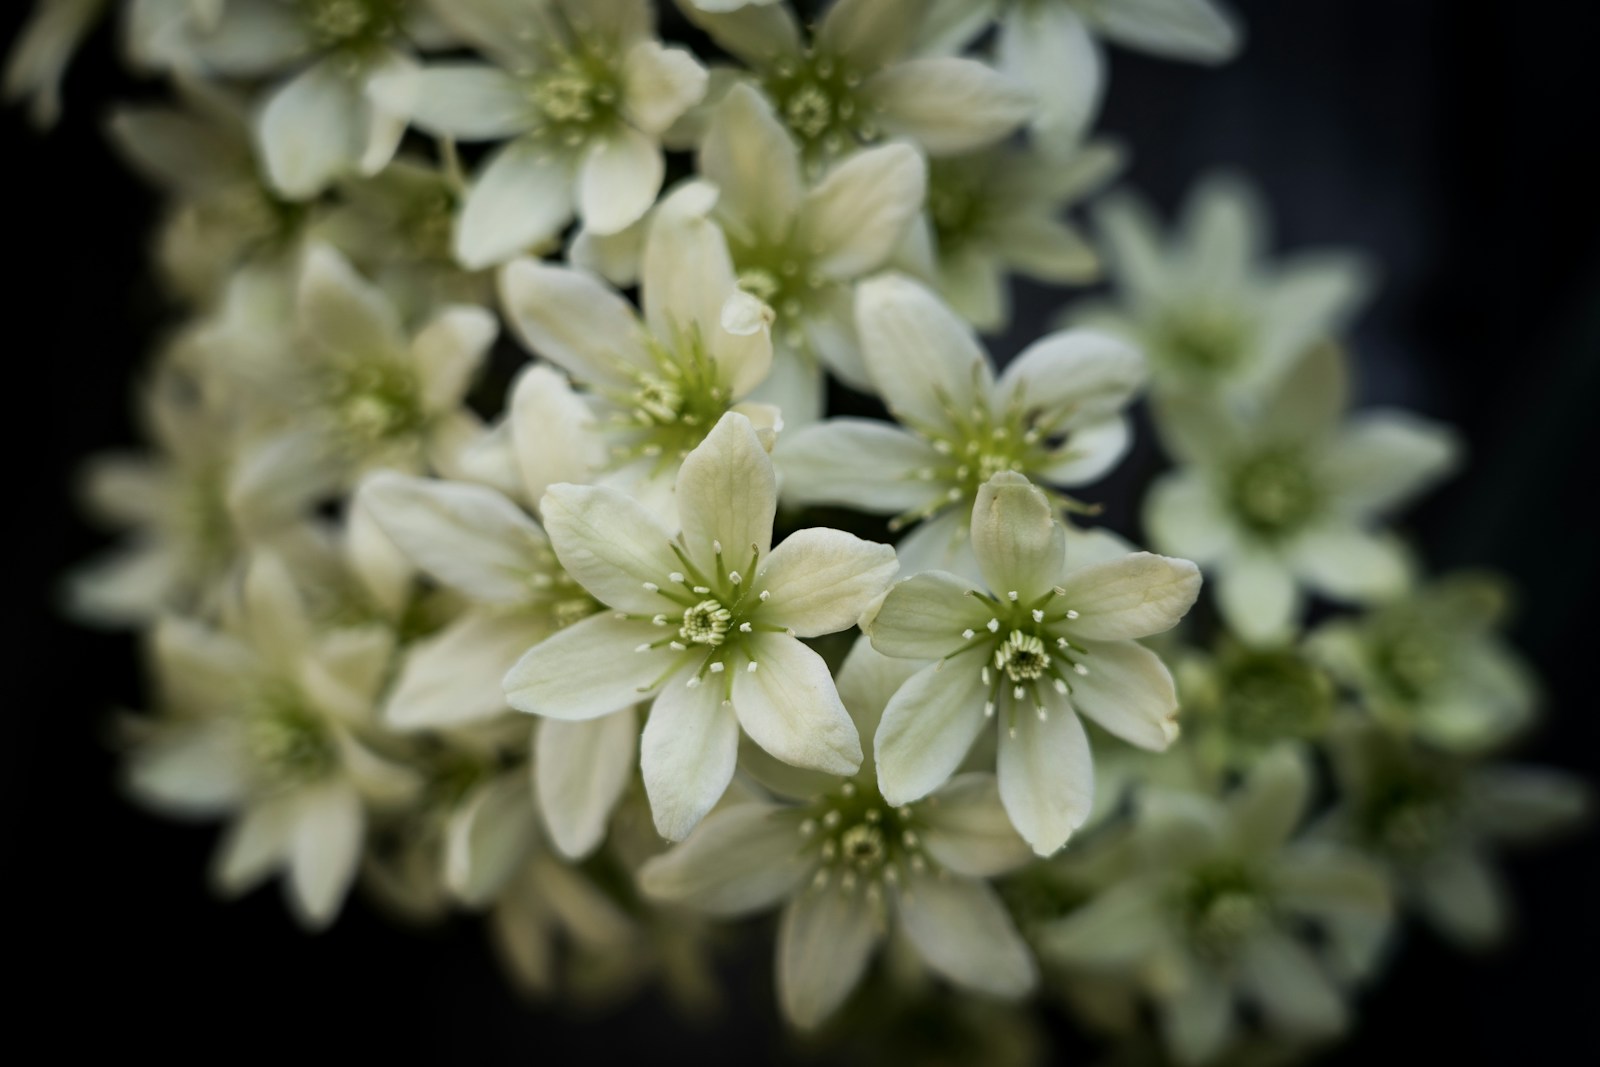
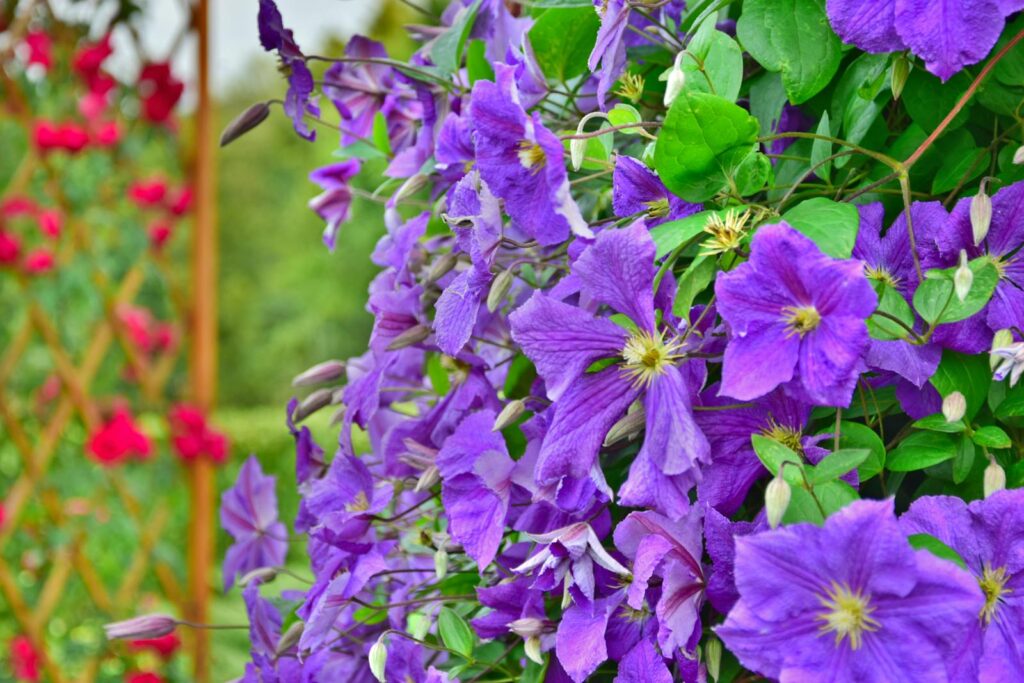
Clematis is known as the “Queen of Vines” for good reason. With their vibrant blooms and twining tendrils, these beauties can transform any garden into a paradise. While most gardeners associate clematis with temperate regions, starting clematis from seed in a tropical climate is entirely possible—it just requires a bit of know-how.
Here’s a practical guide to help you grow healthy, thriving clematis vines in your tropical garden.
A Brief History of Clematis
Clematis has been cherished in gardens for centuries, originating in parts of Europe, Asia, and North America. Historically, it symbolized ingenuity and cleverness, possibly due to the vine’s ability to climb and adapt. Beyond their beauty, clematis flowers attract beneficial pollinators like bees and butterflies, supporting garden ecosystems.
The Science Behind Clematis Seed Germination
Starting clematis from seed can be tricky due to their natural dormancy mechanisms. In temperate climates, winter chilling breaks this dormancy. In tropical regions, gardeners need to mimic these conditions to wake the seeds up.
What You Need to Know:
- Cold Stratification: Clematis seeds need a cold period (typically 4-6 weeks) to germinate. This simulates winter.
- Seed Viability: Fresh seeds germinate best, so try to source them from reputable suppliers.
Tools and Materials
To successfully start clematis from seed, gather the following:
- High-quality clematis seeds (fresh is best)
- Seed trays or small pots
- Well-draining seed-starting mix (a mix of sand, peat, and compost works well)
- Plastic zip-top bags and paper towels (for cold stratification)
- Refrigerator access
- Spray bottle for gentle watering
- Trellis or support structure for young vines

Step-by-Step Routine
1. Prepare for Cold Stratification
- Dampen a paper towel and spread the clematis seeds evenly across it.
- Fold the towel and place it inside a zip-top bag.
- Store the bag in the refrigerator for 4-6 weeks.
- Check periodically to ensure the towel remains moist.
2. Sow the Seeds
- Fill seed trays or small pots with well-draining seed-starting mix.
- Plant the stratified seeds about 1/4 inch deep.
- Lightly mist with water.
- Place the trays in a bright, warm location with indirect sunlight.
3. Germination and Care
- Germination can take 1-3 months, so be patient.
- Keep the soil consistently moist but not soggy.
- Once seedlings develop their second set of leaves, transplant them into larger pots.
4. Hardening Off and Planting
- Gradually introduce seedlings to direct sunlight over a week.
- Choose a planting site with morning sun and afternoon shade.
- Provide a trellis or support structure for the vines to climb.
Tropical-Specific Tips
- Soil: Clematis prefers well-drained, slightly alkaline soil. Amend with compost for tropical gardens.
- Watering: Keep the roots cool and consistently moist, but avoid waterlogging.
- Mulching: Apply a thick layer of mulch around the base to retain moisture and protect roots from the intense tropical heat.
- Shade: Provide dappled shade during the hottest part of the day.
- Fertilizing: Use a balanced, slow-release fertilizer during the growing season.
Common Challenges and Solutions
- Yellowing Leaves: Often a sign of nutrient deficiency—apply a fertilizer rich in magnesium.
- Root Rot: Ensure soil drains well to prevent waterlogging.
- Pests: Keep an eye out for aphids and treat with neem oil if needed.
Final Thoughts
Starting clematis from seed in a tropical climate may sound daunting, but it’s incredibly rewarding. By mimicking natural conditions and following these steps, you’ll soon be rewarded with vibrant vines and stunning blooms.
Get ready to transform your tropical garden—happy planting!