Here is the mistake: you trust the dial. The bag says setting 5, you set 5, you walk the lawn, and half the bag is gone by the time you reach the back fence — or half of it is still in the hopper when you finish.
Dial settings are starting points, not promises. Walking speed, granule size, and hopper load all change what actually comes out. Calibration takes about twenty minutes and replaces the guess with a number you measured yourself.
What you need
A bathroom or kitchen scale that reads in pounds and ounces, a tape measure, and the product bag. That is the whole kit. A bucket or tarp helps for catching granules during the test, and a notebook saves you from calibrating twice.
Work on a hard surface for the test, not the lawn. A driveway or garage floor lets you sweep up and weigh what the spreader dropped, and it keeps a test run from feeding one patch twice.
Step 1: Read the bag rate
Every fertilizer or seed bag prints an application rate, usually in pounds per 1,000 square feet. Find it before you touch the dial. That number is your target, and every step after this one checks your spreader against it.
Note the bag’s recommended spreader setting too, but treat it as a first guess. Manufacturers test with their own granule size and a steady walking pace. Your granules and your pace will differ, which is exactly why you are calibrating.
Step 2: Mark a 1,000-square-foot test area
Measure out a test strip that totals 1,000 square feet. A 20-by-50-foot rectangle works, and so does a 10-by-100-foot strip down a driveway or path. The shape does not matter. The area does.
Mark the corners with chalk, cones, or shoes — anything visible while you walk. You need to know exactly where the test starts and ends, because the math only works if the area is exact.
If your driveway cannot fit 1,000 square feet, use a smaller area and scale the math. A 500-square-foot test means your target is half the bag rate. Just write down which area you used, so the numbers stay honest.
Step 3: Weigh the product before the test
Put the spreader on the scale and weigh it loaded, then write the number down. You can also weigh the product alone in a bucket if the spreader is awkward on the scale. Either way, you need a before weight.
Set the dial to the bag’s recommended setting. Open the hopper only once you are moving at your normal walking pace, and close it the moment you cross the end mark. Starting and stopping with the gate open is the most common calibration error, and it dumps extra product in one spot.
Step 4: Walk the test area at your normal pace
Walk the way you will walk on the lawn. Do not hurry, do not stroll. Your calibration is only as good as your pace is realistic, so walk like you mean it.
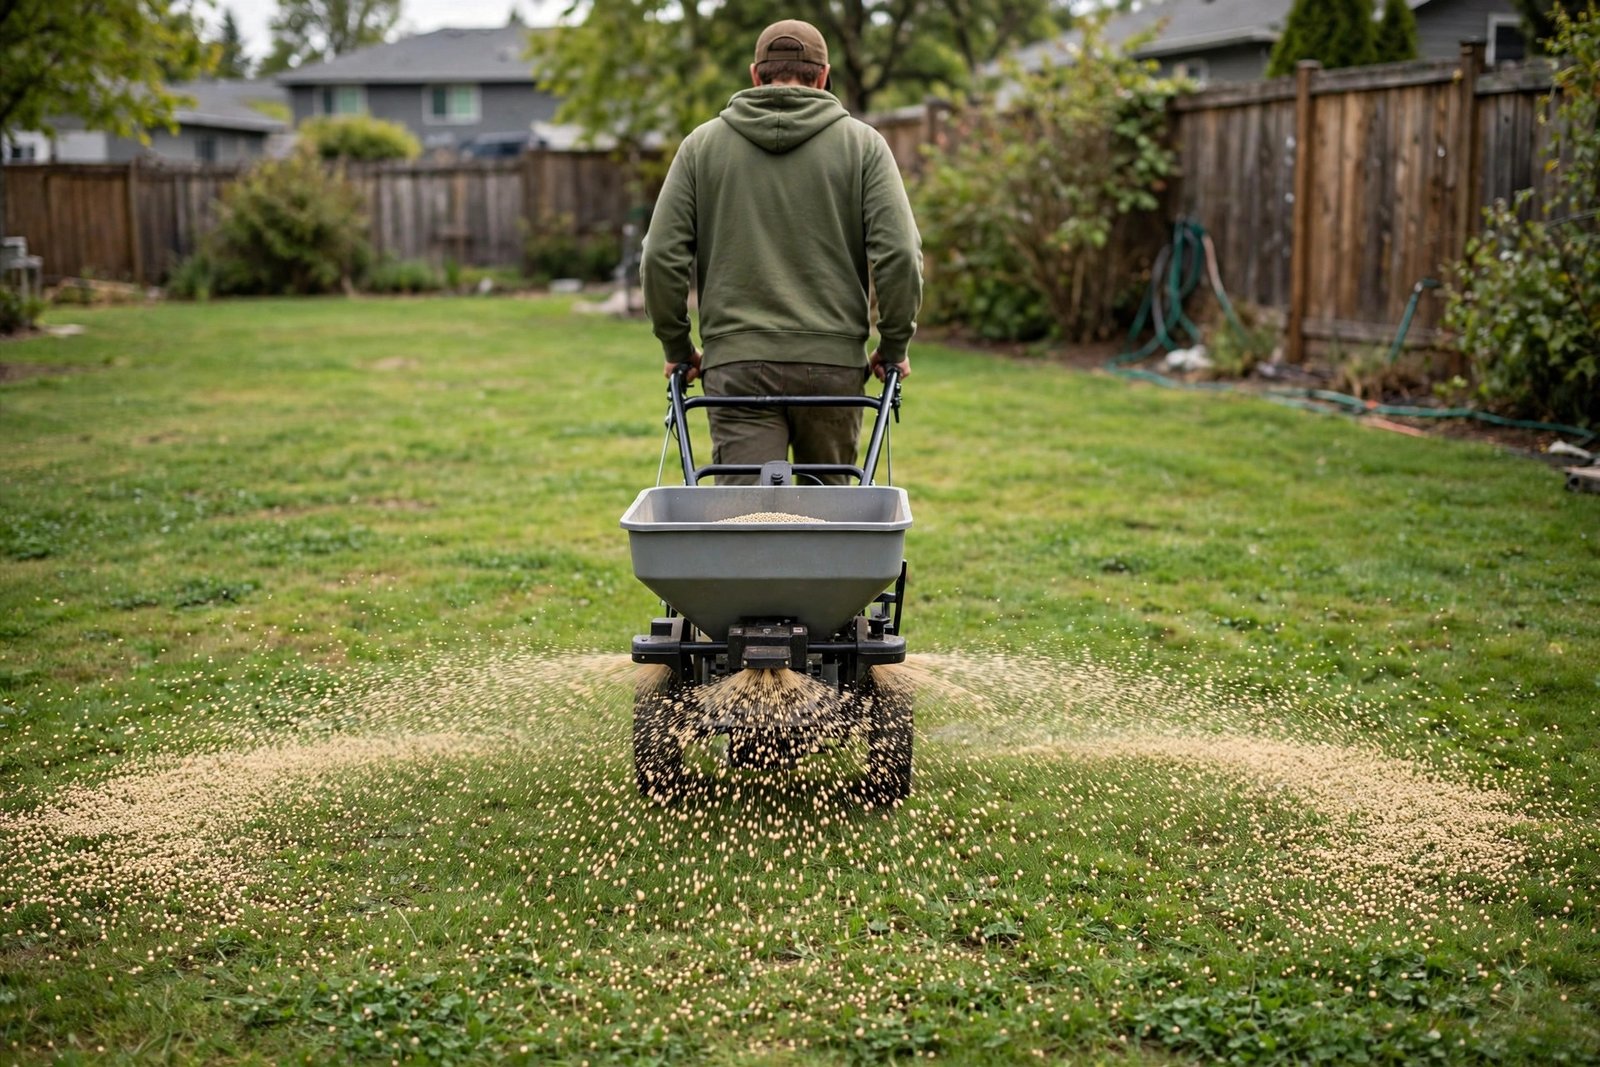
Keep passes spaced the way the spreader is meant to work. For a broadcast spreader, overlap each pass by roughly the width of one wheel track, or follow the pattern the manual recommends. Consistent spacing matters as much as consistent speed.
When you finish, weigh the spreader again. Subtract the after weight from the before weight. That difference is how many pounds your spreader actually put down on 1,000 square feet.
Step 5: Compare and adjust
Compare what came out to the bag rate. If you dropped more than the target, close the dial one notch and test again. If you dropped less, open it one notch and test again.
One notch at a time is the discipline here. Two-notch jumps overshoot the setting and leave you chasing the number back and forth. Most spreaders land on target within two or three test runs.
Write down the winning setting, the product, and the date. Different products need different settings — a fine seed and a coarse fertilizer will not share a dial number — so keep a short list on the garage wall or in your phone.
Mistakes that undo a good calibration
Changing pace mid-lawn. The calibration holds only at the pace you tested. Speeding up on the back stretch under-applies. Slowing down near the beds over-applies. Pick a pace and keep it.
Refilling mid-pass. A full hopper feeds differently than a nearly empty one on some spreaders. If a refill lands mid-lawn, finish the pass, then refill before the next one starts.
Skipping re-calibration for a new product. Every product change is a new calibration. The setting that was right for spring fertilizer is wrong for fall seed, and assuming otherwise is how stripes happen.
Calibrating on the lawn. A test run on grass feeds that strip twice if you then spread the whole lawn. Test on hard ground, sweep it up, and keep the lawn to one even application.
What to do next
Once the setting is dialed in, the lawn work itself is straightforward: steady pace, even passes, gate closed at the turns. If you have not picked a spreader yet, The Best Broadcast Spreaders for Lawns compares the walk-behind, mini, precision, and tow-behind options by lawn size. And if you are still weighing broadcast against drop, Broadcast vs Drop Spreaders settles which type fits your yard.
Calibrate once per product, write the setting down, and the spreader stops being a gamble. Twenty minutes now saves a season of wondering why one half of the lawn looks better than the other.