Most people remember the sprinkler system in April, when the first zone hisses, the valve box is full of water, and something underground cracked months ago. Water left in the lines freezes, expands, and splits pipe, valves, and heads — and the repair bill lands in the same month you were hoping to enjoy the lawn. Do it now, while the ground is still workable, and April starts with green grass.
What you are actually protecting
A sprinkler system holds water in more places than most homeowners realize: the lateral lines, the valve diaphragms, the backflow preventer, and the low spots where water pools after the last run. Any of it can freeze. The pipes are the obvious risk, but the valves crack just as often, and a cracked backflow preventer is the most expensive single part in the system.
The fix is to get the water out before the first hard freeze — the kind of overnight low that freezes the ground, not just the grass. In cold climates that means sometime in the fall, before the overnight lows settle below freezing for good. If you are reading this in November and have not done it yet, today is the day.
Drain or blow out?
There are two ways to empty a system, and the right one depends on what is in the ground. Some systems have manual drain valves at the low points, or automatic drains that open when the pressure drops. Opening the drains gets most of the water out of the pipes — but not the water sitting above the zone valve diaphragms, and not the water trapped in the backflow preventer. Colorado State University Extension is blunt about it: compressed air is the only reliable way to be sure enough water has been pushed out.
If your system has electric zone valves, blow it out. If you do not know what kind of valves you have, blow it out. Draining is fine as a first step either way — open the drains, let what comes out come out — but treat it as the warm-up, not the job.
The pressure rule: 50 PSI, and why
Here is the number that matters, and the one people get wrong. Hunter Industries sets the blowout ceiling by pipe type: no more than 50 PSI for flexible black polyethylene pipe, no more than 80 PSI for rigid white PVC. Rain Bird’s homeowner guide is stricter — it caps everything at 50 PSI and requires a pressure-regulating valve. The practical rule is simple: set the regulator to 50 PSI and leave it there. That setting sits inside every manufacturer’s limit for both pipe types. Treat 80 PSI as a ceiling for rigid PVC, never a target, and only if you know every component in the zone is rated for it.
Pressure is what protects the pipe; air volume is what moves the water. What clears a line is CFM — cubic feet per minute — not PSI. A rough guide from Hunter: take the gallons per minute of your largest zone and divide by 7.5, and that is about the CFM your compressor needs to sustain. A small pancake compressor rated at 2 or 3 CFM will pop the heads up and then run out of air halfway through the zone. If your compressor cannot hold the volume, hire the blowout out — a pro’s tow-behind unit does in twenty minutes what a garage compressor cannot do at all.
The blowout, step by step
1. Shut off the water. Close the main irrigation shutoff valve, usually in the basement, garage, or a valve box near the meter. This is the valve that feeds the system, not the house main.
2. Park the controller. Set the controller to Off or Rain mode and leave it plugged in. Rain Bird recommends leaving it powered: the small amount of heat from the transformer keeps condensation off the circuit board all winter. If your controller has a battery backup, leave the battery in.
3. Open the drains and test cocks. Open the drain valves at the low points and the small test cocks on the backflow preventer, and let the water run out by gravity. Leave the backflow preventer valves open at a 45-degree angle when you are done — half-open lets any remaining water expand without cracking the body.
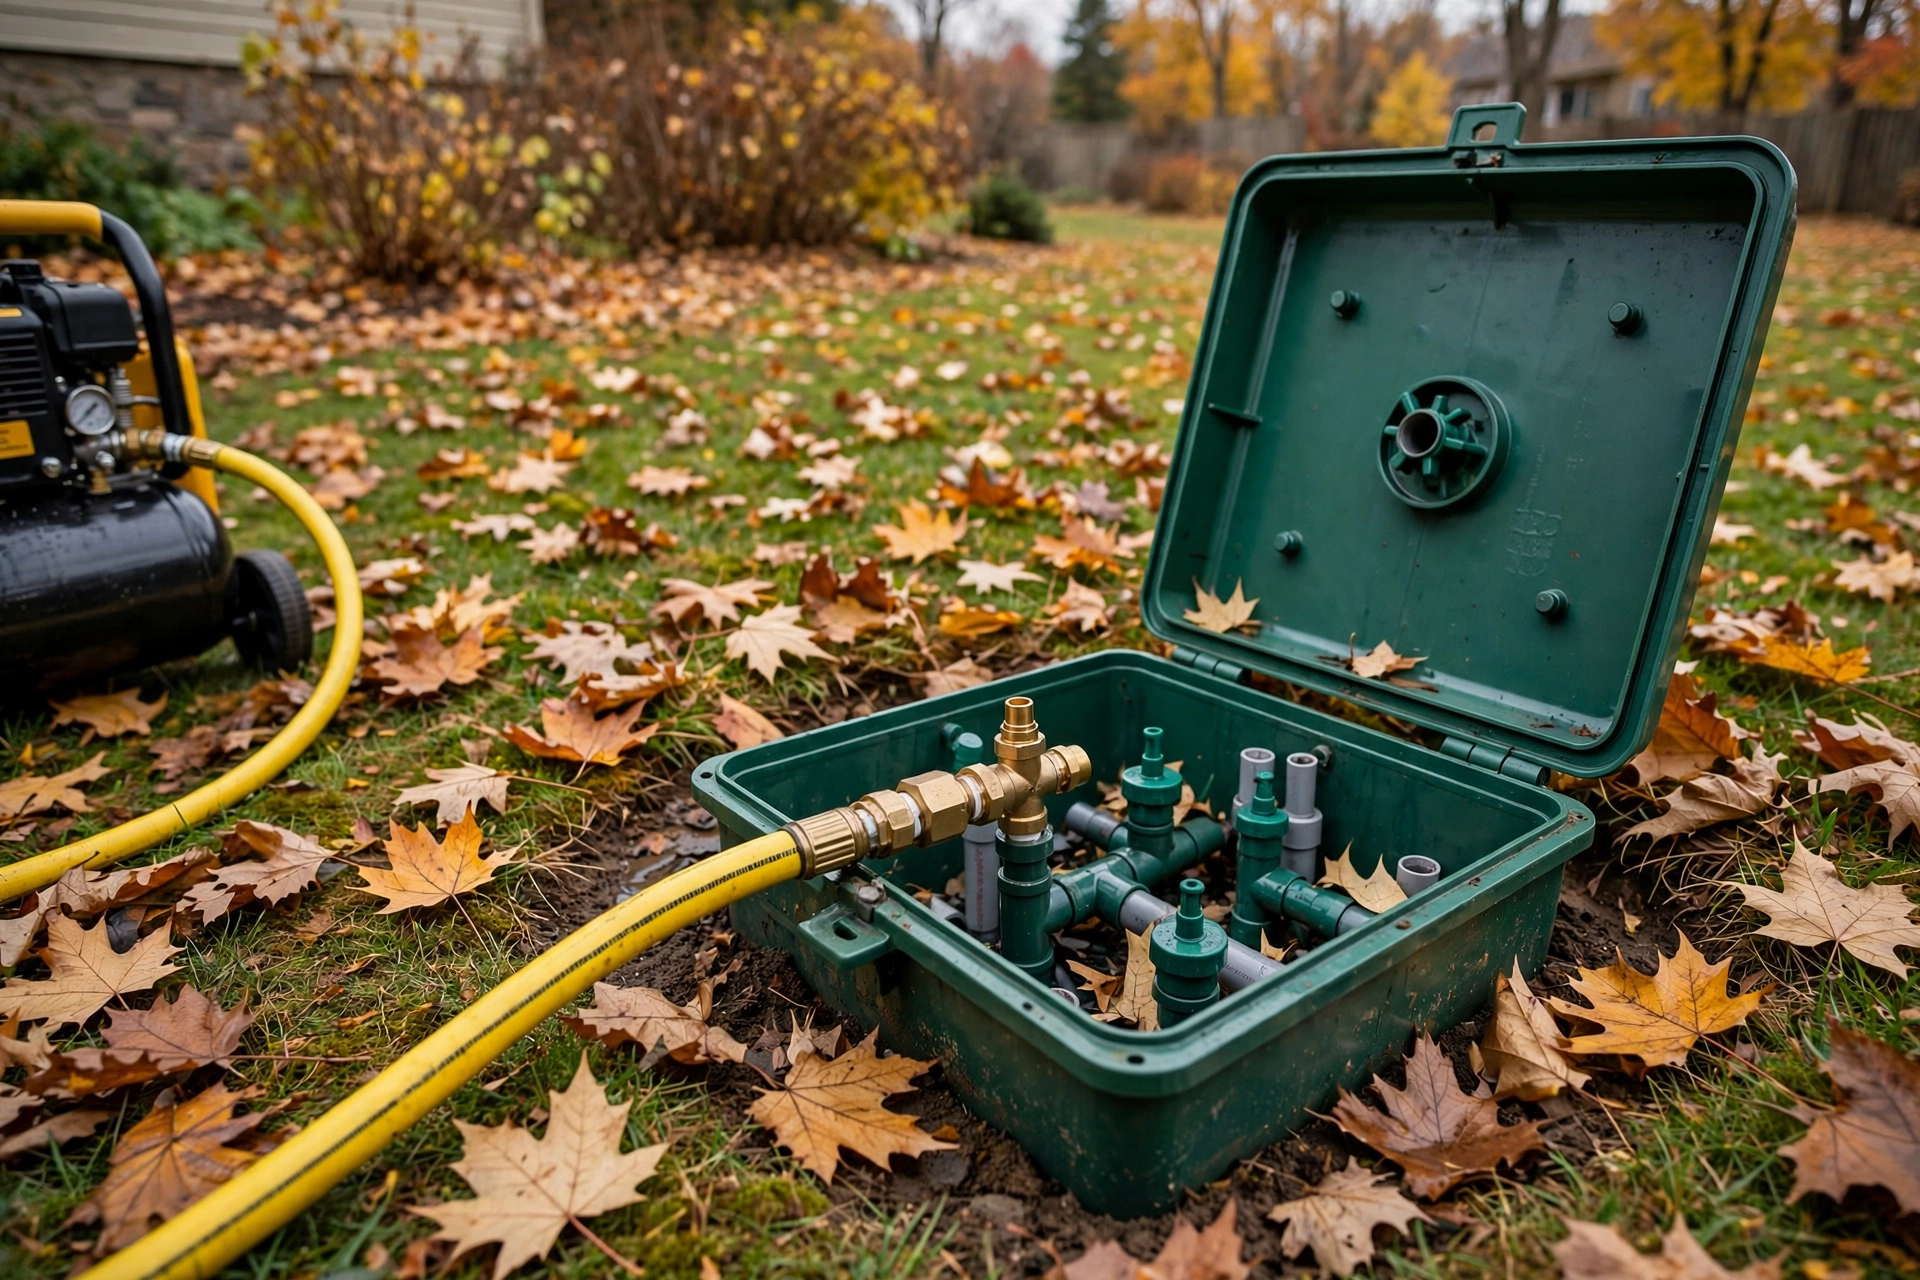
4. Connect the compressor after the backflow preventer. This is the step people get wrong, and it is the expensive one. Never blow compressed air through the backflow preventer. The rubber seals inside can melt from the heat of the compressed air, and a replacement preventer costs more than the blowout. Connect to the blowout port downstream of the preventer — the threaded fitting made for exactly this job.
5. Blow out one zone at a time. Set the regulator to 50 PSI. Open the air valve slowly, then activate the first zone — the one farthest from the compressor is the usual starting point. The heads will pop up and spit water, then mist, then blow mostly air. Run each zone for no more than two minutes at a time; Rain Bird is explicit on this, because heat from the compressed air can damage pipes and parts if a zone runs dry too long. When a zone is down to mist only, shut the air, move to the next zone, and repeat. Run each zone twice if the first pass still pushes water.
6. Leave it open and insulate. When every zone blows mist only, disconnect the compressor, leave the drain valves and test cocks open, and insulate the backflow preventer with a cover or wrap. The system is now as empty as it is going to get, and the open valves give any last trace of water room to expand.
Mistakes that cause the April repair bill
An unregulated compressor. A pancake tank at 150 PSI connected straight to a poly lateral rated for 50 PSI of air is a split fitting waiting to happen, and the break will be somewhere underground. The regulator is not optional equipment — it is the whole job.
Blowing through the backflow preventer. Covered above, worth repeating: the seals melt, the preventer fails, and you find out in spring when the system will not hold pressure. Always connect downstream of it.
Running a zone dry for too long. Two minutes per pass, maximum. Once the water is out, the compressed air is just heating the pipe. Short passes, twice if needed, beat one long blast.
Forgetting the backflow drain. The preventer holds water even after the zones are clear. Open its test cocks, leave the valves half-open, and insulate it. A cracked preventer is the most common winterizing casualty after the valves themselves.
Should you just hire it out?
Honestly, for a lot of homeowners, yes. A professional blowout runs one visit, one fee, and a compressor with the volume to clear every zone properly. If you already own a compressor that can sustain the CFM your largest zone needs — largest zone GPM divided by 7.5 — doing it yourself is a straightforward Saturday job. If your compressor is a small garage unit, the money you save is not worth the water left in the lines. Either way, the work gets done before the first hard freeze, or it does not get done at all.
What to do next
Put the date on the calendar now — before the first hard freeze, not after it. While the system is open, it is also the right moment to fix anything you have been ignoring: a head that never quite popped up is a five-minute swap, and our guide to replacing a sprinkler head covers it. If the controller itself is the problem, the sprinkler timer roundup is worth a read before spring, and if you are still figuring out which sprinkler fits your yard in the first place, choosing a lawn sprinkler sorts it by yard size and shape.
Blow it out once, properly, and April starts with a lawn you can use on the first warm weekend.