Disclosure: This post contains affiliate links. If you buy through them, Landscape & Leisure may earn a commission at no extra cost to you.
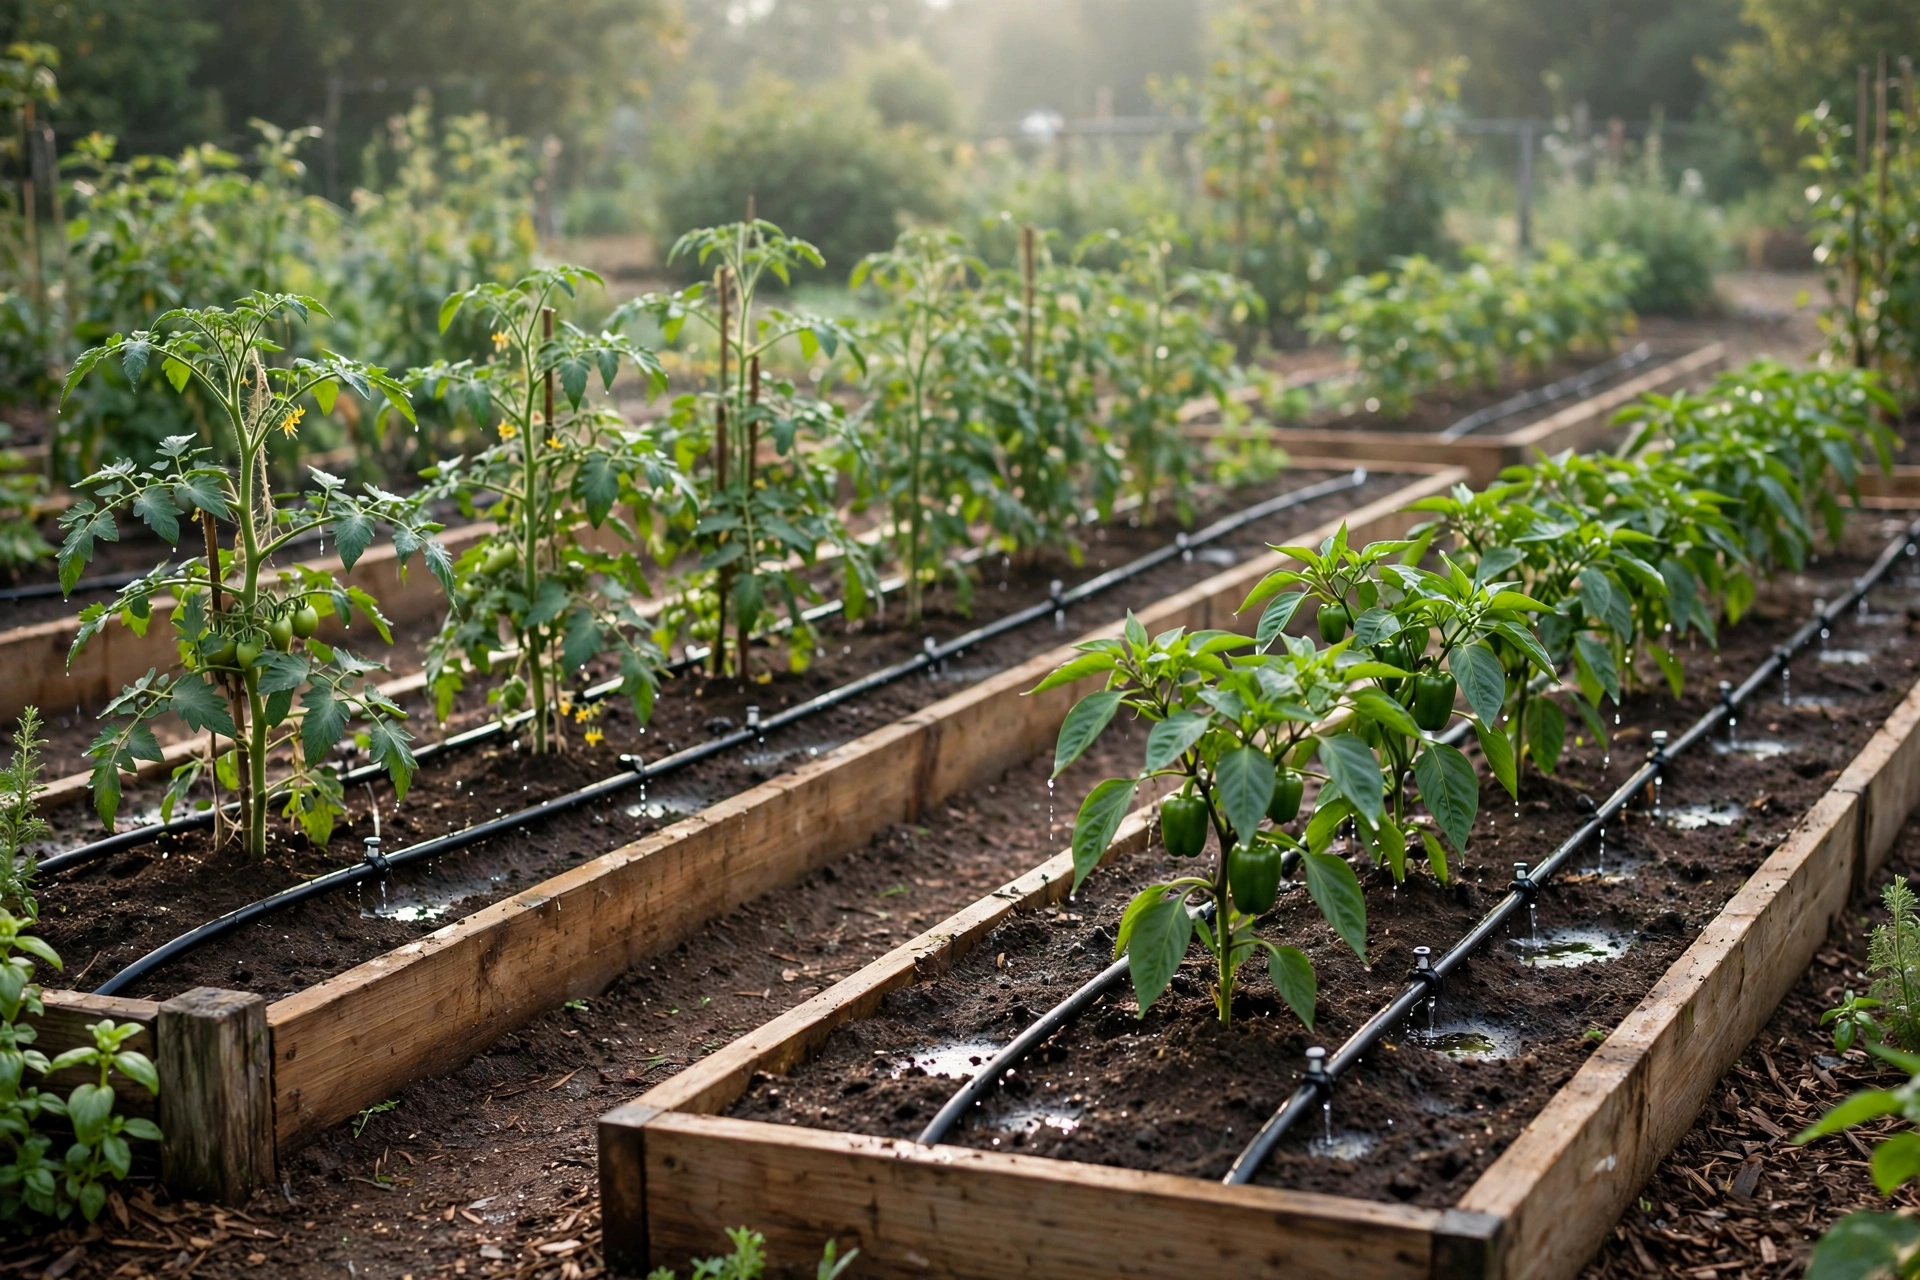
Vegetable gardens are thirsty, and they are picky about how they drink. Overhead watering soaks the foliage (an open invitation to fungal disease), loses water to wind and evaporation, and still somehow misses the root zone. Drip irrigation fixes all of that: slow water, delivered at the soil surface, right where roots can use it.
The good news is that a proper drip system no longer means a weekend of plumbing. The best drip irrigation systems for vegetable gardens today are kits — everything in one box, faucet to emitter. Here are the ones worth your money, plus the style of kit to walk past.
Our Picks at a Glance
| Kit | Best for | What you get |
|---|---|---|
| Rain Bird LNDDRIPKIT — Best Overall | Most vegetable gardens | 108-piece complete kit: tubing, drippers, bubblers, micro-sprays |
| MIXC Quick Connector Kit — Best Budget | Raised beds and first systems | Quick-connect fittings, generous tubing, adjustable emitters |
| Rain Bird Conversion Kit (CNV182EMS) — Best for Sprinkler Owners | Homes with underground sprinklers | Converts a sprinkler zone to drip with regulation and filtration |
Best Overall: Rain Bird LNDDRIPKIT Drip Irrigation Kit
Rain Bird is the name irrigation professionals reach for, and the LNDDRIPKIT is their most complete starter kit for home gardens: 108 pieces covering distribution tubing, emitter tubing, drippers, bubblers, and micro-sprays, so a single box can handle orderly vegetable rows and irregular flower beds in the same system. It connects to a standard outdoor faucet — no plumbing, no digging, no pressure calculations beyond the regulator built into the faucet assembly.
Two things set it apart from the bargain kits. First, the watering devices are clog-resistant by design, with large water passages that shrug off the mineral buildup and grit that kill cheap emitters by mid-July. Second, everything is standard-sized Rain Bird, which means expanding later is a trip to any hardware store rather than a hunt for a proprietary fitting. Add a roll of tubing and a bag of emitters and the system grows with your garden.
Pros
- Complete 108-piece kit — drippers, bubblers, and micro-sprays in one box
- Clog-resistant emitters keep flowing all season
- Standard fittings make future expansion easy anywhere
- Faucet connection: installs in an afternoon with scissors and a punch tool
Cons
- Costs more than generic kits (the emitters are why)
- No timer included — add one separately (our pick below)
- Planning your layout on paper first is close to mandatory
Best Budget: MIXC Drip Irrigation Kit with Quick Connectors
The reason most bargain drip kits end up in the trash is the fittings: barbed connectors that need a kettle of hot water, a strong grip, and stronger language to assemble. MIXC’s kit solves the actual problem with quick-connector fittings that push together and — just as important — pull apart again when you want to rearrange a bed or fix a mistake. For a first system, that forgiveness is worth more than any single spec.
You get generous lengths of tubing and adjustable emitters you can dial from drip to a gentle stream, which suits raised beds and mixed plantings where a tomato and a pepper want different amounts of water. The plastic is lighter-duty than Rain Bird’s, and long-term UV exposure will age it faster — but as a way to learn drip on real plants for very little money, it is the right starting point. Plenty of gardeners run these kits for years and upgrade piece by piece.
Pros
- Quick-connect fittings: fast assembly, easy rearrangement
- Adjustable emitters suit mixed vegetable beds
- Very low cost of entry for a full system
Cons
- Lighter-duty plastics than the pro brands
- Fittings are brand-specific; expansion parts come from MIXC
Best for Sprinkler Owners: Rain Bird Drip Conversion Kit (CNV182EMS)
Already have an underground sprinkler system? Then your best “kit” isn’t a kit at all — it’s a conversion. The Rain Bird CNV182EMS replaces a sprinkler head on an existing zone and turns that whole zone into regulated, filtered drip: pressure regulation and filtration are built into the unit, which is exactly what drip emitters need and exactly what raw sprinkler pressure would destroy. From the conversion head you run standard drip tubing to your beds, and your existing sprinkler timer does the scheduling.
It’s the most elegant path for homes where a sprinkler zone already runs near the garden — no faucet splitter, no hose across the patio, no second timer. One converted zone can carry a surprising amount of drip line.
Pros
- Uses your existing sprinkler timer and zones
- Built-in pressure regulation and filtration protect emitters
- No hose bib tie-up; fully automatic
Cons
- Only makes sense if a sprinkler zone reaches your garden
- Tubing and emitters are bought separately
Two Add-Ons Worth Every Penny
A hose-end timer. Drip works best on a schedule — deep, infrequent watering in the early morning. A battery-powered hose-end timer like Rain Bird’s turns any faucet-fed kit into a set-and-forget system and keeps watering on track through vacations. Check price on Amazon
A repair and expansion kit. You will punch a hole in the wrong place. Everyone does. Keeping a Rain Bird repair/expansion kit on hand — spare couplings, plugs, and emitters — turns a mistake into a two-minute fix instead of a store run, and it makes mid-season additions painless. Check price on Amazon
Not Recommended: Misting and Atomizing Kits for Vegetables
Skip the kits built around fine-mist and atomizing nozzles — for vegetable gardens, at least. Mist looks refreshing, but it wets foliage instead of soil (hello, blight and powdery mildew), drifts away on any breeze, and delivers water so shallowly that roots stay near the surface where they’re most vulnerable. Those kits have their place on a patio or in a greenhouse. In the tomato patch, you want water at the roots: drip emitters and soaker-style emitter tubing, full stop.
How to Plan Your System (15 Minutes, Paper and Pencil)
Sketch the beds and measure. Draw each bed, mark the faucet, and measure the runs. Tubing is cheap; running short is annoying. If you’re laying out new beds, Daisy’s guide to starting tomatoes from seed will help you think about spacing — and spacing decides emitter placement.
One emitter per plant, roughly. For most vegetables, a 1–2 gallon-per-hour emitter at each plant, run for 60–90 minutes two or three times a week, beats daily sprinkling. Sandy soil: water more often, shorter. Clay: less often, longer.
Filter and regulate, always. Every durable drip system has a filter (keeps grit out of emitters) and a pressure regulator (drip runs at low pressure). The kits above handle it; if you piece a system together, don’t skip these two parts.
Mulch over the lines. Running drip tubing under mulch hides it, protects it from sun, and cuts evaporation further. Our guide to pine needle mulch covers a free mulch option if you have pines — and if container vegetables are more your scale, the Seasoned Spade’s take on growing vegetables in containers pairs well with a small drip setup.
The Verdict
Start with the Rain Bird LNDDRIPKIT if you want the system you’ll still be happily using in five years — it’s the complete, expandable, clog-resistant benchmark. Choose the MIXC kit if you’re drip-curious and want to learn on raised beds without a big commitment. And if sprinklers already run past your garden, the Rain Bird conversion kit is the smartest money of all. Whichever you pick, add the timer — consistent watering is the entire point.