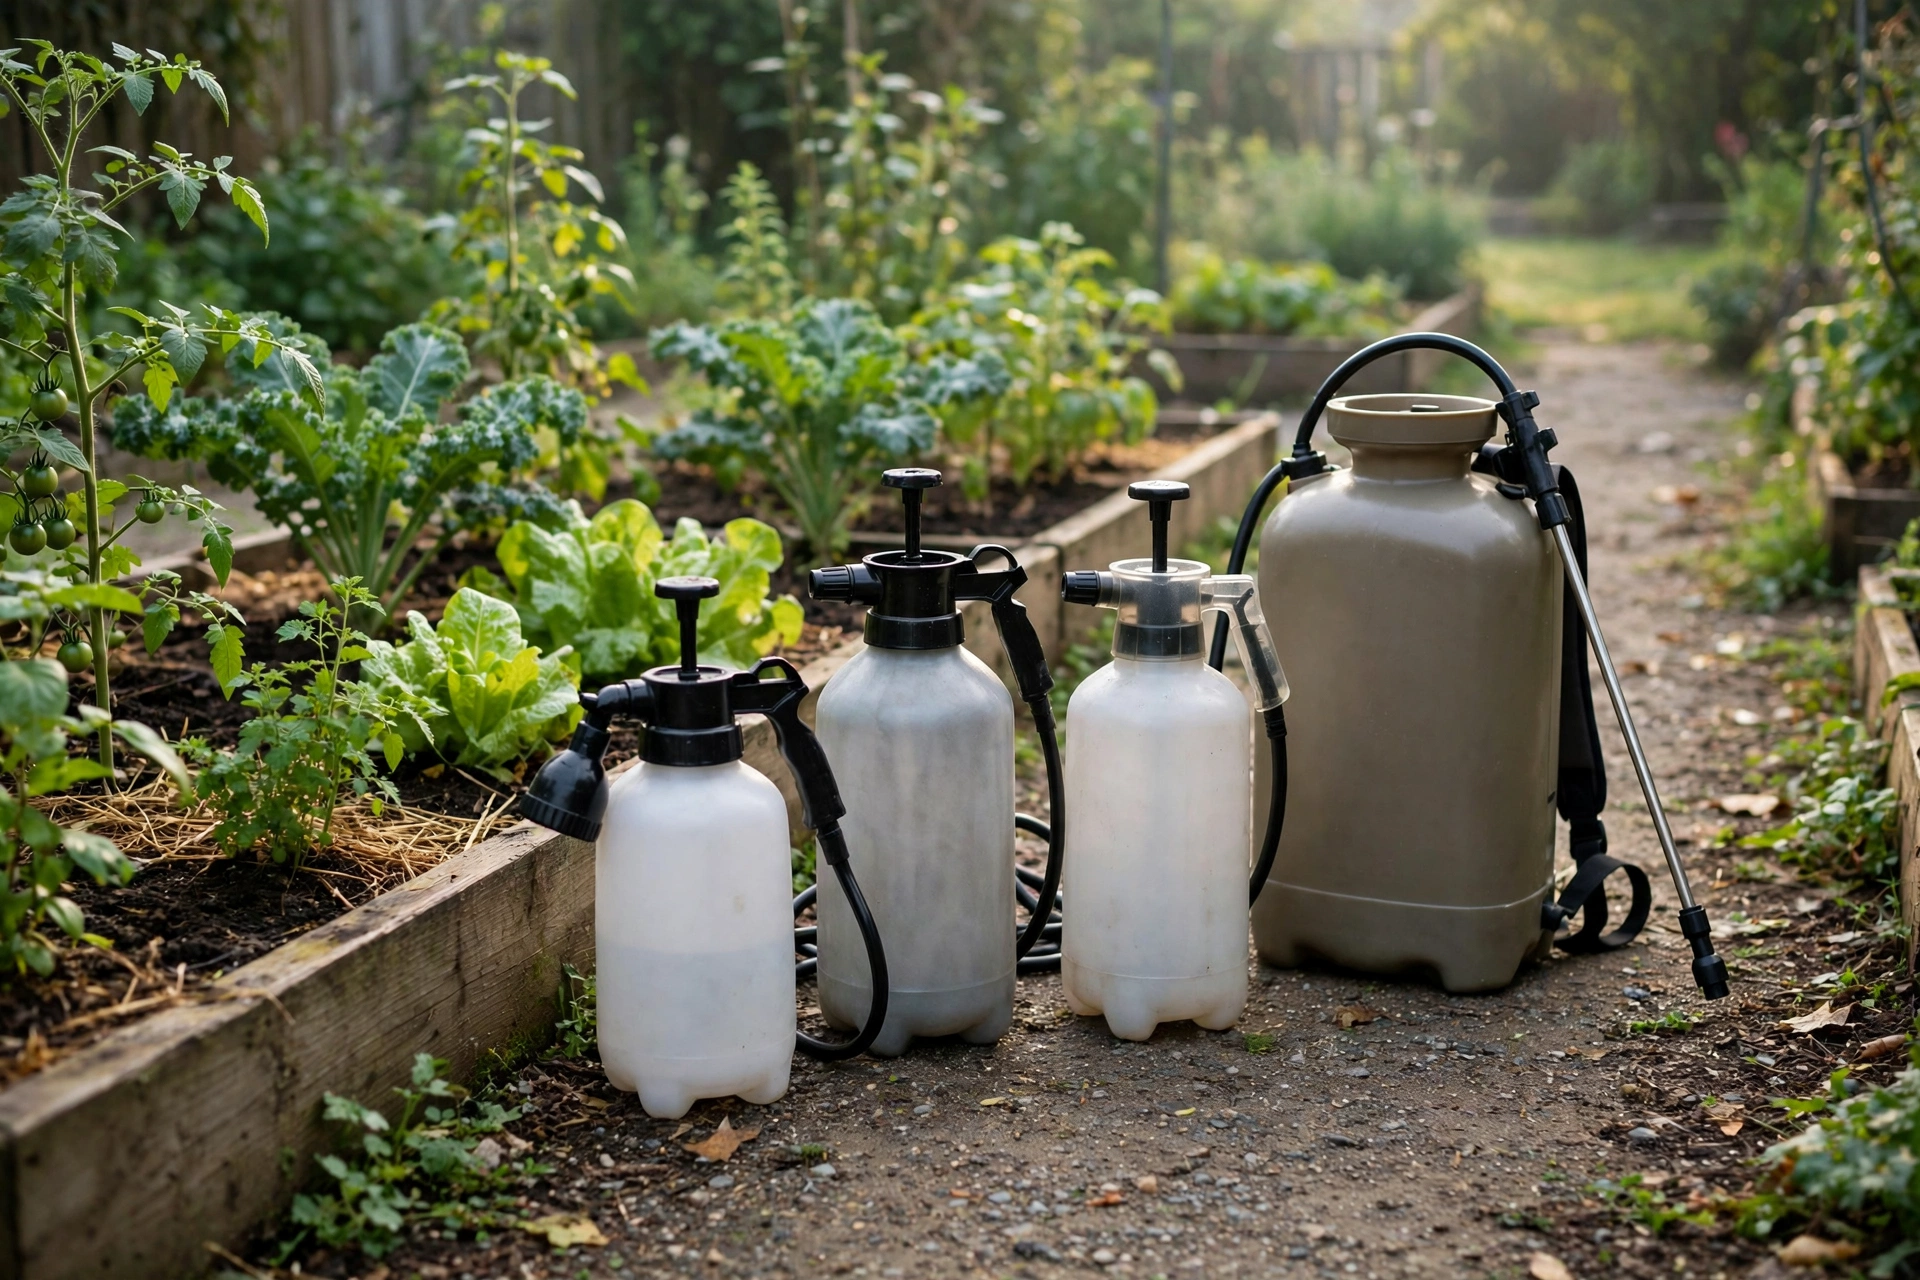
A sprayer that sputters halfway through the bed is usually not broken, just dirty. The nozzle that sprayed a fine mist in May now spits uneven drops, the trigger feels stiff, or the pump handle moves but nothing comes out at all, and the first thought is that the sprayer has worn out. Most of the time it has not, since the cause is dried chemical sitting in the nozzle, the filter, or the pump, and ten minutes of cleaning after each use keeps it from ever getting that far.
This guide walks through the clean in the order it actually happens, from the rinse that takes two minutes to the storage step that saves the seals over winter. If you are choosing a sprayer rather than fixing one, our best garden sprayers roundup covers the models worth buying, and our backpack vs handheld comparison sorts out which size fits your yard.
What a Clog Looks Like, and Where It Lives
A clog announces itself in a few distinct ways, and each one points to a different part of the sprayer. A nozzle that sprays off to one side or throws large drops instead of a mist usually has dried residue in the tip itself, while a sprayer that builds pressure but delivers almost nothing has a blocked filter, often the small screen where the hose meets the tank. A pump handle that moves freely without building pressure points deeper, at the pump seals or the check valve, where dried chemical has stiffened a seal that should flex.
The most likely cause is almost always the simplest one, so check in order from the outside in: nozzle first, then filter, then hose, then pump. Working backward from the pump wastes time when the problem is a speck of dried weed killer in a hole smaller than a pinhead.
The Ten-Minute Clean, After Every Use
Empty the tank. Pour any leftover mix back into its original container if the label allows it, or spray it out on the area it was meant for, and never pour leftover chemical down a drain or onto a bed it was not meant for. A tank left half full is a tank that grows residue.
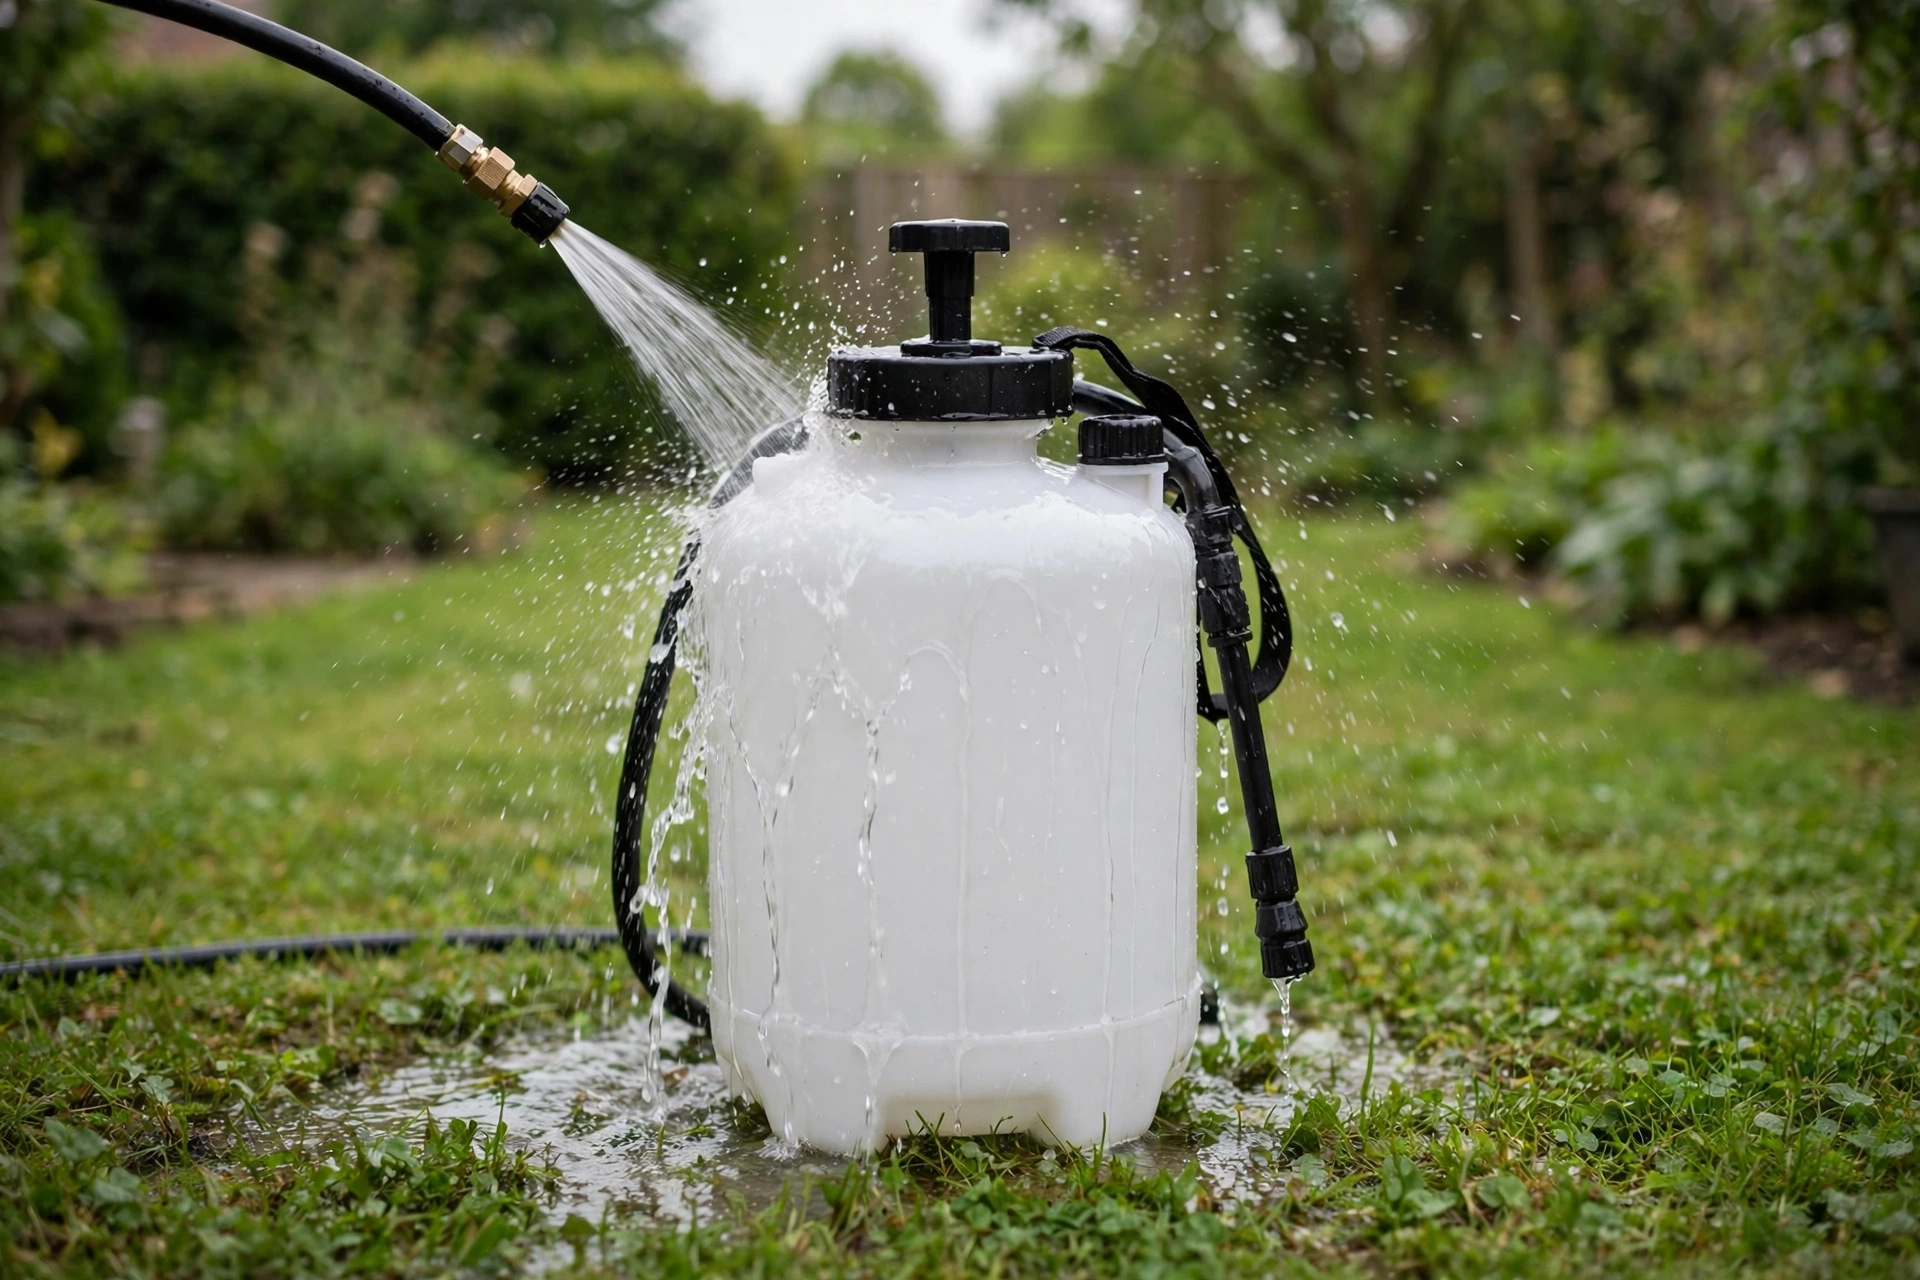
Rinse with clean water. Fill the tank a quarter full with clean water, swirl it, and spray it out through the nozzle onto the lawn, which flushes the hose and the wand at the same time. Repeat once, since the second rinse runs clear where the first one still carries color.
Clean the filter. Pull the filter screen from the tank or the hose connection, rinse it under running water, and brush it gently with an old toothbrush if grit is stuck in the mesh. A filter that looks clean but feels slimy still has residue, so keep rinsing until the mesh feels like plain plastic again.
Clear the nozzle. Unscrew the nozzle tip, soak it in clean water, and clear the hole with a soft wooden toothpick or a blast of water, never a metal pin, which can widen the hole and change the spray pattern permanently. Hold the tip up to the light, since a clean hole shows a round dot of light and a dirty one does not.
Run the pump dry, briefly. With the tank empty, pump a few strokes to push the last of the rinse water out of the pump and hose, then leave the tank cap off so the inside dries. A sealed, damp tank is where seals stiffen and smells start.
When the Nozzle Still Won’t Spray
If the ten-minute clean does not fix it, the blockage has hardened, and it needs a soak rather than more force. Fill the tank with clean water, add nothing else, and let the nozzle tip sit in the water for an hour, which softens most dried residue without any chemical at all. For weed killer residue specifically, most herbicide labels call for a triple rinse, so repeat the rinse step three times with fresh water before the sprayer touches anything you meant to feed, since herbicide left in a tank can damage the next plants it sprays.
When a nozzle still sprays unevenly after a soak, replace the tip rather than drilling it out, because a widened hole sprays a different pattern than the one the sprayer was designed for, and a replacement tip costs less than the chemical wasted on a bad pattern. Check the manual for the part number, since tips are sized to the model, and a tip from a different sprayer may thread on without sealing.
Before Storage: The Step That Saves the Seals
The step most people skip is the one that matters most in spring. After the last use of the season, run the full clean above, then pump the tank dry, leave the cap off, and store the sprayer upright in a place that stays above freezing, since water left in a pump can crack a housing on the first hard freeze. Hang the wand with the nozzle pointing down so it drains, and keep the sprayer out of direct sun, which dries out seals and fades the tank markings you need to measure a mix.
If your sprayer has a battery, charge it before storage and check it once midwinter, because a lead-acid battery left empty for months may not take a charge again. A manual sprayer needs nothing more than a dry tank and a loose cap, and it will be ready the day the weeds are.
What Not to Do
Using one sprayer for weed killer and fertilizer without a full clean between them is asking for trouble, since the residue that kills weeds does not know which plants you meant to feed. A sprayer stored full of mixed chemical is the same mistake in slower motion, because most mixes break down in the tank and leave a film that no rinse will move. And when a tip clogs, leave the wire and the needle in the drawer, since a scratched or widened nozzle is a permanent change to a part that costs very little to replace.
Bottom Line
Clean your sprayer for ten minutes after every use, and it will spray like it did on the first day for seasons, while a sprayer left dirty after one job will fight you on the next three. The rinse is the habit, and the nozzle soak is the rescue, so make the rinse automatic and save the rescue for the day you forget.