Landscape & Leisure is reader-supported. When you buy through links on our site, including Botanical Interests seed links, we may earn a commission at no extra cost to you. Prices change, so click through to confirm current pricing.
The garlic bed in November looks like nothing at all, and that is the point. You press cloves into cool soil, cover them with straw, and trust the winter to do work you cannot see. Garlic is one of the few crops that genuinely prefers to be planted in fall, and the whole job takes an afternoon.
Timing is the part that matters most, so this guide starts there. Get the window right, plant at the right depth, mulch properly, and the rest mostly takes care of itself until summer.
When to plant
In areas with cold winters, sow individual cloves from mid-September to mid-November. Ideally, garlic goes in four to six weeks before the first hard freeze, which gives the cloves time to grow roots before the ground locks up.
That window is the reason fall planting works. The clove roots in, then sits dormant through winter, then wakes up early in spring with a head start no spring-planted crop can match. Fall-planted garlic takes 250 to 270 days to mature, with harvest landing in June or July.
If your ground is already frozen solid, do not force it. Cloves planted in ground they cannot root into are a gamble, not a plan. And if you miss the window entirely, the cloves are not wasted: planted indoors at any time of year, they grow green tops with a garlic flavor that are good raw or in stir-fries. You just will not get bulbs from them.
Picking and preparing the cloves
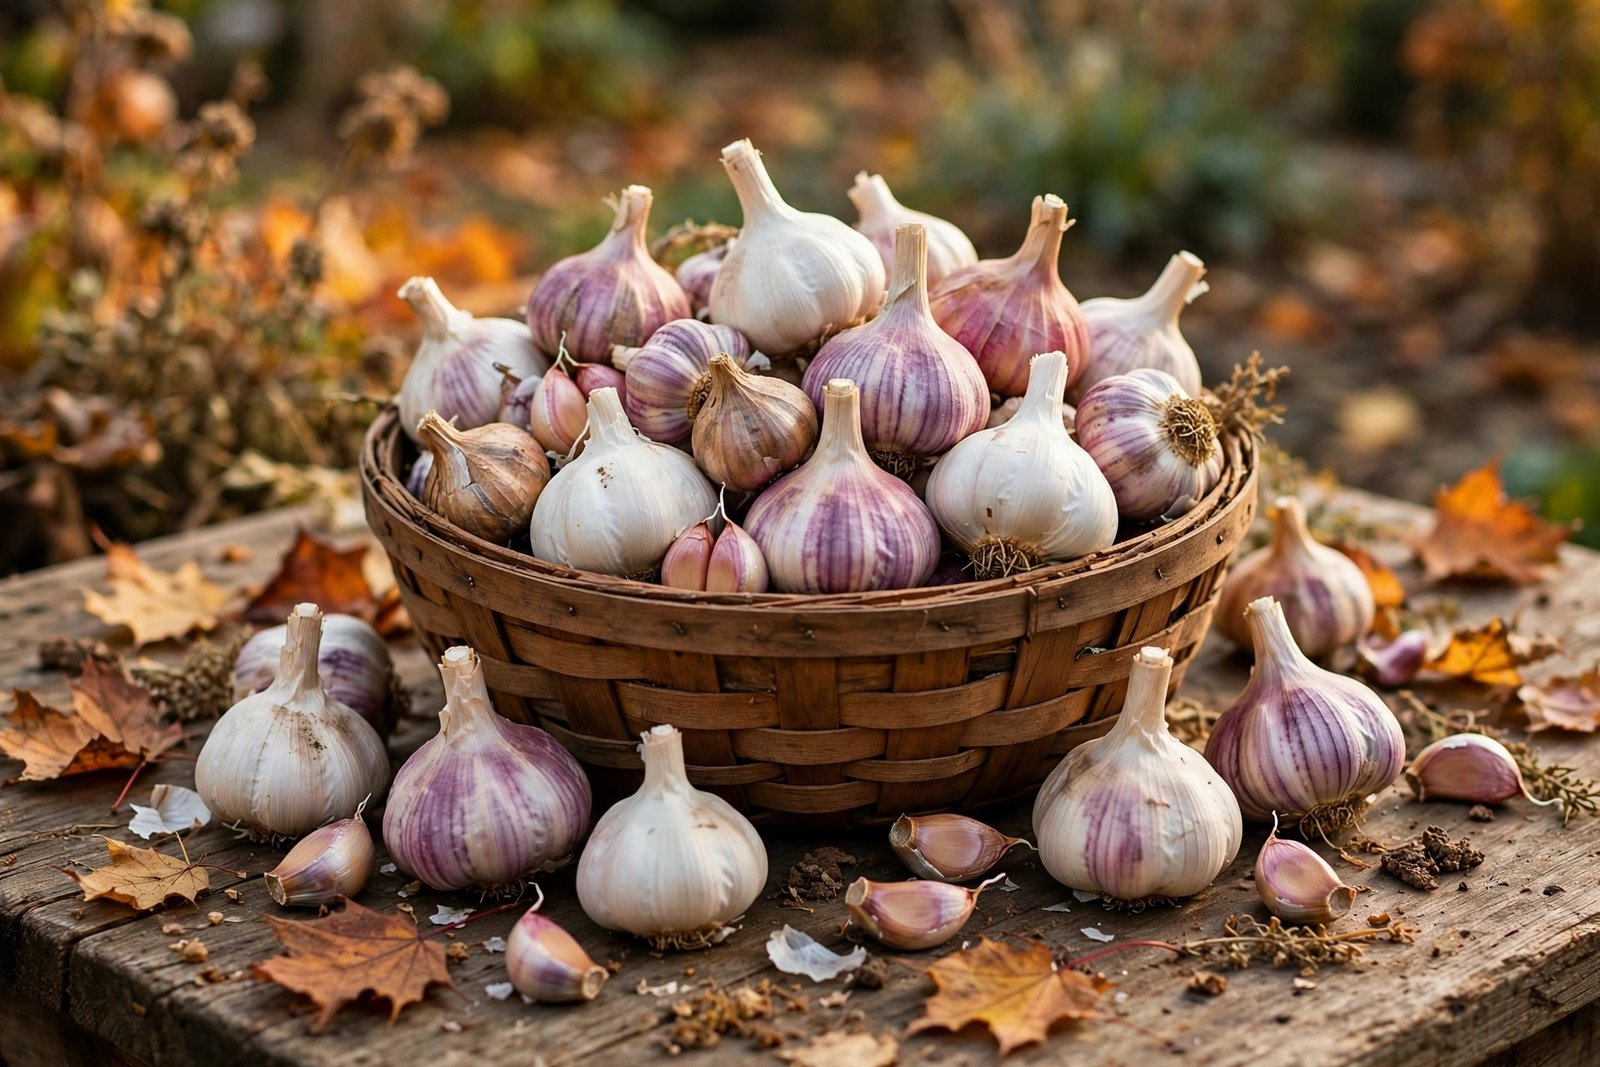
Break bulbs apart only when you are ready to plant. Each clove becomes one plant, so a single bulb of Chesnok Red gives you nine or ten plants, while a bulb of Sicilian Artichoke gives you twelve to twenty. Plant the biggest cloves and eat the small ones; small cloves grow into small bulbs.
Choose a spot in full sun to part shade with soil that drains well. Garlic hates wet feet over winter, and a low spot that holds water is the one place it reliably fails.
Depth, spacing, and mulch
The planting itself is simple, and the numbers are worth getting exactly right:
| Step | What to do |
|---|---|
| Depth | Plant each clove 2 to 3 inches deep, pointed side up |
| Spacing | One clove every 6 to 8 inches, rows 12 to 18 inches apart |
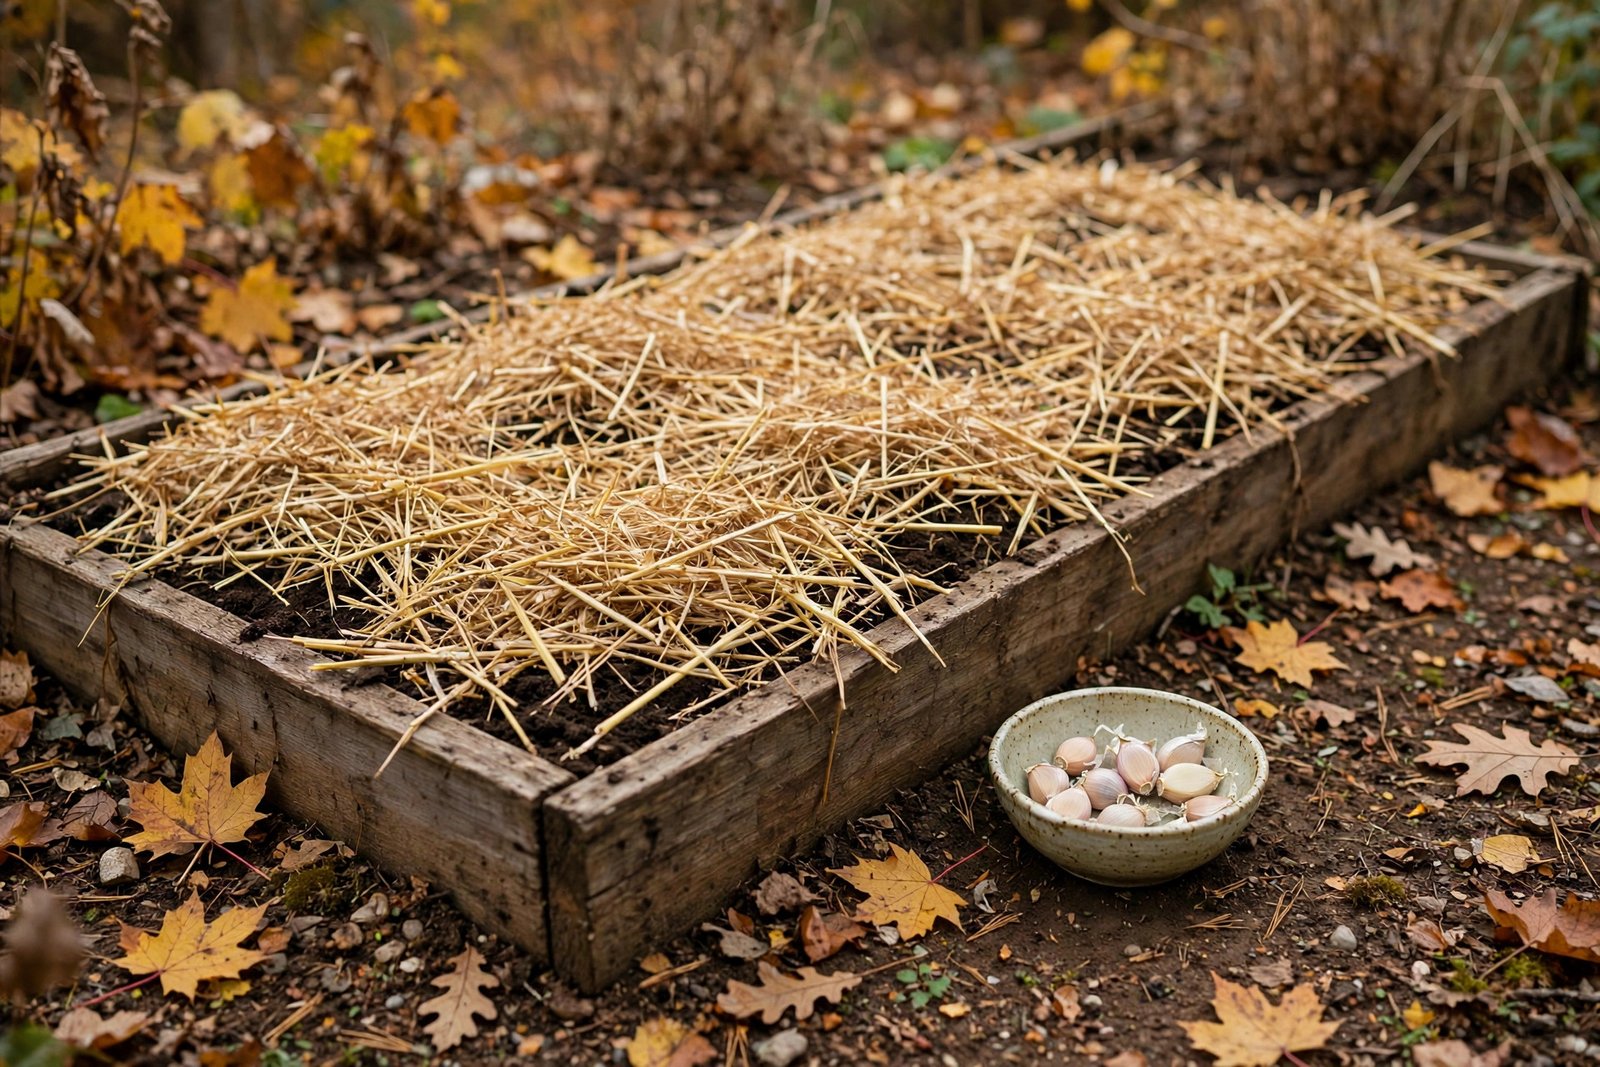
| Mulch | Cover with 2 to 4 inches of straw, untreated grass clippings, or shredded leaves |
| Water | Water in after planting so the soil settles around the cloves |
The pointed side matters. The point is where the shoot emerges, and a clove planted upside down spends energy righting itself instead of rooting. The mulch matters just as much: it holds moisture, insulates the cloves through winter, and helps keep frost from heaving them to the surface.
Two varieties cover most cold-climate gardens. Chesnok Red is the hardneck workhorse for cold winters, and Silver White is the softneck keeper that stores up to a year. If you have not chosen yet, our cold-climate garlic varieties roundup compares them side by side, and our hardneck vs. softneck guide explains which type fits your winters.
Chesnok Red Hardneck Garlic
The cold-climate pick for fall planting: big cloves, robust flavor, and roots that establish fast.
Silver White Softneck Garlic
Mild everyday garlic that braids well and keeps up to a year once cured.
What to do in spring
When shoots appear, loosen the mulch so they can push through, especially if it is thick or matted. In very cold climates, pull the mulch back after the last hard freeze so the soil warms faster, then reapply it once shoots are up to hold moisture and keep weeds down.
Keep the bed weeded. Garlic competes poorly, and weeds steal the water and nutrients the bulbs need to size up. Thinning is not necessary if you spaced the cloves properly at planting.
If you planted a hardneck, you will see a tall stem with a curl at the top in spring. That is the scape, and in most cases you should snap it off so the plant’s energy goes into the bulb instead of the flower. Scapes are edible, with a mild garlic flavor, so the job comes with a bonus ingredient.
Harvest, in brief
Garlic is ready when the tops are about 40 percent yellow or brown, or when they start to fall over — typically in June or July. Lift bulbs gently with a digging fork, digging wide so you do not cut into them, and do not leave them in the ground too long or the skins decay and storage life drops.
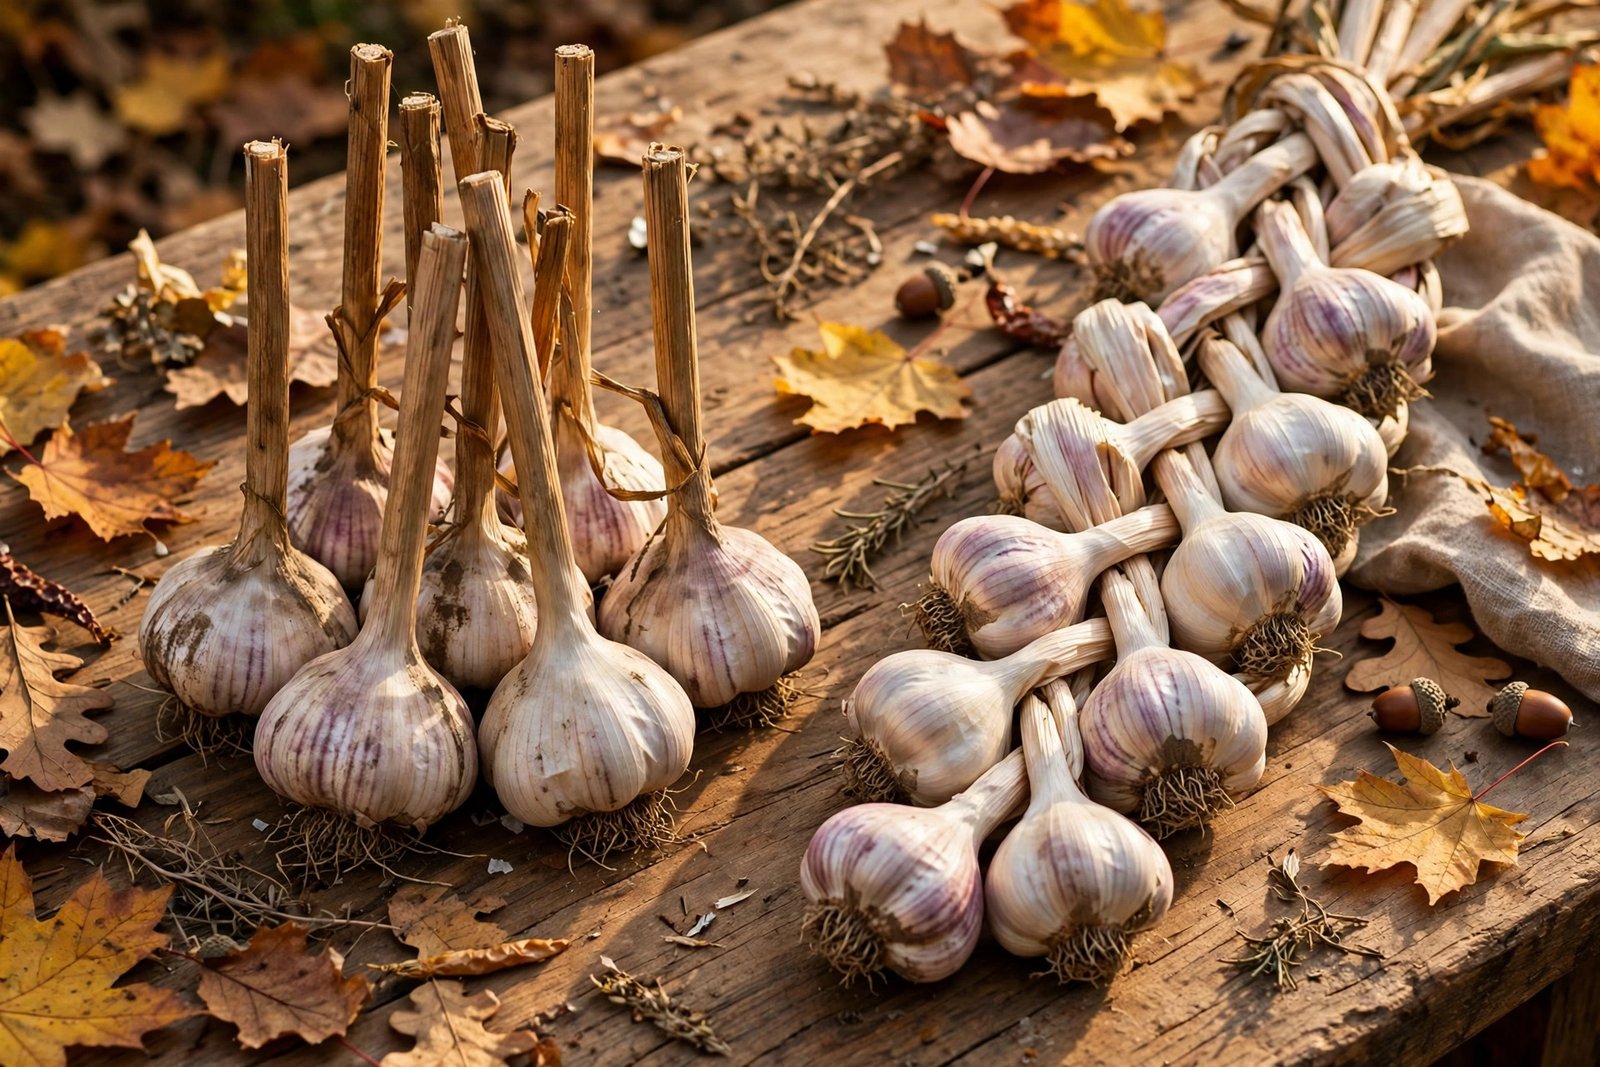
Cure the whole plant in a warm, airy spot out of direct sun and protected from rain, with roots and shoots still attached, before you trim and store. A well-cured bulb is the difference between garlic that lasts and garlic that softens by Christmas.