Your lawn is telling you something, but it is not speaking clearly. Spongy grass, puddles after rain, and thin patches all look like the same complaint, and they point to different problems.
Thatch and compaction cause similar-looking trouble and need different fixes. This guide gives you three quick checks that separate them, so you do the job your lawn needs instead of the one you guessed at.
First, what you are looking at
Thatch is a layer of dead stems and roots that builds up between the green blades and the soil. A little is normal. Past 1/2 inch, it starts acting like a roof, shedding water and keeping air from the roots.
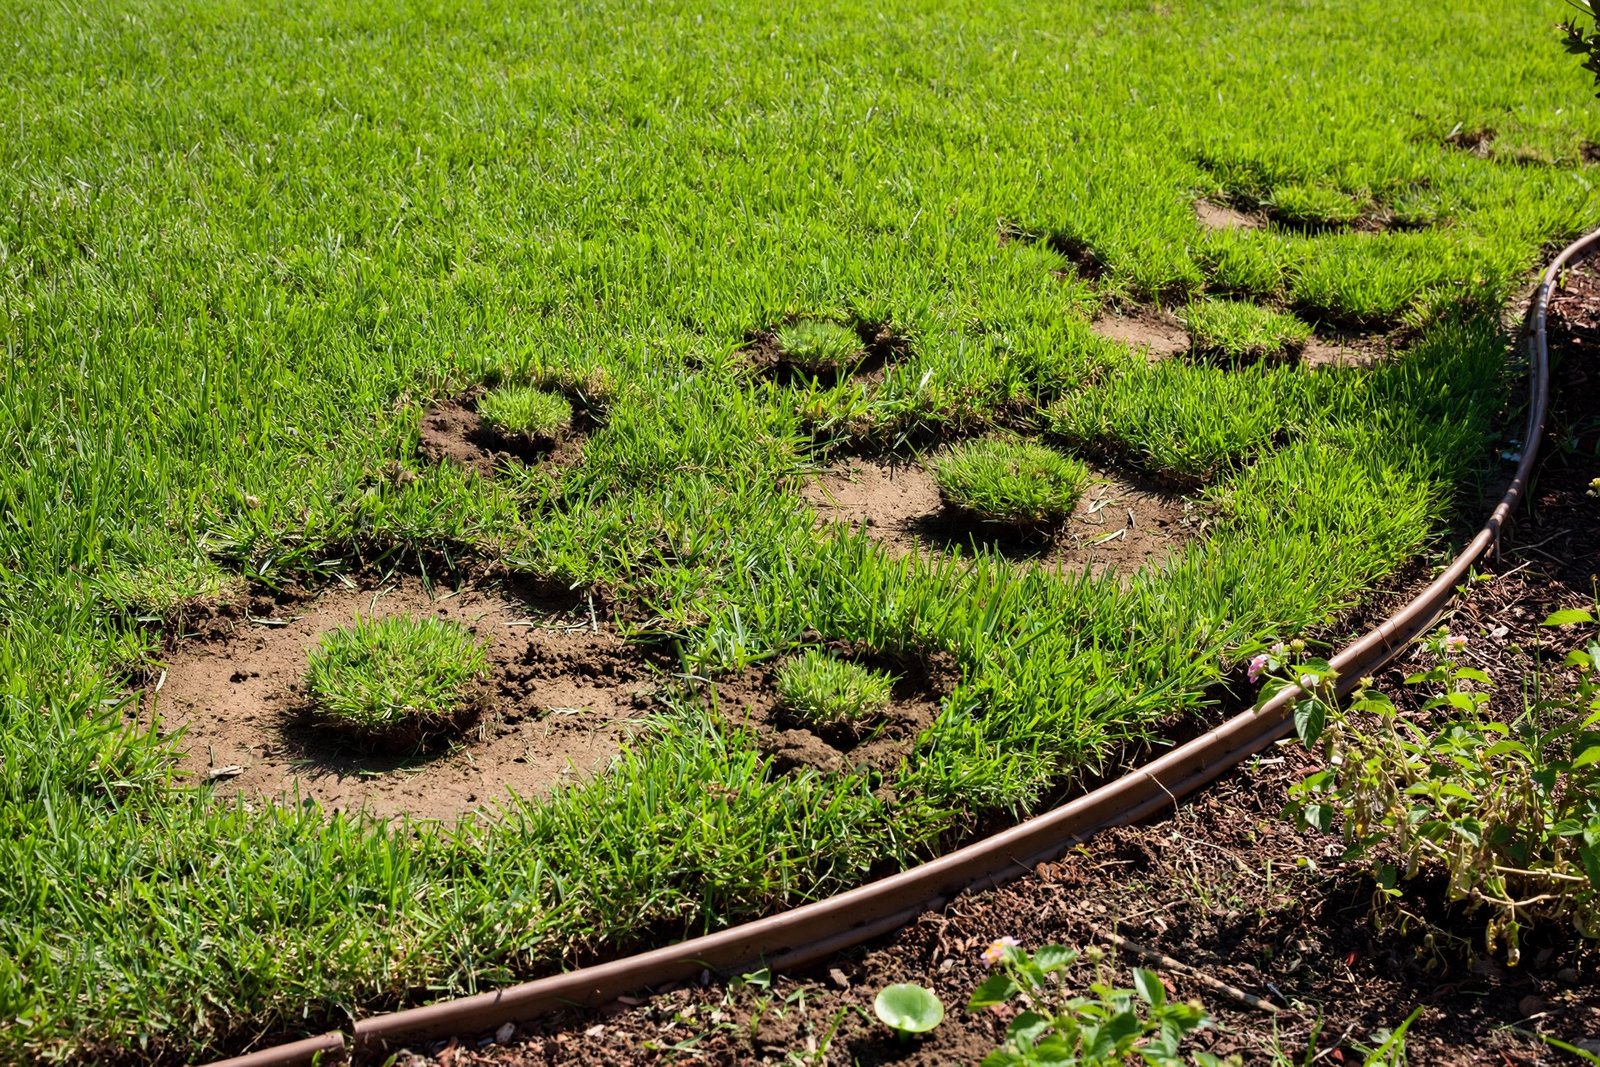
Compaction is soil squeezed tight, usually by foot traffic, heavy mowers, or clay that never got loosened. Roots cannot push through it, and water sits on top instead of soaking in.
The two often travel together on older lawns. A thatchy lawn gets mowed and walked on the same way a compacted one does. That is why the checks matter: guessing treats one problem and leaves the other in place.
Check 1: The screwdriver test
What to do: Wait until the soil is moist, a day after rain or watering. Push a long screwdriver into the lawn in several spots, including the worst-looking areas.
What it tells you: If the screwdriver slides in 4 to 6 inches with steady pressure, the soil is reasonably loose. If it stops within an inch or two on moist ground, the soil is compacted.
Watch out for: Dry soil stops a screwdriver too, and that means nothing. Always test on moist soil, and test more than one spot. A single hard patch near a path does not mean the whole lawn is compacted.
Check 2: The thatch slice
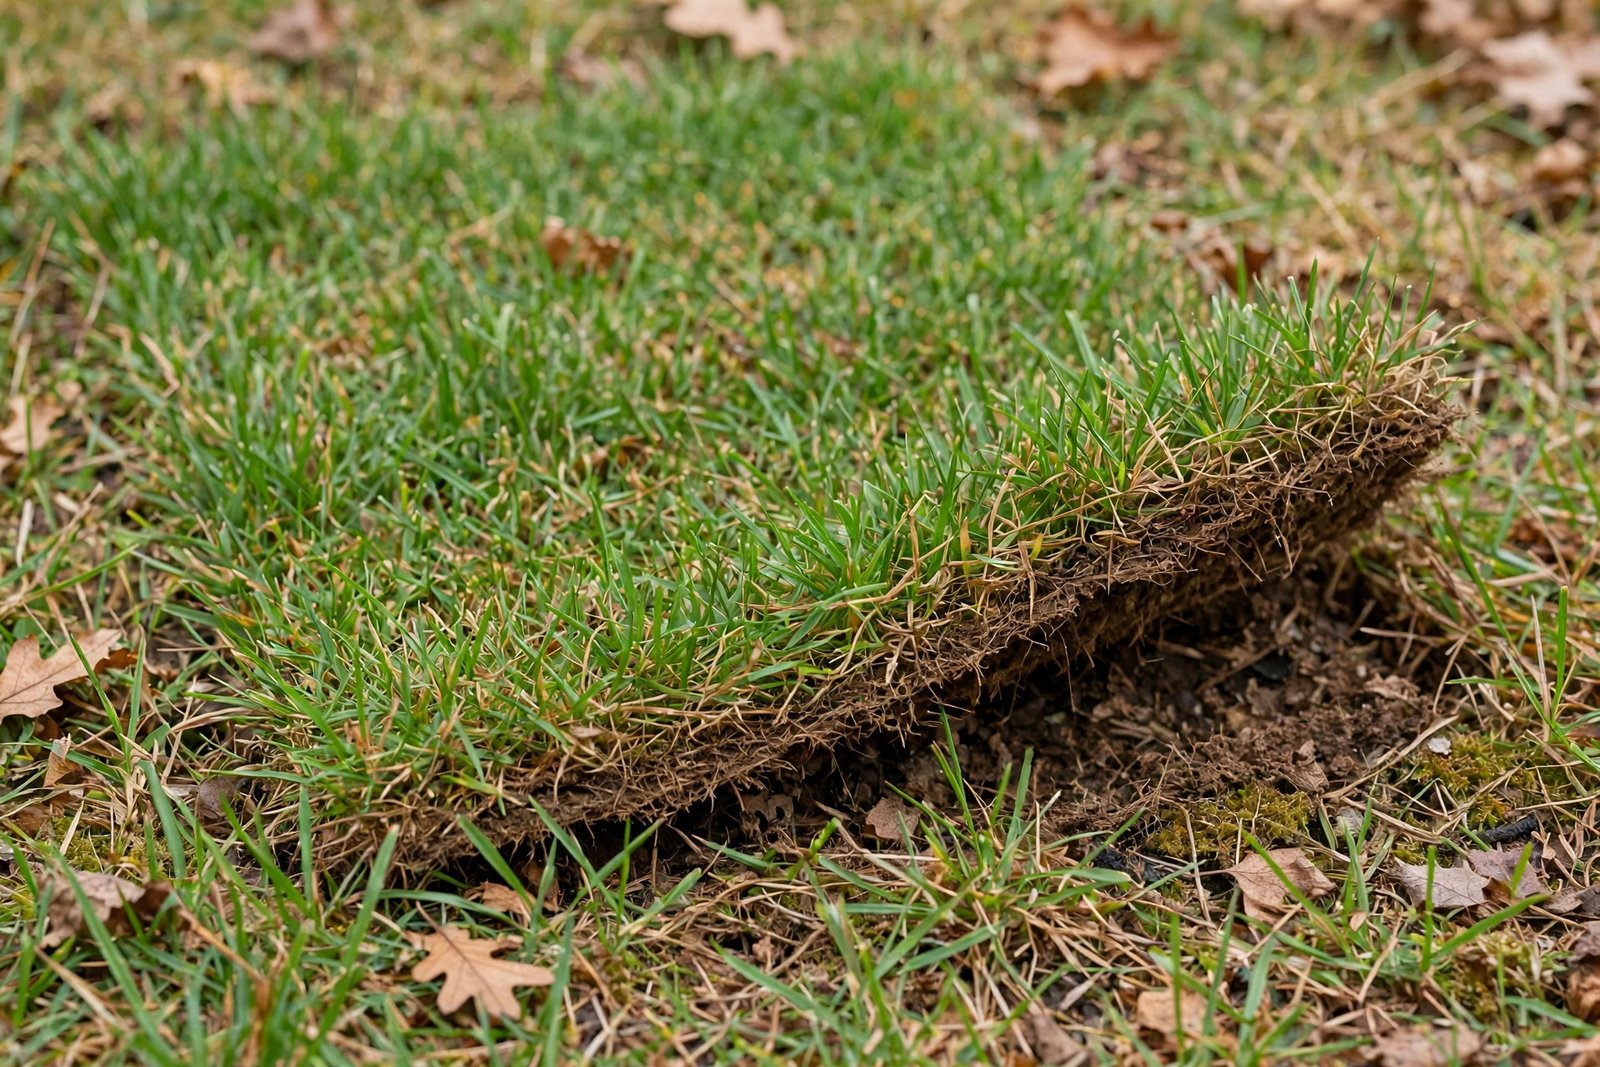
What to do: Cut a small wedge of turf, about 3 inches across, with a spade. Lift it and look at the layer between the green blades and the soil. Measure the brown, spongy band.
What it tells you: Under 1/2 inch of thatch is fine, and dethatching would do more harm than good. Over 1/2 inch, thatch is blocking water and air, and dethatching earns its place.
Watch out for: Do not judge thatch by how the lawn feels underfoot. A soft, springy lawn can be healthy grass over loose soil, not thatch at all. The slice is the only reliable measure.
Check 3: The water test
What to do: Watch what happens after a good rain or a long watering session. Note where water pools, where it soaks in, and how long puddles last.
What it tells you: Water pooling on flat ground points to compaction or a sealed surface. Water running off a slope while the soil underneath stays dry points to thatch shedding it. A lawn that stays soggy for days after rain may have both problems, or drainage trouble underneath.
Watch out for: A single low spot that holds water is a grading or drainage issue, not a thatch or compaction verdict. Treat the pattern across the lawn, not one puddle.
What your results mean
Screwdriver stops short, thatch under 1/2 inch: Compaction is the problem. Aerate. Dethatching will not help, because there is no mat to remove.
Screwdriver slides in, thatch over 1/2 inch: Thatch is the problem. Dethatch. Aerating a loose soil that already drains well adds holes the lawn does not need.
Screwdriver stops short and thatch is over 1/2 inch: You need both. Dethatch first to clear the mat, then aerate so the tines reach soil instead of punching through debris.
Both checks come back fine, but the lawn still looks thin: Look elsewhere before you rent anything. Mowing too short, watering too shallow, heavy shade, or worn-out grass varieties all thin a lawn without involving thatch or compaction. Our diagnostic guide, What’s Wrong With My Lawn? 8 Common Problems and How to Fix Them, walks through those causes.
The fix, in order
Step 1: Mow first. Cut a little shorter than usual so the machine reaches the thatch layer or the soil instead of chewing tall grass.
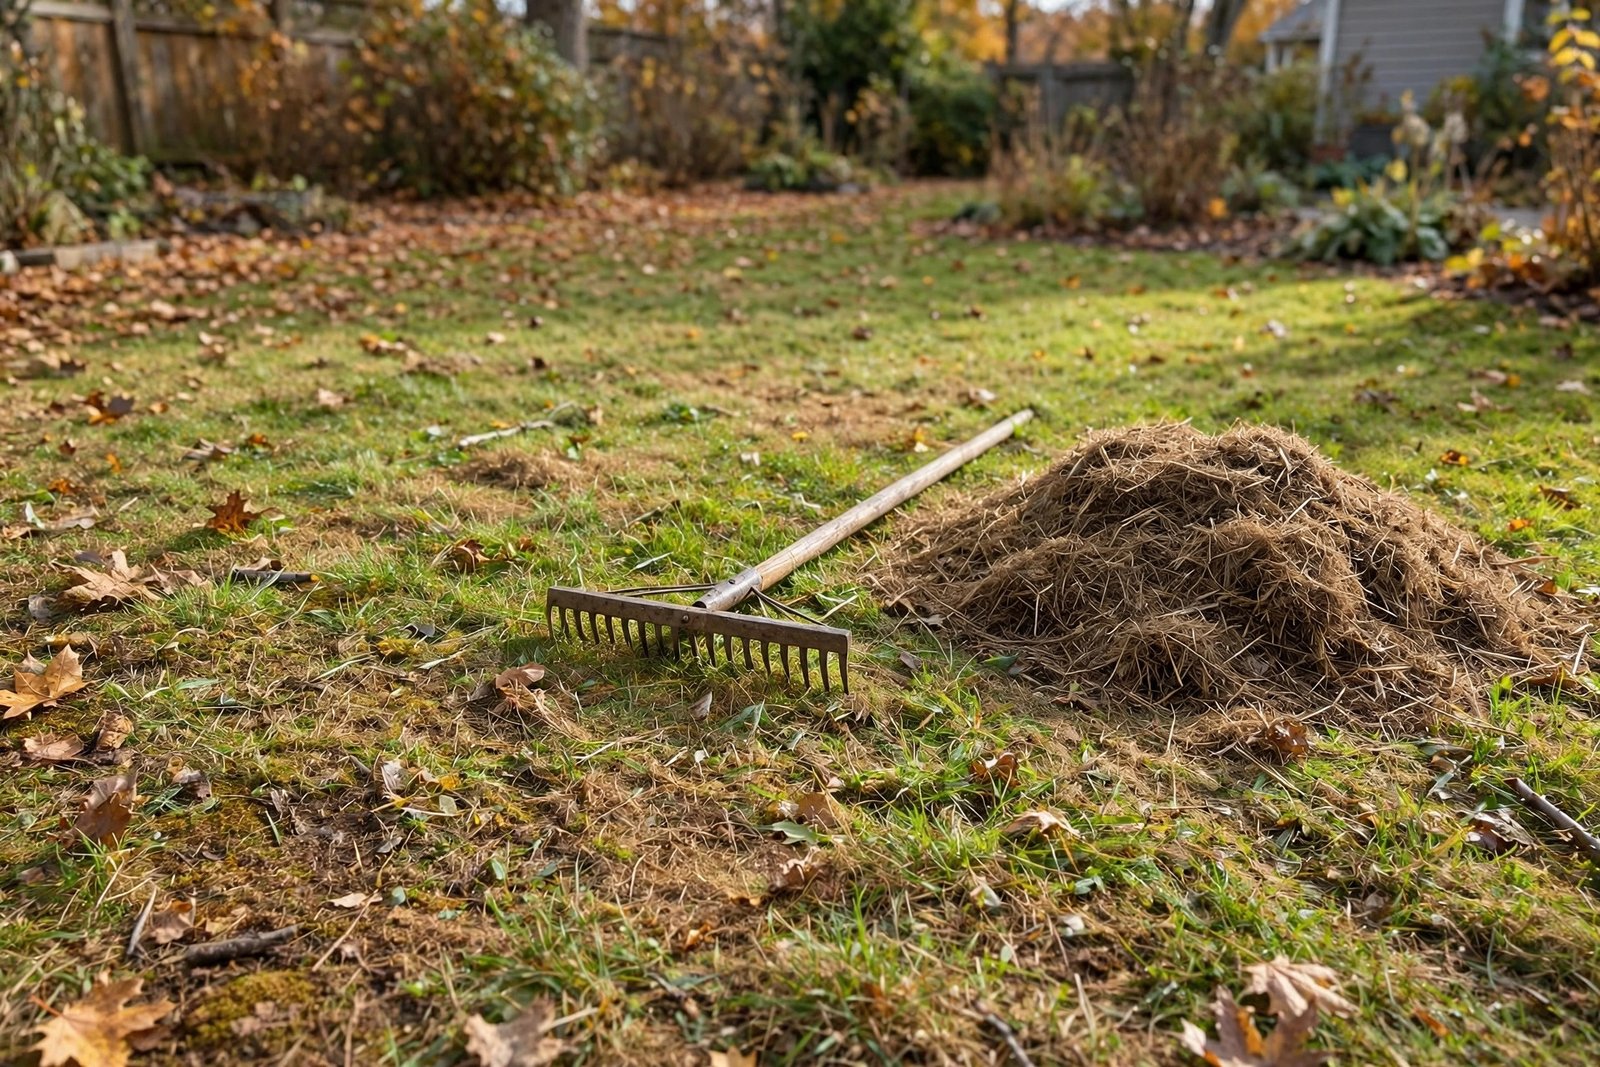
Step 2: Dethatch, if the slice says so. Work in straight passes and rake up the debris. A lawn with heavy thatch can give up a surprising pile of material, and leaving it on top defeats the job.
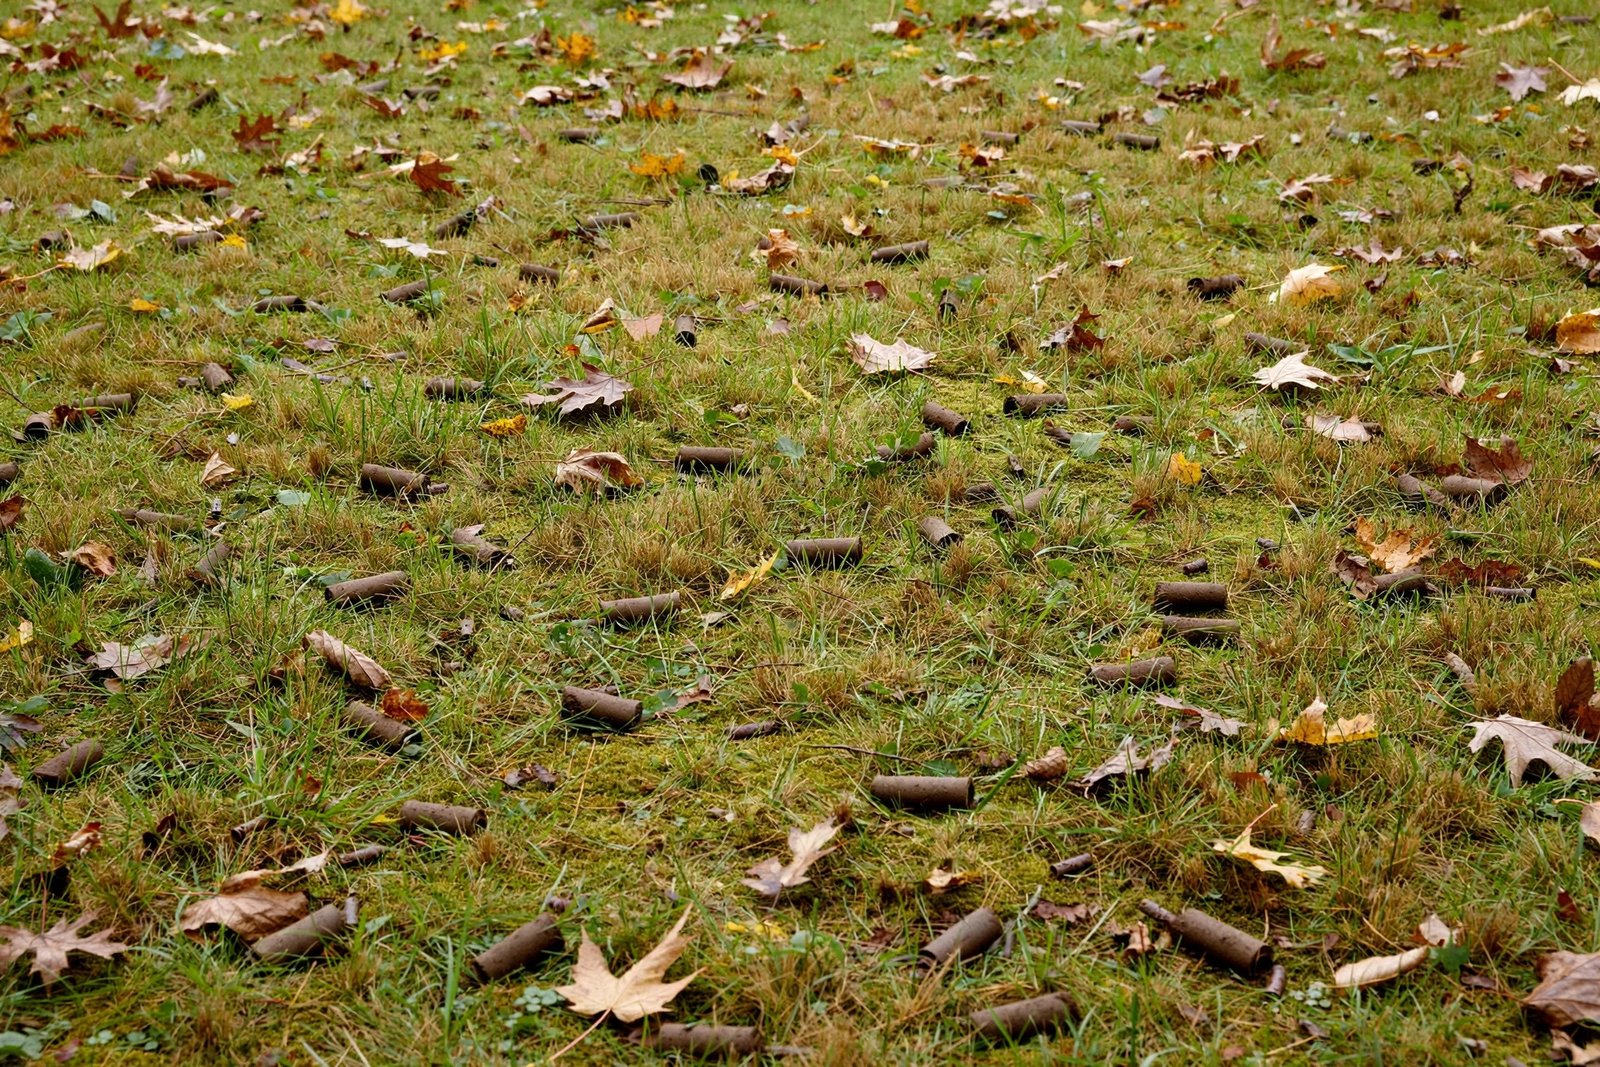
Step 3: Aerate, if the screwdriver says so. Use a core aerator that pulls plugs 2 to 3 inches deep. Leave the plugs where they fall. They break down on their own.
Step 4: Seed only if the lawn is thin. Overseeding belongs after both jobs, when seed can touch soil. If the lawn is full and just compacted, seed adds nothing. Timing and order for the combined job are covered in Can You Dethatch and Aerate on the Same Day? Order, Timing, and Recovery.
For the full comparison of the three tools, see Dethatcher vs Aerator vs Scarifier: Which Does Your Fall Lawn Actually Need?
When not to do either job
A dormant or drought-stressed lawn should not be dethatched or aerated. Both jobs strip cover and open the soil, and grass that is not actively growing cannot fill back in.
Newly seeded areas are off limits too. Wait until new grass has been mowed at least a few times before running any machine over it. And a lawn dethatched this year rarely needs it again next year, even if it looks rough in spring.
For the timing rules by grass type, see The Best Time of Year to Dethatch Your Lawn by Grass Type and When You Should Not Dethatch Your Lawn (and What to Do Instead).
What success looks like
After dethatching, water should soak in instead of beading on the surface, and the lawn should feel firmer underfoot within a couple of weeks. After aerating, puddles should shrink and grass should thicken over the following month as roots use the new space.
If neither change shows up, recheck rather than repeat the job. A second pass at the wrong fix still fixes nothing. The one mistake that sets a lawn back here is doing both jobs every year out of habit, whether the checks call for them or not.
Run the three checks, trust what they say, and do only the job your lawn asked for. That restraint is what keeps a good lawn good.