By late October the edging slows down, and the edger is easy to forget. It leans in the garage corner, fuel still in the tank or a battery still in the handle, and winter does its quiet work on both. Spring arrives, the edge needs cutting, and the tool that worked fine in September will not start.
Winterizing an edger is a short job, done once, right after the last edge of the season and before the first hard freeze. The steps depend on what powers yours, so find your type below and follow only that section, plus the cleaning and storage steps every edger shares.
When to Do It
Winterize after your last edging pass, while the weather still lets you work outside comfortably. Waiting until the shed is already freezing makes every step harder, and fuel left sitting is the main reason small engines refuse to start in spring. Gasoline begins to break down in just a couple of months, and the ethanol in pump gas draws in moisture as it sits. That gummy residue settles in the carburetor, which is a small part with very small passages and very little patience for old fuel.
If you are unsure whether you are truly done edging, watch the lawn, not the calendar. When growth has slowed and you are no longer mowing weekly, the edger’s season is over. Do the job then, in daylight, with the manual open if your model has a quirk worth checking.
All Edgers: Clean and Check First
Disconnect the power before you touch the blade. On a gas edger, pull the spark plug wire. On a cordless edger, remove the battery. On a corded edger, unplug it. On a manual edger, there is nothing to disconnect, but keep your hands clear of the edge anyway. This one habit prevents the only injury this job can cause.
Clean off the season. Scrape packed soil and grass from around the blade, the guard, and the guide wheel. A stiff brush and a putty knife do most of it. Rinse only if your manual allows it, and dry everything thoroughly before it goes away. Soil holds moisture against steel all winter, and moisture is what rusts a blade in storage.
Look the blade over. Nicks, a rolled edge, or a blade worn thin at the corners all mean the same thing: sharpen or replace it now, while you are thinking about it, or write yourself a note and do it first thing in spring. A sharp blade cuts a clean vertical line. A dull one tears grass and wanders. Our guide to sharpening and replacing an edger blade shows both jobs.
Check the fasteners and the guard. Tighten anything loose, and replace a cracked guard before storage rather than discovering it in April. Wipe the handle and shaft clean, and oil bare metal lightly to hold rust off through the damp months.
Gas Edgers: Deal With the Fuel
This is the section that matters most, and the one most often skipped. You have two good options. Pick one and do it properly. Doing half of each is how fuel goes bad.
Option one: drain it. Empty the tank, then run the engine until it stops so the carburetor empties too. Drained and dry, there is nothing left to gum up. This suits edgers that will sit untouched for months.
Option two: stabilize it. Fill the tank nearly full with fresh fuel treated with stabilizer, following the stabilizer’s own mixing directions, then run the engine for a few minutes so the treated fuel reaches the carburetor and fuel lines. A nearly full tank leaves little air space for moisture to condense into. Do not pour stabilizer into old fuel that has already sat for months and expect it to undo the damage. Stabilizer preserves fresh fuel; it does not revive stale fuel.
Whichever option you choose, check the oil if your edger is a four-stroke model, and change it if it is dark or due. Note the fuel mix your two-stroke model needs, if it needs one, on a piece of tape on the handle, so spring-you does not have to guess. Store the edger upright or as the manual directs, with the tank cap tight, away from furnaces, water heaters, and any pilot light.
Cordless Edgers: Mind the Battery
The tool itself needs little. The battery needs the care. Remove the battery from the edger before storage, and bring it inside. Batteries left in a freezing shed lose capacity and age faster, and a battery stored fully dead may not recover well.
Charge the battery to about 40 to 60 percent before putting it away, which is the storage level battery guidance commonly recommends, and keep it in a cool, dry room, out of direct sun and away from heat. Check it once midwinter if you remember. If it has dropped low, bring it back up partway rather than leaving it empty until spring. Store the charger with it, indoors, so the whole kit is in one place when the first edge of the year needs cutting.
While the battery is out, clean the battery contacts with a dry cloth and check the edger’s blade and guard the same way you would for any edger. Cordless models have no fuel system to worry about, which is the whole appeal, but a dirty blade still rusts and a loose guard still needs fixing before spring.
Corded and Manual Edgers: The Short Version
Corded edgers ask the least of you. Unplug the cord, inspect it end to end for nicks and cuts, coil it loosely without sharp kinks, and store the tool dry. A damaged cord is a replace-the-cord job, not a tape-it-and-hope job.
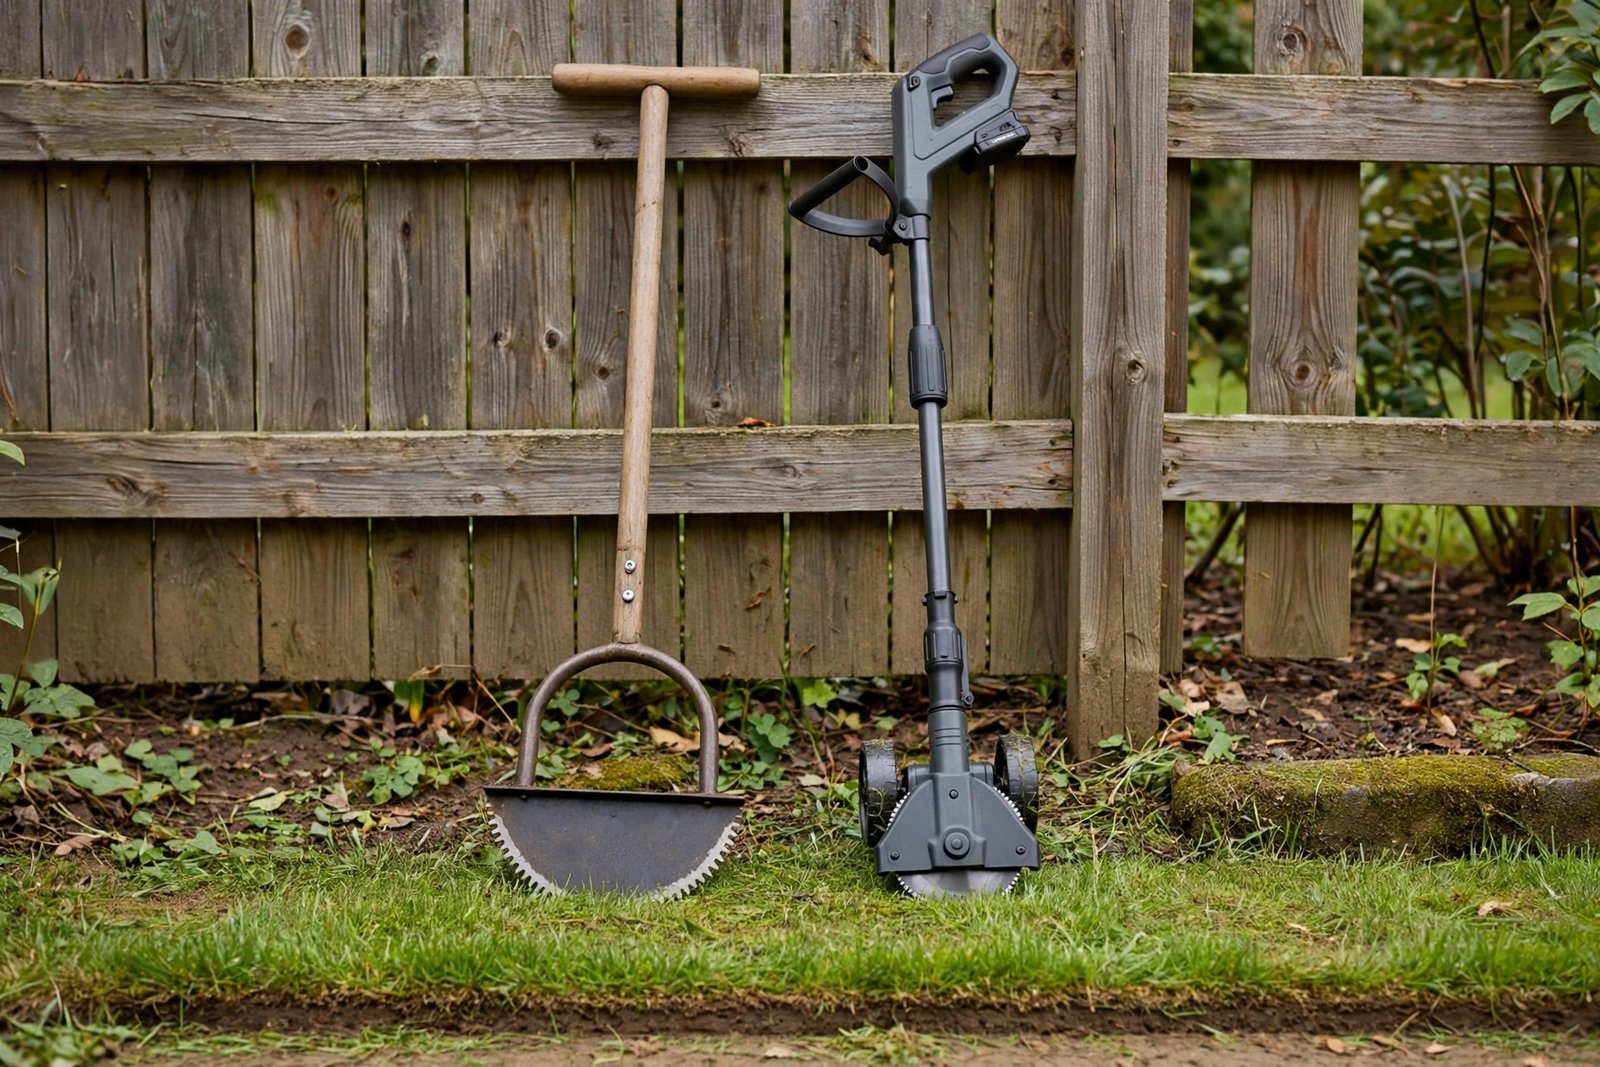
Manual edgers ask even less. Clean the blade, dry it, sharpen it if it needs it, and hang it or stand it where it will stay dry. A light wipe of oil on the blade holds rust off. If your manual edger has a wooden handle, check it for splinters and rough spots now, while a few minutes with sandpaper is a pleasant job instead of a spring chore.
Where and How to Store It
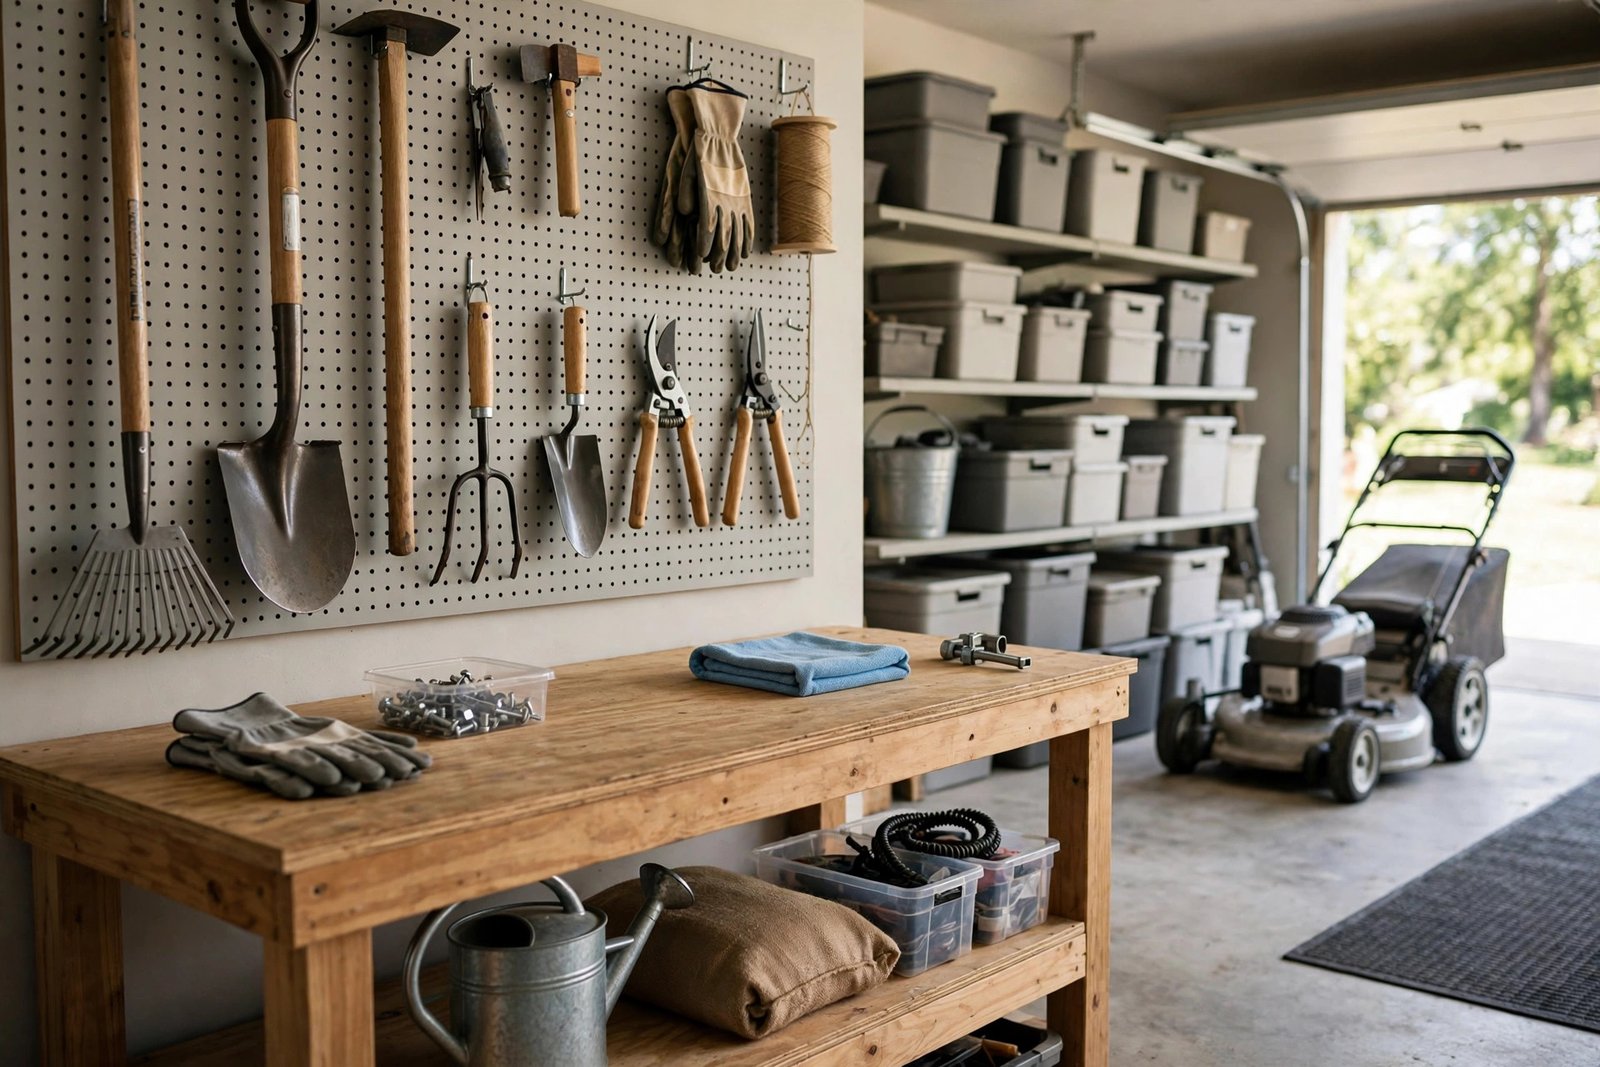
Store every edger dry, off the ground, and out of the weather. A garage wall hook or a shed shelf beats a damp floor every time. Keep the blade covered or facing away from where hands and feet pass. If space is tight, hang the edger by its handle and keep the blade guard on.
Keep fuel, if you stored any, in an approved container, labeled, away from the house and away from ignition sources. Keep batteries indoors, as above, and keep the edger itself where you can reach it without moving three other tools. The tool you can reach is the tool that gets used, and the first edge of spring is always sooner than you expect.
If you are still choosing between power types, our manual vs powered edger guide and our gas vs cordless comparison will help you match the tool to your yard before you buy, and our budget edgers roundup keeps the purchase sensible. For now, though, the job in front of you is the one in the garage. An hour this fall, done in the right order, is the difference between an edger that starts and one that sulks.
Spring Restart, in One Paragraph
When the lawn wakes up, reverse the process: fresh fuel or a charged battery, blade checked, guard secure, depth set shallow for the first pass. Edge after the first mow or two, when the grass is actively growing and the soil has some moisture in it. The line you cut then sets the tone for the whole season, and a tool that was put away properly will cut it without argument.