Landscape & Leisure is reader-supported. When you buy through links on our site, including Botanical Interests seed links, we may earn a commission at no extra cost to you. Prices change, so click through to confirm current pricing.
Your squash seedlings look fine on the windowsill, and then they stall the week after transplanting. Or your direct-sown squash comes up patchy while a neighbor’s is already flowering. Both problems usually trace to the same cause: squash was started the wrong way for the season you actually have. Squash roots resent disturbance, and squash plants resent cold soil. The method that respects both facts wins — and for most gardens, that method is direct sowing.
For the varieties behind this guide, see our summer squash and zucchini roundup. For how the squash you grow in summer differs from the squash you store for winter, see our summer squash vs. winter squash comparison.
Why Squash Roots Decide the Method
Squash seedlings have roots that do not forgive handling. Botanical Interests is direct about it on the Early Prolific Straightneck page: starting indoors is not recommended except in very short growing seasons, roots are sensitive to disturbance, and transplants should go into biodegradable pots that can be planted directly into the ground. That is the mechanism behind the stalled transplant. A seedling whose root ball was broken spends its energy recovering instead of growing, and in a short northern season, a lost week is a lost harvest.
The second fact is soil temperature. Direct sowing is recommended 1 to 2 weeks after the average last frost, when soil is 70° to 85°F. Transplanting is allowed only when soil is at least 60°F. Sow into cold soil and seeds sit, rot, or emerge slowly; transplant into cold soil and growth checks. Both methods fail the same way when the soil thermometer is ignored.
When to Direct Sow — Most Gardens, Most Years
Direct sow when the soil is warm, the frost date has passed by a week or two, and the season is long enough for the variety to mature outdoors. In much of Zone 4, that means late May into early June for most varieties, with Early Prolific Straightneck’s 45-day maturity making it the safest bet for a shorter window. Direct-sown plants never suffer transplant shock, and their roots grow undisturbed from the start.
Direct sowing also matches how squash is spaced. Botanical Interests lists 2 to 3 seeds per mound, rows 3 to 4 feet apart, seeds half an inch to 1 inch deep, thinning to 1 plant per mound when plants have 3 leaves. Germination takes 5 to 10 days in warm soil. Thin on time — when the third leaf appears, keep the strongest seedling and cut the rest at soil level rather than pulling them and disturbing the keeper’s roots.
When Starting Indoors Actually Helps
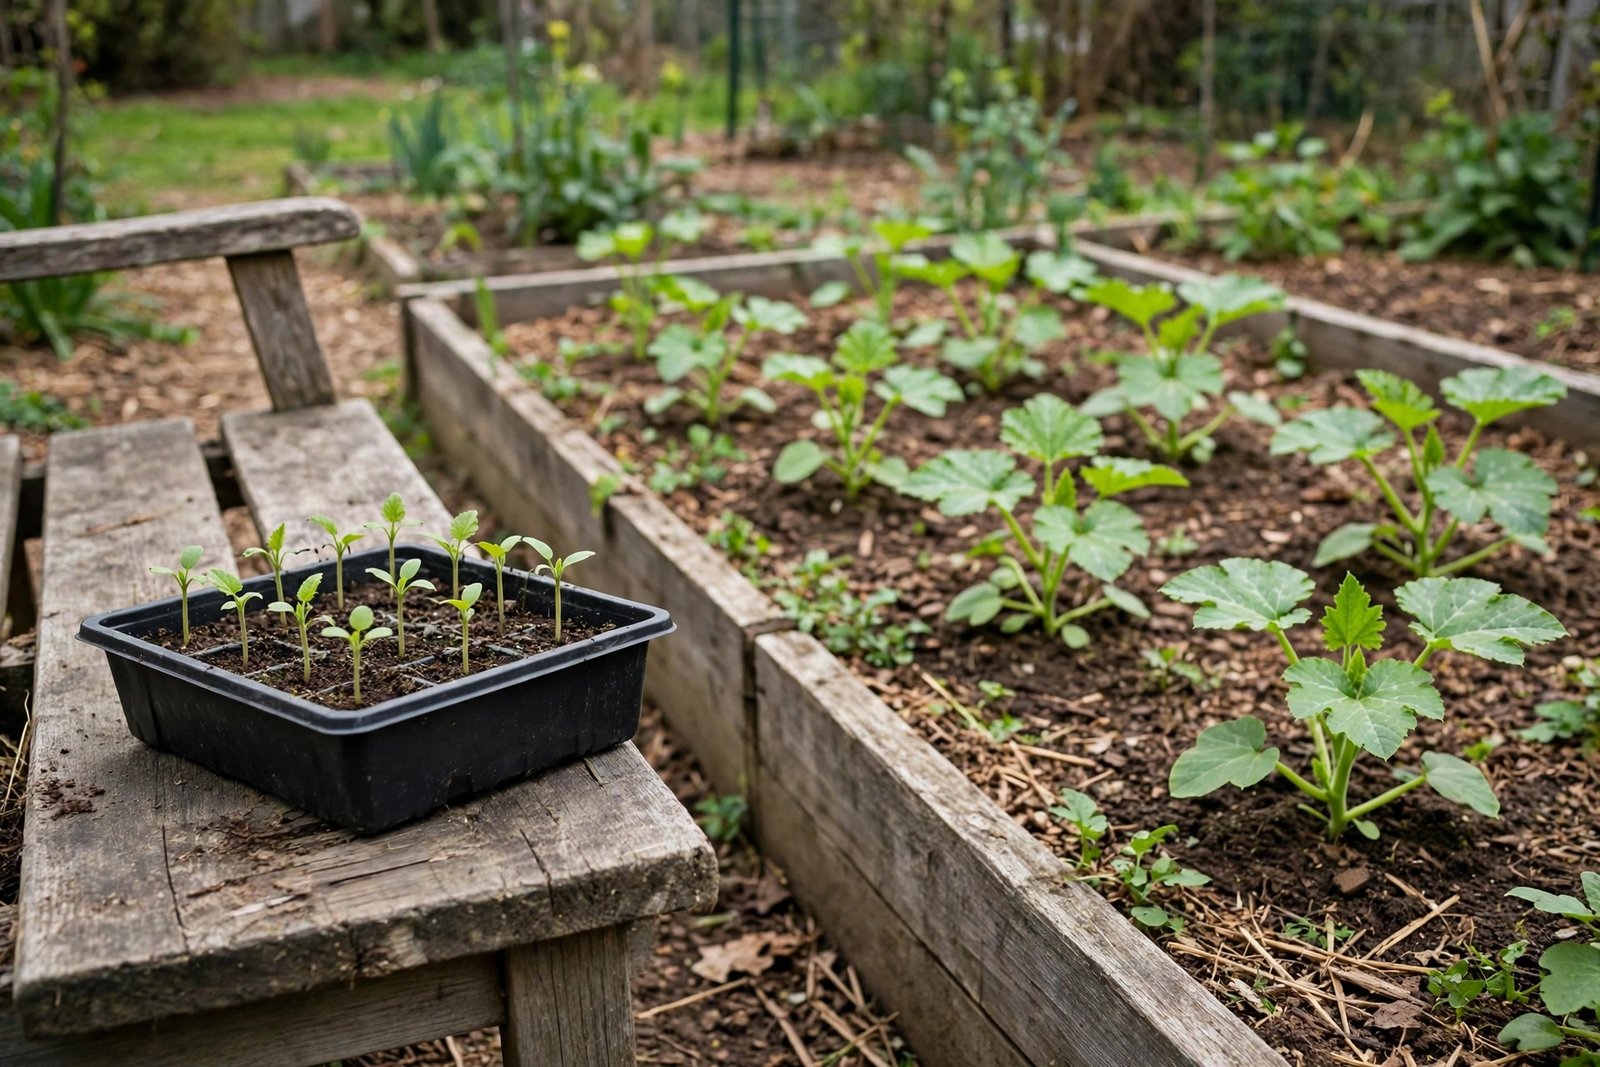
Start indoors only when the season is genuinely too short for direct sowing — a very short growing season where direct-sown squash would not mature before frost. In that case, start 2 to 4 weeks before transplanting, in biodegradable pots that go into the ground whole, and transplant only when soil is at least 60°F. The pot is not optional detail. It is the whole point: the roots never leave their container, so the disturbance that stalls transplants never happens.
Do not start squash indoors because it feels like getting ahead. A seed started indoors 6 weeks early becomes a leggy, root-bound plant that stalls harder than a direct-sown seedling. Our leggy seedlings guide covers what goes wrong when indoor starts stretch for light — squash, with its fast growth and sensitive roots, is one of the worst candidates for a long indoor stay.
The Fix, Step by Step
Step 1: Check the soil, not the calendar
Wait for 70° to 85°F soil for direct sowing, or at least 60°F for transplants. A soil thermometer costs little and settles the argument. In Zone 4, air temperatures can feel like summer a full two weeks before the soil catches up. Sow by the thermometer, not by the weekend.
Step 2: Prepare mounds, not rows
Space mounds 3 to 4 feet apart, in full sun. Squash needs room and light, and mounds warm faster than flat ground. Work the soil loose and deep enough that the young roots meet no hard pan in their first weeks.
Step 3: Sow 2 to 3 seeds per mound
Sow half an inch to 1 inch deep, 2 to 3 seeds per mound. Extra seeds are insurance against patchy germination, not a plan to grow three plants per mound. Water the mound in gently so seeds are not washed to the surface.
Step 4: Thin to one plant per mound
When plants have 3 leaves, thin to 1 plant per mound. Cut extras at soil level. Pulling them disturbs the keeper. This step feels wasteful and is the difference between one strong plant and three weak ones competing for the same mound.
Step 5: If transplanting, plant the pot whole
Set the biodegradable pot into the ground at the same depth it sat in the pot, when soil is at least 60°F. Tear off any pot rim above soil level so it cannot wick moisture away from the roots. Water in well, and harden seedlings off first — our hardening-off guide has the day-by-day steps. A seedling moved straight from a windowsill to full sun and wind will check its growth even with perfect roots.
Step 6: Harvest to keep plants producing
Harvest frequently, cutting fruit with a knife or clippers and keeping some stem attached. Including stem seals the fruit so it is less likely to mold or dry out. Squash picked young — Straightneck at 4 to 7 inches, Emerald Delight at 6 to 8 inches — keeps plants flowering. Squash left to size up slows the plant and gets seedy.
Three Picks for This Guide
Two varieties and one piece of gear. The varieties are the fast yellow squash that forgives a short season and the compact zucchini that forgives a small garden. The gear is only for the indoor-start case — and only where the season truly demands it.
Early Prolific Straightneck is the direct-sow workhorse: 45 days, lemon-yellow fruit at 4 to 7 inches, and the full sowing specification above comes from its own product page. If only one squash is direct-sown this year, this is the one.
Early Prolific Straightneck Summer Squash Seeds
Lemon-yellow fruit in 45 days — the direct-sow squash that forgives a short northern season.
Emerald Delight suits the gardener who direct sows but wants the fruit to stay findable. Its compact, open habit shows the 6- to 8-inch fruit before it hides, and its resistance to powdery mildew and two mosaic viruses covers the diseases that cut direct-sown seasons short.
Emerald Delight Summer Squash Seeds
Compact, open plants with visible 6- to 8-inch fruit and resistance to mildew and two mosaic viruses.
A seed-starting heat mat is worth adding only if indoor starts are genuinely needed for a very short season. Warmth from below speeds germination in a cool house, which matters when the indoor window is only 2 to 4 weeks. It does not make a 6-week indoor stay a good idea, and it does not replace the biodegradable pot. Buy it for the short-season case, skip it for direct sowing.
Seed Starting Heat Mat
Bottom warmth for the short-season indoor start — only where direct sowing cannot finish in time.
What to Watch Next
Watch germination first: 5 to 10 days in warm soil is normal, and a mound with nothing after two weeks was almost certainly sown into cold soil — re-sow when the thermometer agrees. Watch the third leaf next, because that is the thinning signal. And watch the first fruit: if squash is picked young and the plant keeps flowering, the method worked. If growth stalls the week after transplanting, the roots were disturbed or the soil was cold — the one mistake that undoes an otherwise good start. Next year, direct sow. For the wider starting-seeds picture, our guide to starting seeds indoors covers which crops do belong indoors, and squash is the exception that proves the rule.