Landscape & Leisure is reader-supported. When you buy through links on our site, including Botanical Interests seed links, we may earn a commission at no extra cost to you. Prices change, so click through to confirm current pricing.
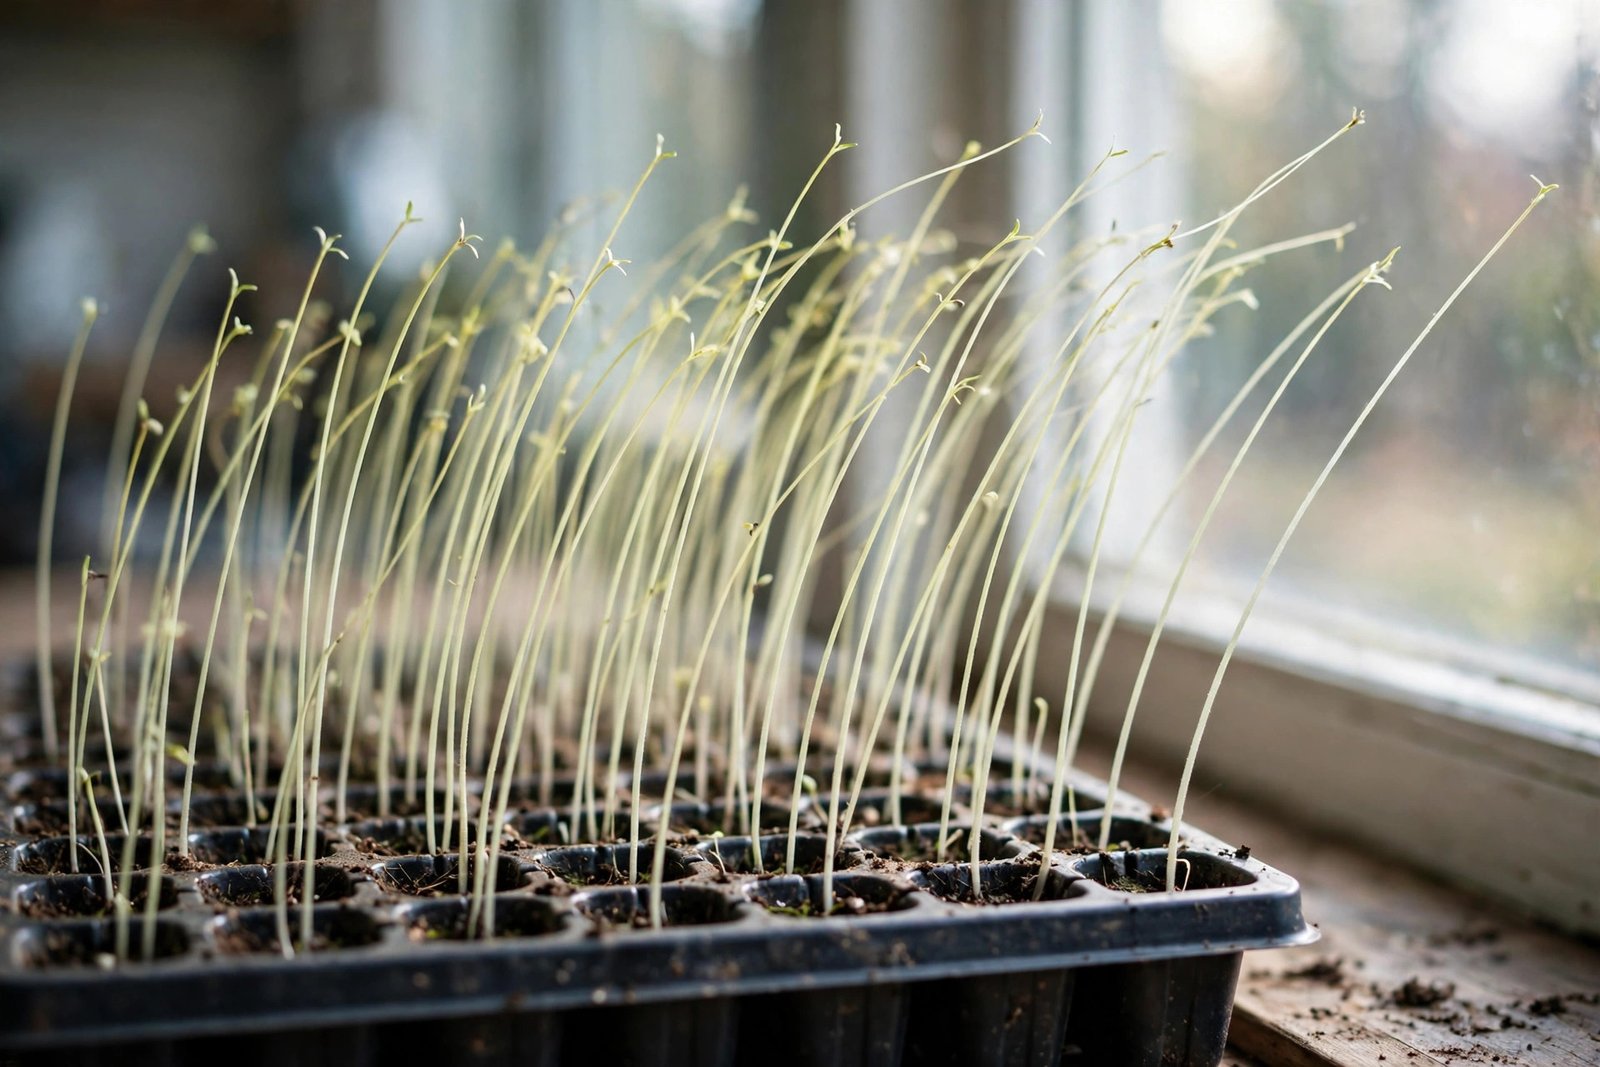
Leggy seedlings — tall, pale, floppy stems with a tuft of leaves at the top — are the most common seed-starting failure, and the most fixable. A leggy seedling is not a sick seedling; it is a seedling that did exactly what evolution programmed it to do when light is scarce: stretch toward the light as fast as possible. The fix is almost always light, plus a few supporting corrections. Here is how to diagnose it, what to do about it, and when to accept the loss and start over.
Why Seedlings Go Leggy
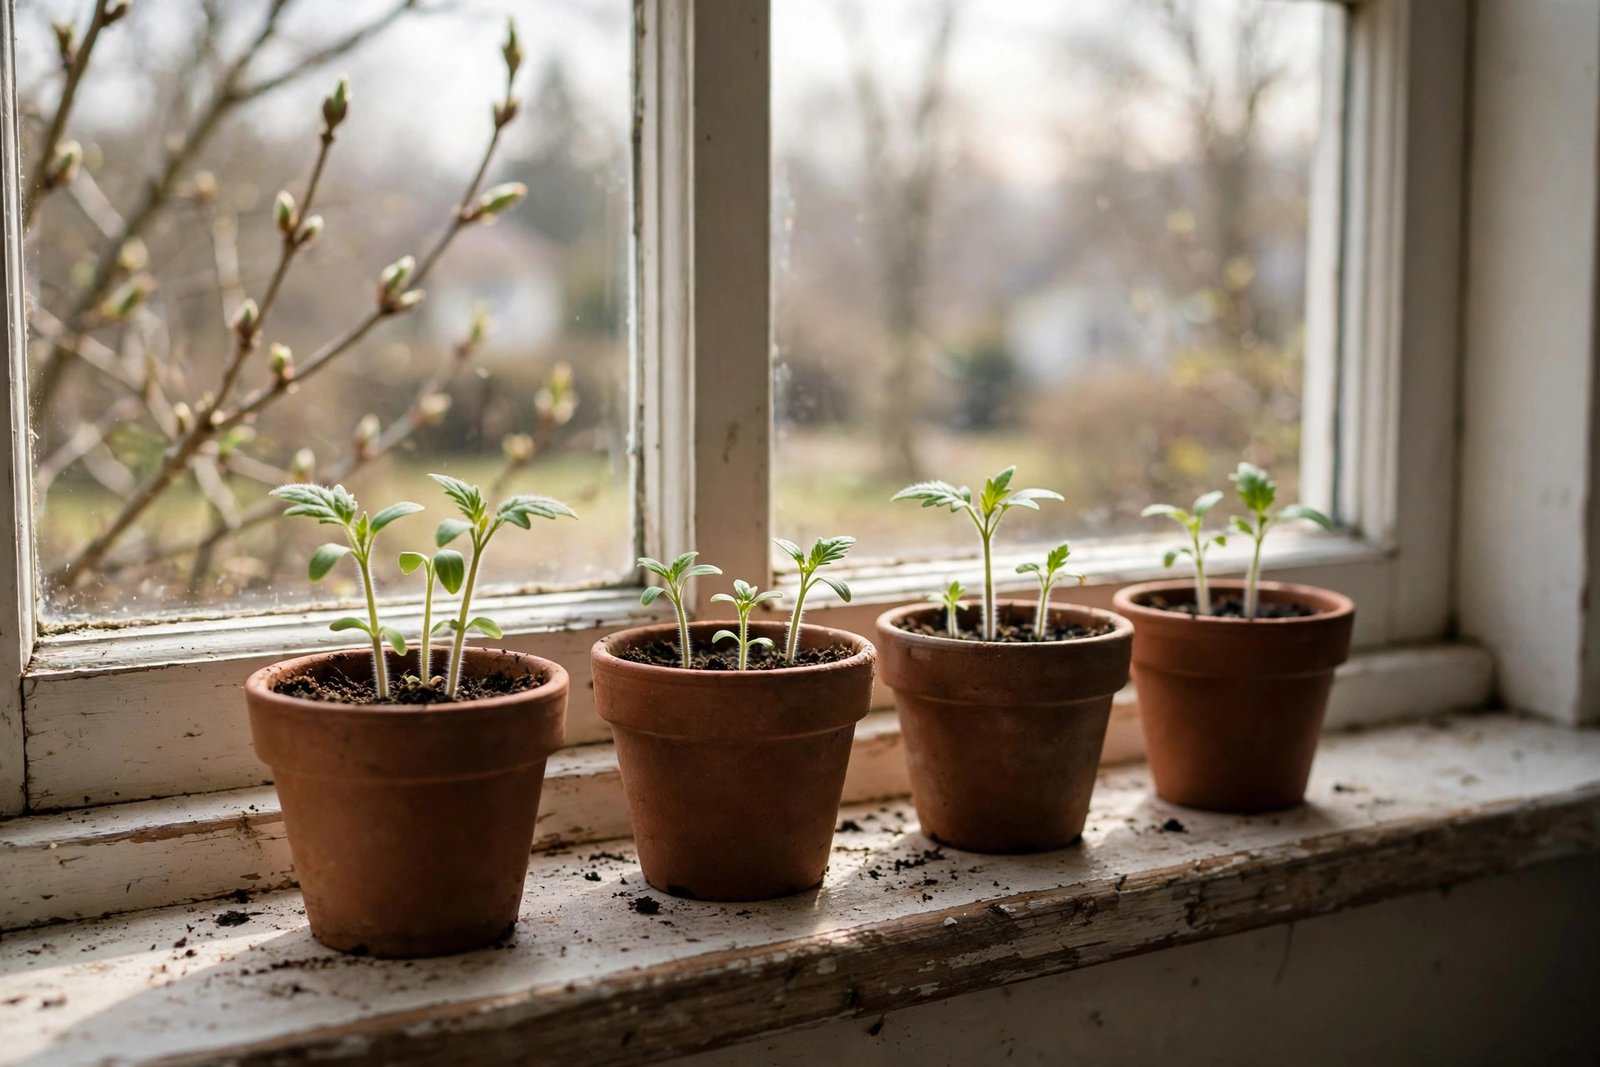
Not enough light — the cause 90% of the time. A windowsill in early spring delivers far less light than a seedling needs, and the light it does deliver comes from one direction, so seedlings lean and stretch. University of Minnesota Extension’s seed-starting guidance is explicit: as soon as seedlings appear, they need full sunlight or direct fluorescent light. The Master Gardener program is blunter about Minnesota windows: it is difficult to give seedlings enough light from a window alone to prevent legginess.
Light too far away. Even a good grow light hung 12 inches above seedlings is too far. Seedlings need light 2 to 3 inches above their leaves, raised as they grow.
Too much warmth after germination. Heat mats are for germination. Once seedlings are up, continued bottom heat plus warm room air pushes fast, weak growth. Move trays off the mat after germination.
Seeds sown too thickly. Crowded seedlings shade each other and stretch to compete. Thin to one plant per cell as soon as true leaves appear.
Overwatering and still air. Constantly wet soil and stagnant air produce soft, weak stems. Water when the soil surface dries slightly, and give seedlings gentle air movement.
How to Fix Leggy Seedlings
1. Get the light close, immediately. Move lights to 2 to 3 inches above the seedlings and run them 14 to 16 hours a day. If you have no grow light, move seedlings to the brightest south-facing window you have and accept that recovery will be partial — then plan lights for next year.
2. Add a fan. A small fan on low, oscillating or placed to the side, a few feet from the seedlings, simulates wind. Stems respond to movement by growing thicker and stronger — the same mechanism hardening off uses outdoors. A few hours a day is enough; do not blast them flat.
3. Cool them down. After germination, most vegetable seedlings grow stockier at 60°–65°F than at 75°F. If your seed-starting area is a warm room, a cooler spot with good light produces sturdier plants.
4. Thin ruthlessly. Snip the weakest seedlings at soil level, leaving one strong plant per cell. The survivors get more light and air, and stop competing upward.
5. Bury the stem — but only for tomatoes. Tomatoes are the exception to the leggy rule: they root along buried stems. A leggy tomato seedling can be transplanted deep, with the stem buried up to its first true leaves, and it will root along the buried length and recover fully. Peppers, cucumbers, squash, and most other vegetables do not root from stems this way — burying them deeper risks stem rot, not recovery.
6. Water from below and let the surface dry. Bottom watering keeps stems dry and encourages roots to grow downward. Let the top of the soil dry slightly between waterings rather than keeping it constantly damp.
When to Start Over
Some leggy seedlings are not worth saving. Start over if the stem is so thin it cannot support the leaves even with support, if the seedling has only a tuft of leaves on a long bare stem with no side growth, or if the plant has already flowered while still small and weak — it will put energy into fruit it cannot support. Starting over is not a failure of the season: in zone 4, tomatoes sown in early April and peppers in late March still have time if you restart promptly. Our zone 4 tomato timing guide and pepper starting guide give the dates to work back from.
Epic 6-Cell Seed Starting Trays
If you restart, restart right: one strong plant per roomy cell, with space for light to reach every seedling.
Seed Starting Heat Mat
For a restart, warm soil gets the second sowing up fast — then move the tray off the mat once seedlings emerge.
Preventing Leggy Seedlings Next Time
| Prevention Step | What to Do |
|---|---|
| Light | Grow lights 2–3 inches above seedlings, 14–16 hours/day |
| Timing | Move to light the day seedlings emerge — not a week later |
| Heat | Heat mat for germination only; remove after sprouting |
| Spacing | Thin to one plant per cell at the first true leaves |
| Air | Gentle fan a few hours a day for stronger stems |
| Water | Bottom-water; let the soil surface dry slightly between waterings |
| Hardening off | 7–10 days outdoors before transplanting (see our hardening-off guide) |
Frequently Asked Questions
Will leggy seedlings recover on their own outdoors?
Rarely. A leggy seedling planted out without correction usually stays weak: wind snaps it, sun scorches it, and it never develops the stem thickness it should have built indoors. Fix the light first, harden off properly, and only then plant out.
Can I just stake a leggy seedling?
A stake keeps it upright but does not fix the underlying weakness. Stake only as a temporary measure while you correct light and air; a staked weak stem is still a weak stem when the stake comes off.
Are leggy seedlings a sign of bad seed?
Almost never. Legginess is an environment problem — light, heat, crowding, water — not a seed problem. If one tray is leggy and another is not, compare their light first.
Bottom Line
Leggy seedlings mean one thing above all: not enough light, close enough, soon enough. Fix the light, add air movement, cool the room, thin the crowd, and bury tomato stems deep at transplant. Most leggy seedlings at the early stage recover into productive plants; the ones that do not are a cheap lesson and a quick restart. For the full indoor-starting routine, see our beginner’s guide, our hardening-off guide for the step that comes after, and our zone 4 tomato timing guide for the dates.