This site contains product affiliate links. We may receive a commission if you make a purchase after clicking on one of these links.
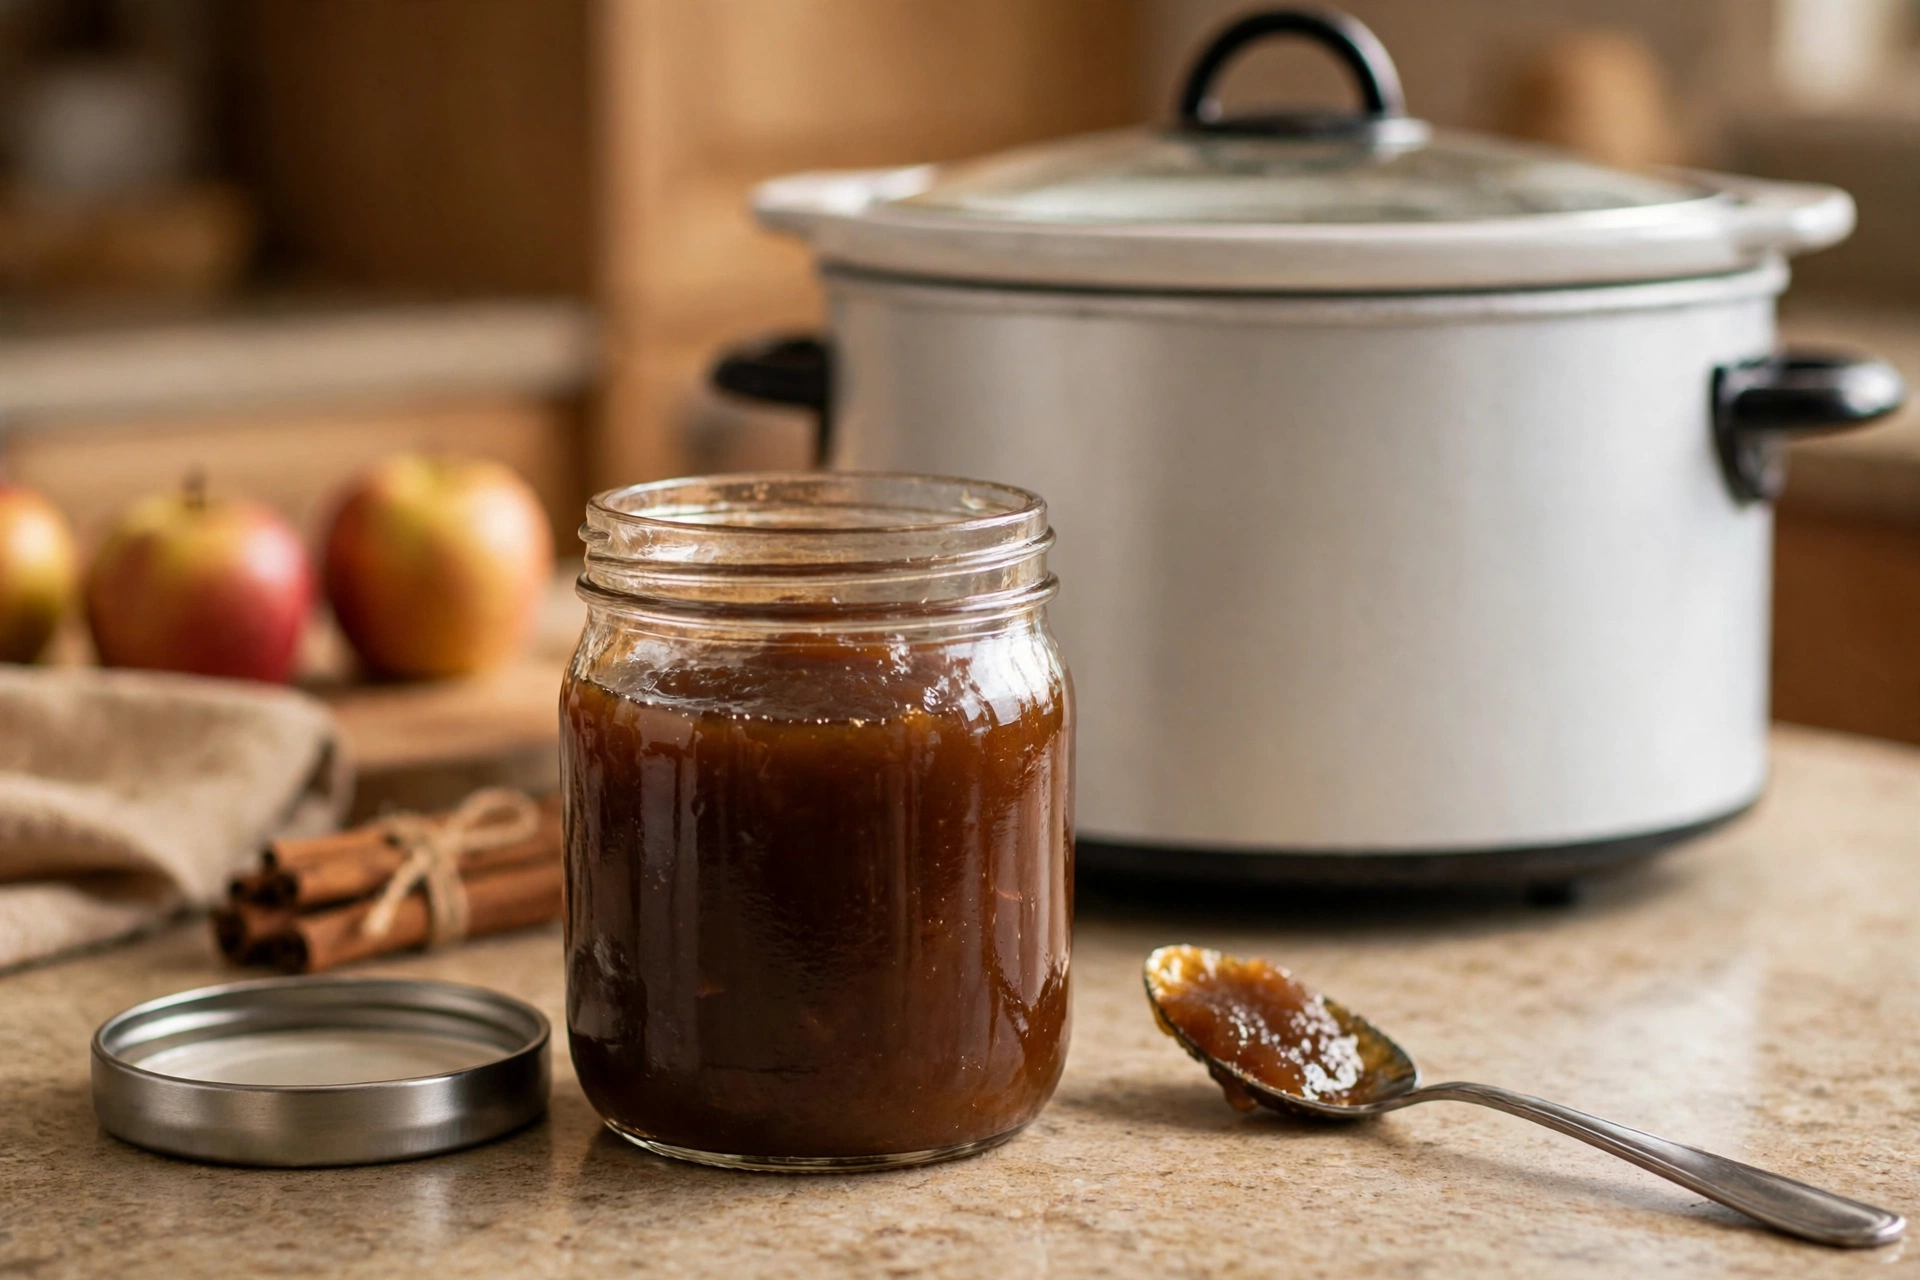
The jars are lined up on the counter, the apple butter is nearly done, and the pot on the stove is big enough to hold them all — but whether it needs to be full of boiling water is a question worth answering before you fill it. If you are making our slow cooker apple butter for the holiday table or a stack of gift jars, the short version is good news: you can skip the sterilizing step entirely, because that recipe’s 10-minute water bath does the job for you.
That is the whole decision, really, and it is the one most canning guides bury under a page of ritual. Sterilizing is not a sign of seriousness or a step you do “just to be safe” — it is a specific fix for a specific gap, and when the gap is not there, the pot of boiling water is just extra work.
The 10-Minute Rule That Decides It
The National Center for Home Food Preservation puts it plainly: jars need to be sterilized before filling only when the filled jars will be processed in a boiling-water canner for less than 10 minutes. That covers most jams, jellies, and pickled products with short processing times, where the food itself is not in the heat long enough to sterilize the jar it sits in.
Everything else is already covered by the process. If the recipe’s processing time is 10 minutes or longer, the jars sterilize during processing, and pre-sterilizing adds nothing but a hot, wet chore. Pressure canning never needs it either, at any processing time, because the heat inside a pressure canner is far beyond what a boiling pot delivers.
So the question to ask of any recipe is a single one: how long does it process? Under 10 minutes, sterilize first. Ten minutes or more, wash the jars and move on. For the apple butter, the answer is 10 minutes in the water bath, which means the jars go in clean and hot — not sterilized — and the recipe is no less safe for it.
When You Must Sterilize — and When You Can Skip It
- Sterilize first: jams, jellies, and pickles processed for less than 10 minutes in a boiling-water canner. The short heat is not enough on its own, so the empty jars need their own 10 minutes of boiling before they are filled.
- Skip it: any recipe processed 10 minutes or longer in a boiling-water canner, including the apple butter’s 10-minute bath. The processing time is the sterilization.
- Skip it: anything pressure canned, whatever the time. The pressure canner sterilizes jars as it processes the food.
- Skip it: refrigerator pickles, which never go through a canner at all. Our quick pickled green tomatoes live in the fridge, so sterilized jars would be beside the point — clean jars, straight from the dishwasher, are all they need.
One honest shortcut the NCHFP itself notes: if a jam or jelly recipe calls for a 5-minute process, you can raise the processing time to 10 minutes instead of sterilizing, and the extra five minutes will not harm most gels.
How to Sterilize Canning Jars, Step by Step
When the recipe does call for it, the method is simple, and it is the only one the USDA backs — boiling water, nothing fancier. Ovens, microwaves, and dishwashers are not approved for sterilizing jars, no matter how many blogs suggest them.
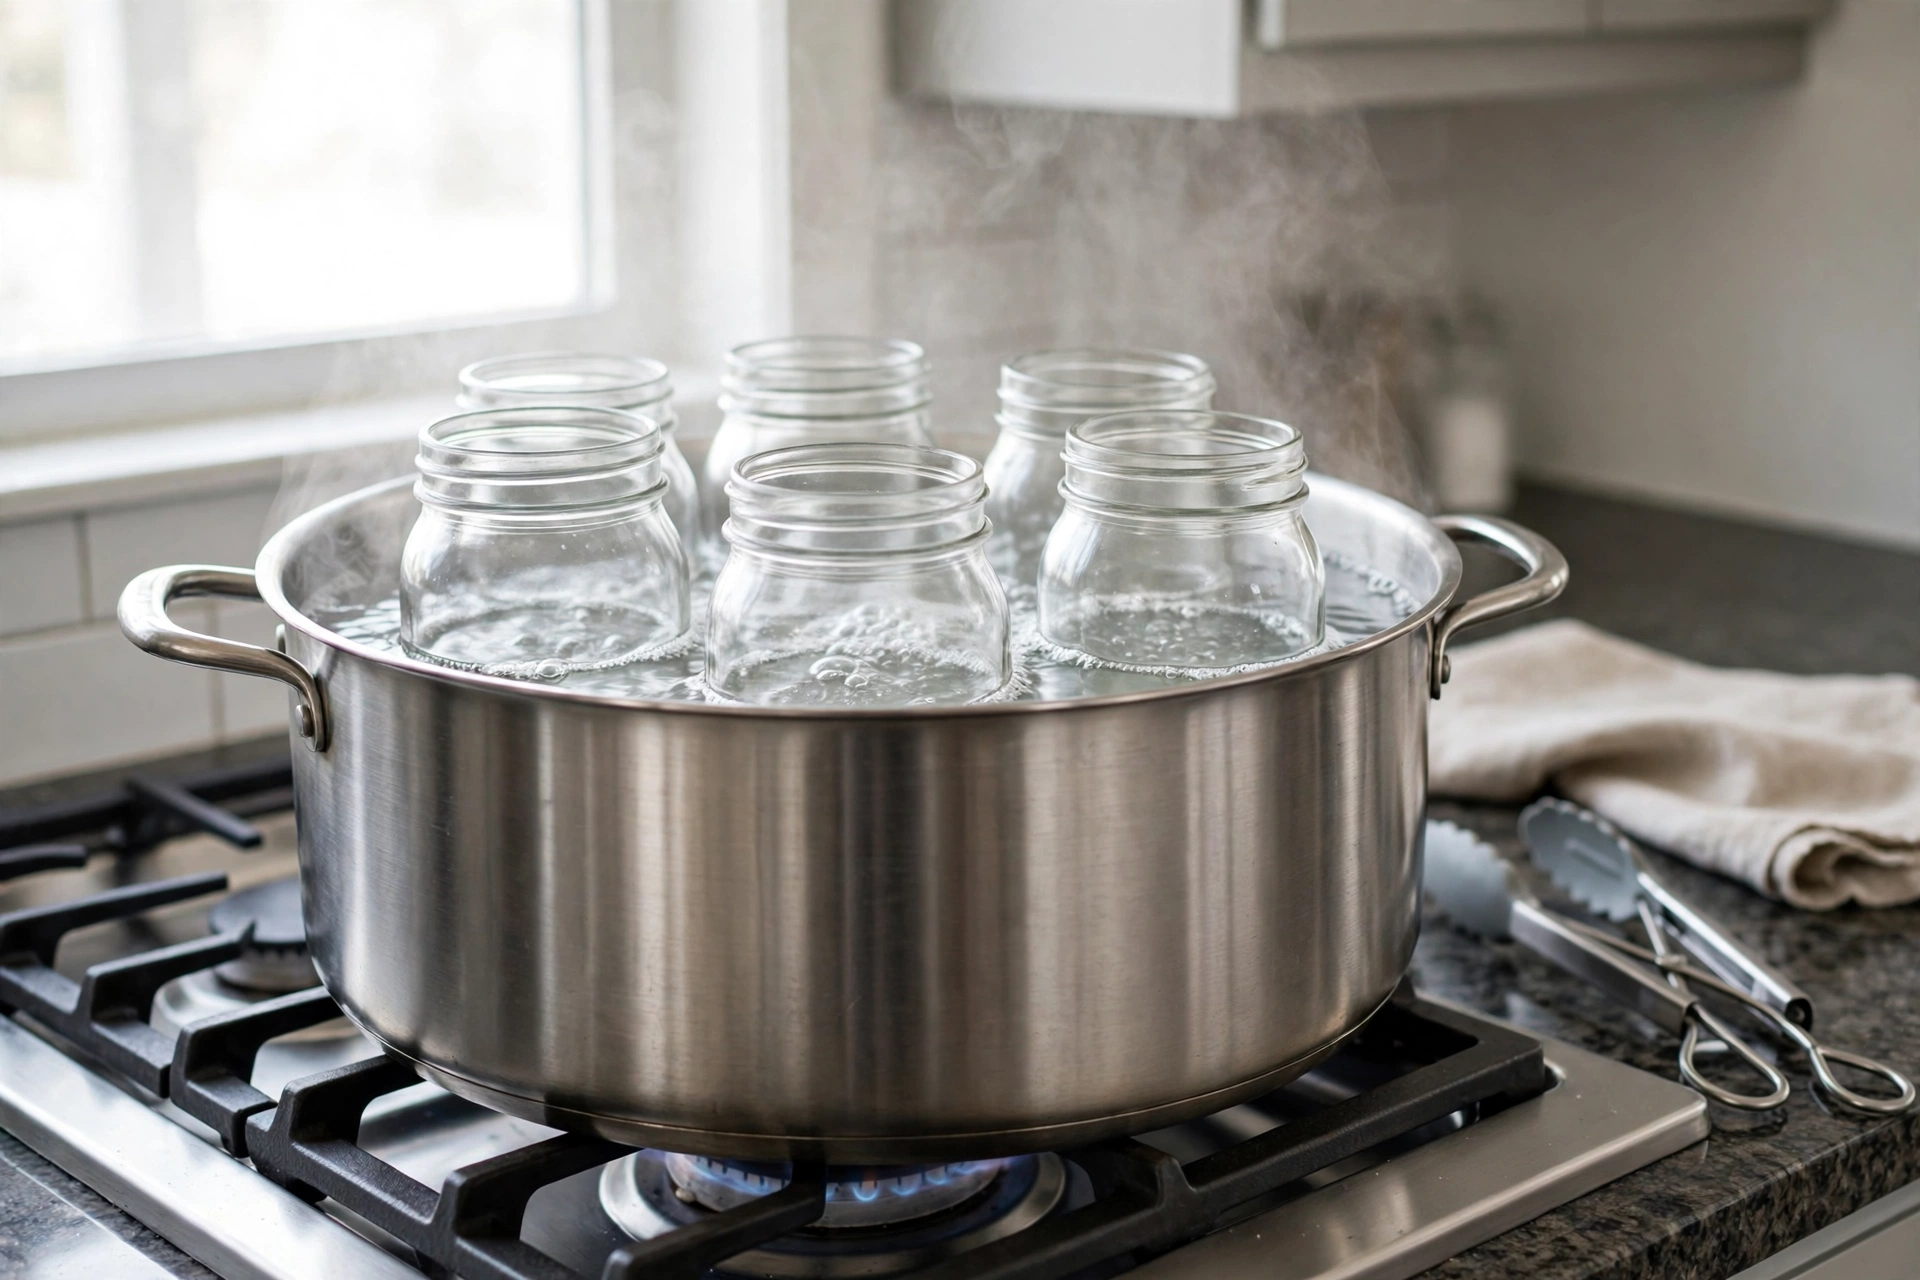
- Inspect and wash the jars. Check every jar for chips or cracks around the rim, and set any damaged one aside for dry storage. Wash the good ones in hot, soapy water and rinse them well.
- Set the jars right side up on the rack. Use the rack in your boiling-water canner (or a large stockpot with a rack or folded towel on the bottom, so the jars do not sit directly on the heat). The jars go in upright, not upside down.
- Fill the canner and the jars with hot water. Use hot tap water, not boiling, and bring the level to one inch above the tops of the jars.
- Bring it to a full rolling boil and start the timer. Boil 10 minutes at elevations under 1,000 feet, then add one additional minute for each additional 1,000 feet of elevation. Water boils cooler the higher you go, so the extra time is what keeps the job honest.
- Keep the jars hot until you fill them. Leave them in the hot water and lift them out one at a time, tipping the water back into the canner as you go. A hot jar filled with hot food is the whole point — a sterilized jar that has gone cold is a jar that can crack when the hot filling hits it.
- Fill promptly and process as the recipe directs. Sterilizing is preparation, not preservation; the recipe’s processing time is what makes the food shelf-stable.
Lids and Bands: Wash Them, Don’t Boil Them
The lids are the part most people get wrong, usually because they are following advice from a generation ago. Flat lids are single-use — buy new ones for every batch, since the sealing compound indents when it seals and will not seal reliably a second time. Screw bands can be reused as long as they are clean and not rusted or bent.
Wash the lids and bands in hot, soapy water, rinse, and set them aside. Then follow the directions on the box for the lids you bought. Most modern flat lids need no heating at all before use, and the manufacturers now say heating them is no longer needed — boiling them can thin the sealing compound and cause the very seal failure you are trying to avoid. (Don’t be shy about reading the box; the lid makers changed their guidance for a reason, and the old “simmer the lids” habit is the one part of grandma’s method that has actually been retired.)
The One Tool Worth Having
A jar lifter is the tool that turns this from a juggling act into a calm job. It grips a hot, wet jar by the neck so you can lift it straight out of boiling water without tipping it or burning your fingers, and it is the piece of equipment most first-time canners wish they had bought before the first batch instead of after it.
WORTH ADDING
Norpro Canning Jar Lifter
Vinyl-coated steel tongs that grip any size canning jar, so hot jars come out of the canner straight and steady instead of tipping in your hands.
Mistakes That Waste Your Time (or Worse)
- Sterilizing jars for a 10-minute-or-longer recipe. The process already does it. Save the water, the gas, and the twenty minutes.
- Using the oven, microwave, or dishwasher to sterilize. None of these is an approved method — the heat is uneven, and a jar that looks clean is not a jar that is sterile.
- Boiling the lids. It can damage the sealing compound and cause seal failures. Wash them, follow the box, and leave the pot for the jars.
- Letting sterilized jars cool before filling. Hot food into a cold jar is how glass cracks. Keep the jars in the hot water until the moment you fill them.
- Reusing flat lids. The seal is single-use by design. A lid that sealed once will not seal the same way twice, and a failed seal is a jar of food you cannot trust.
What About the Apple Butter?
Back to the jars on the counter. The apple butter processes for 10 minutes, so the sterilizing pot stays in the cupboard: wash the jars in hot, soapy water, keep them hot until the butter is ready, fill, and process for the full 10 minutes. The jars sterilize in the canner while the butter processes, which is exactly what the 10-minute rule promises.
That is the recommendation, and it is a freeing one — the canning day gets shorter, the stove gets less crowded, and nothing about the food is less safe. Save the sterilizing for the quick jams and short-process pickles, where the recipe genuinely needs it, and let the long bath do its work everywhere else. Spoon the finished butter over a thick slice of spiced pear bread, and the jars will take care of themselves.