You are out with a bucket and a trowel before breakfast, pulling little plugs of soil while the grass is still wet with dew, and the whole test — the lab fee, the week of waiting, the report — rests on whether those plugs honestly represent the lawn.
Sampling is the part of soil testing you control completely. A lab can only measure what arrives in the bag, so a careful sample is worth more than an expensive test built on one scoop from beside the porch.
What you need
Gather a clean plastic bucket, a trowel or soil probe, and a clean mixing spoon or your gloved hands. Plastic matters here: a galvanized metal bucket can shed zinc into the sample and quietly distort the micronutrient readings.
Keep a permanent marker with the bucket, too, because two unlabeled bags of brown soil look identical a week later when the report arrives.
Work when the soil is moist enough to slice but not muddy. A sample pulled from soup takes days to dry and clumps instead of mixing, while dust-dry soil crumbles out of the hole before you can collect it.
The method, step by step
Step 1: Walk a zigzag. Cross the lawn in a loose zigzag or W pattern, stopping at 10–15 spots spread across the whole area, so the sample covers the sunny middle and the shaded edges in proportion.
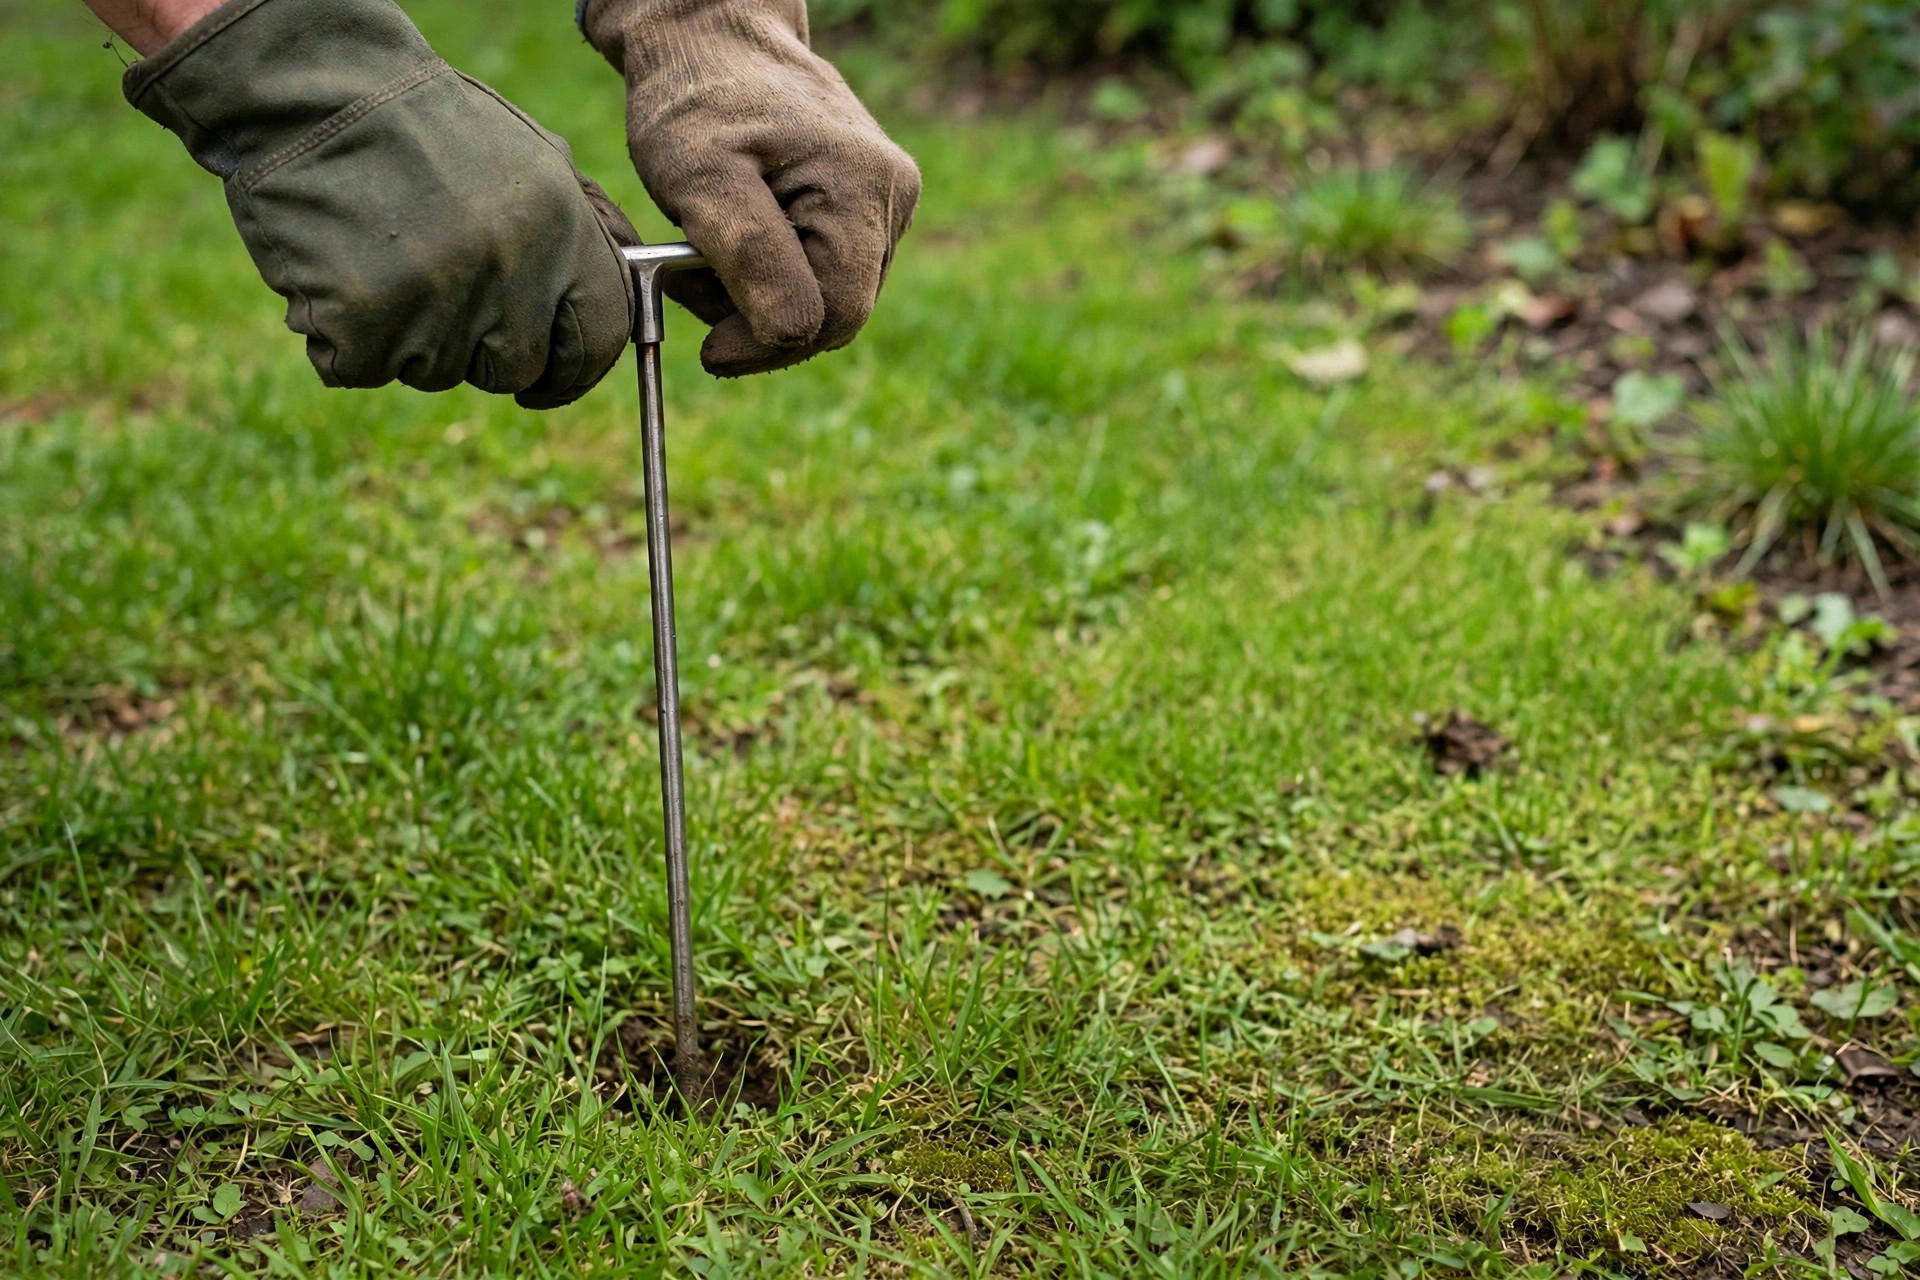
Step 2: Pull each core 3–4 inches deep. For lawns, sample the top 3–4 inches of soil — that is the root zone the report’s recommendations are calibrated for. Push the trowel or probe straight down, lift out a slice or core, and scrape away the grass and thatch on top so only soil goes in the bucket.
Step 3: Mix everything in the bucket. Once all 10–15 cores are in, break up the clumps and stir the pile thoroughly. The lab will test a small scoop of this blend, and the blend is what makes one scoop speak for the whole lawn.
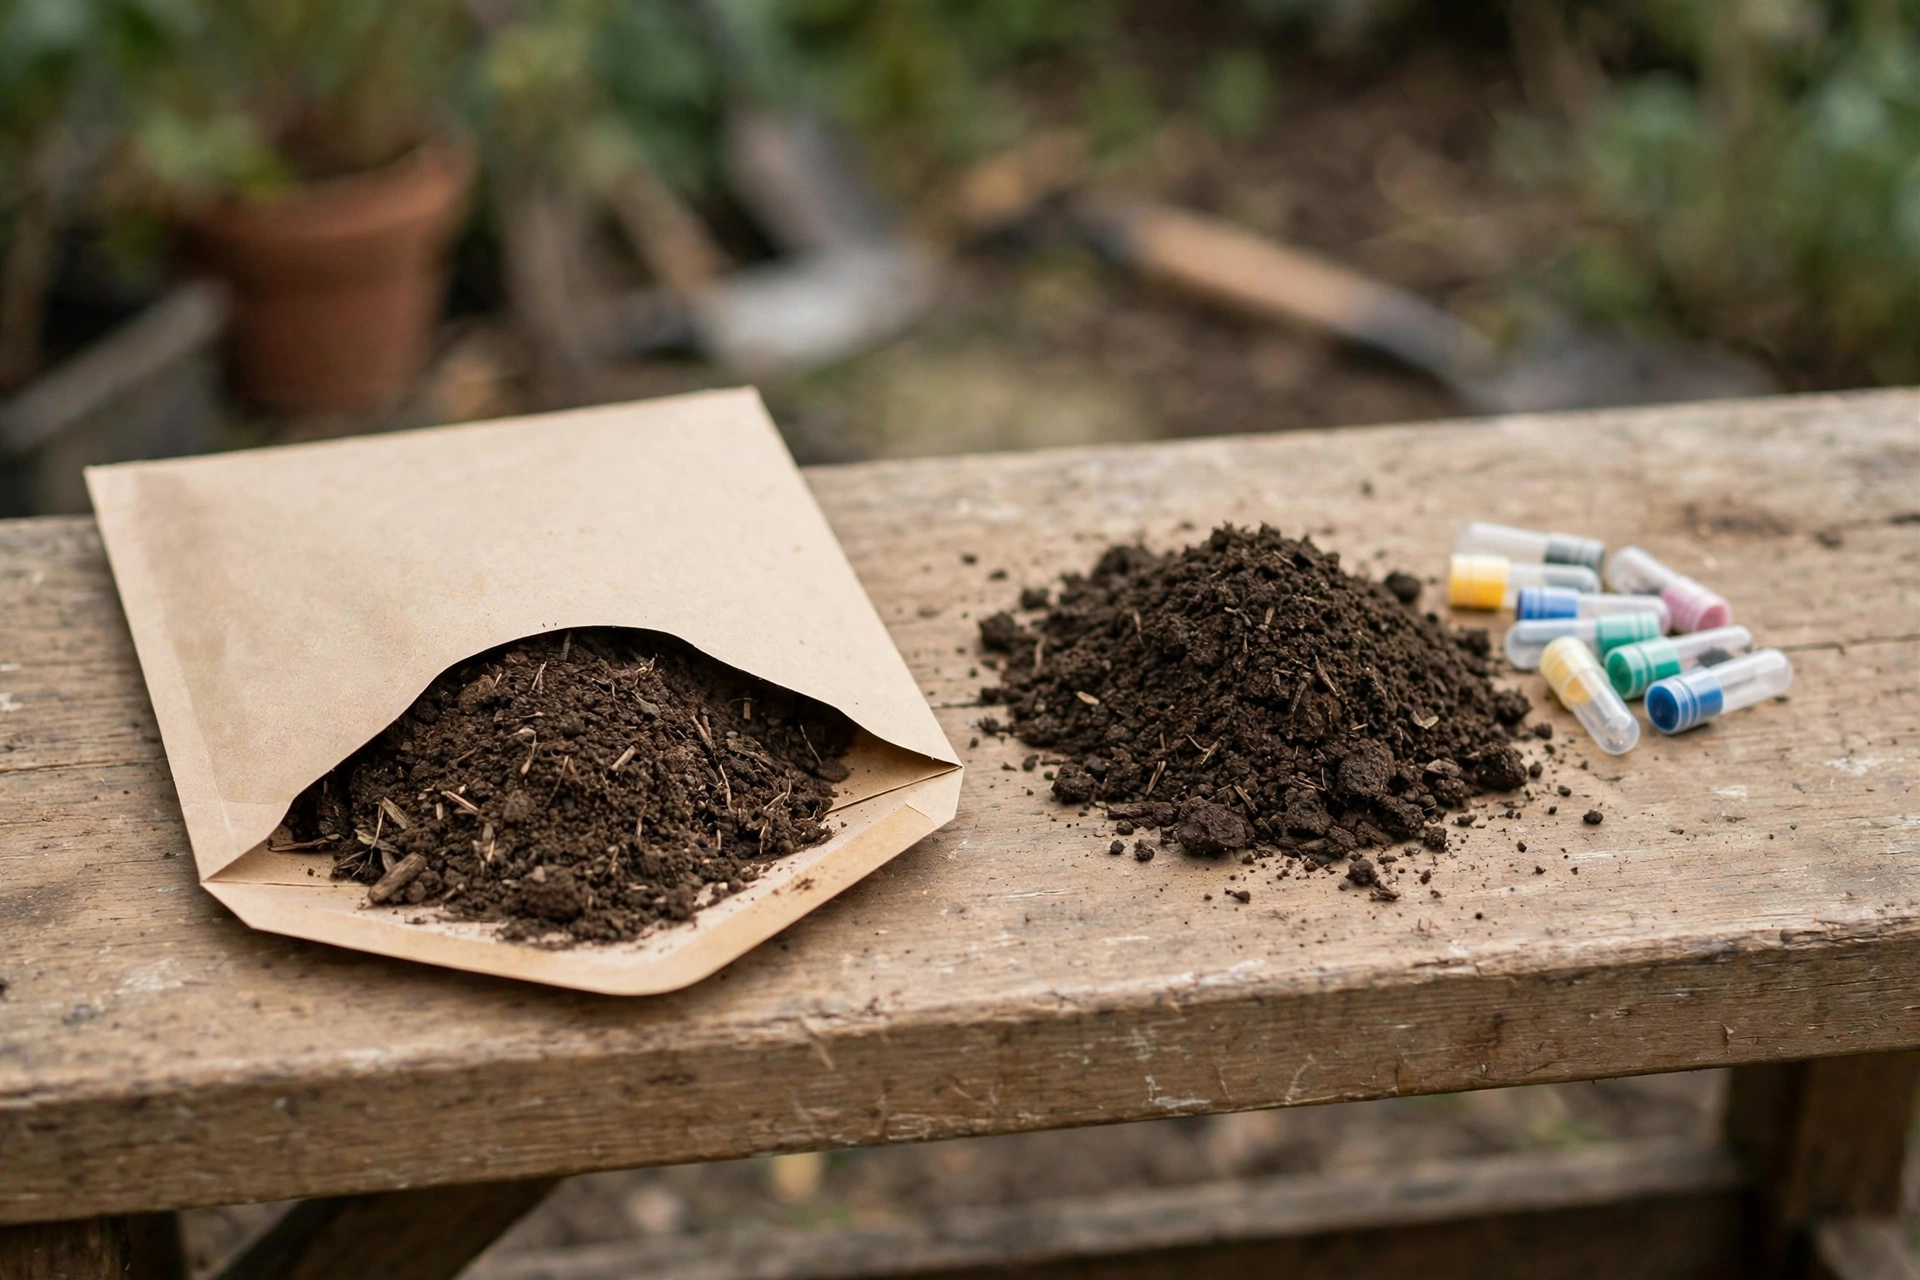
Step 4: Take your test portion. Fill the kit’s sample bag or your mailing container from the mixed soil, following the amount your test asks for. Fill it from several spots in the pile, not one corner of the bucket.
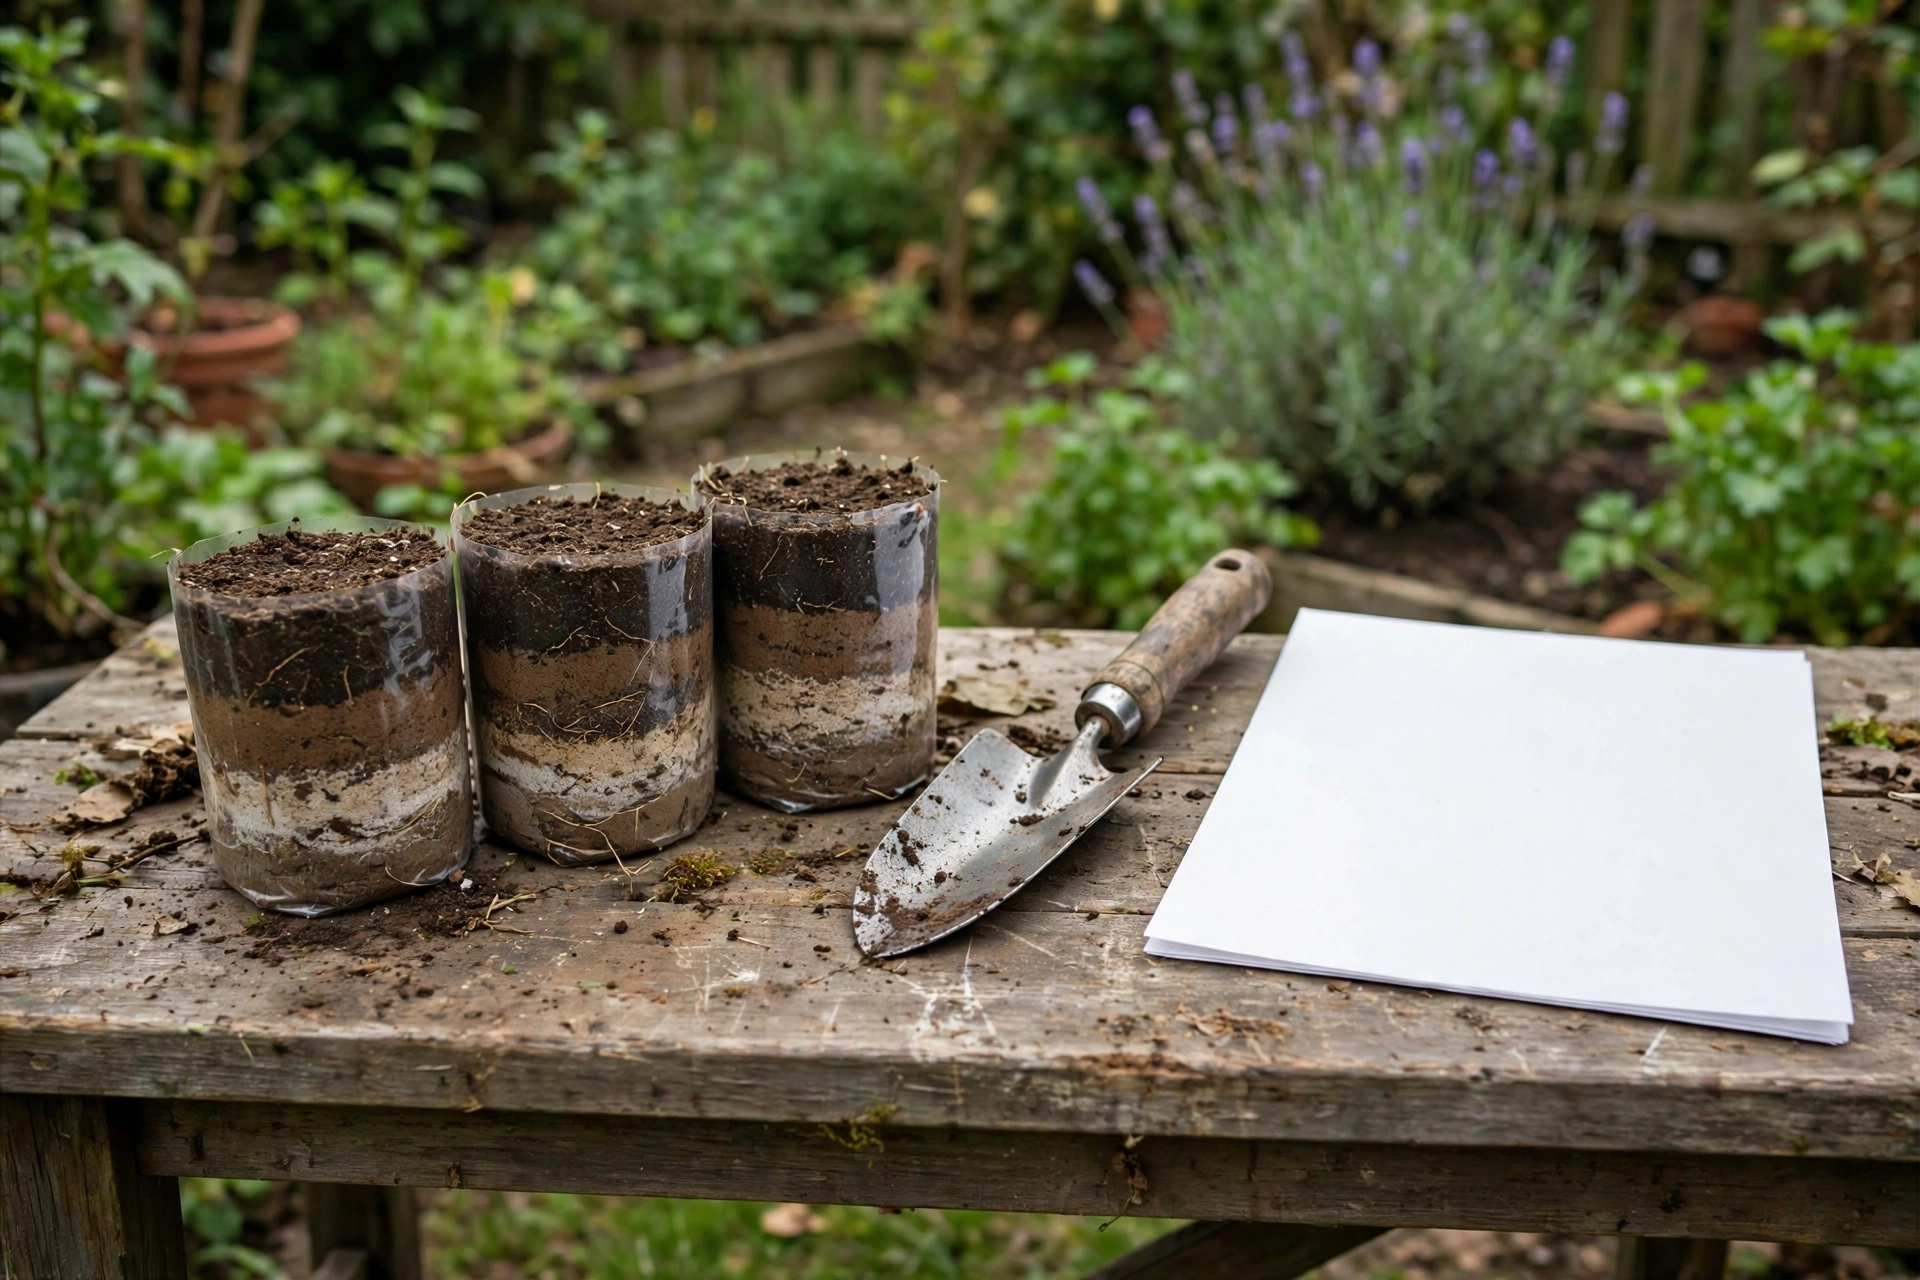
Step 5: Dry it before mailing. Spread the portion on a clean sheet of paper indoors and let it air-dry until it crumbles freely, usually overnight. Sealing damp soil in a bag for a week of mail transit invites mold and can shift the readings.
Spots to skip
Walk past a few places on purpose. Avoid fertilizer bands and the strip right along the driveway where spreader passes overlap, because both carry concentrated product that no whole-lawn recommendation should be built on.
Skip anywhere lime or fertilizer landed in the last few weeks, and skip the odd spots entirely — the bare patch under the swing set, the dog’s favorite corner, the low place that floods. If one of those areas worries you, test it separately as its own sample rather than letting it skew the main one.
Stay a few feet back from foundations, compost piles, and burn piles too. Each leaves a chemical fingerprint — alkaline concrete dust, rich compost leachate, ash — that describes a two-foot circle, not a lawn.
When to sample
Fall and early spring are the natural windows, because the results come back in time to lime, amend, and pick the season’s fertilizer with the report in hand. Sample in the same season each time you test, so this year’s numbers compare honestly against the last report instead of against a different point in the lawn’s year.
Wait at least several weeks after a fertilizer or lime application before sampling. Fresh product sitting in the top few inches reads as soil richness that is not really there, and a recommendation built on it will underfeed the lawn once that application fades.
One more timing note: frozen or saturated soil samples badly. Cores shatter out of frozen ground and smear out of mud, so a dry morning a few days after rain beats an urgent one in the middle of it.
Front and back: one sample or two?
Combine areas that share a history: same grass, same fertilizer routine, same sun. Split the sample when the history splits — a newly sodded front yard and a back lawn that has been limed for years are two different soils wearing one address.
Two samples cost a little more and tell you far more. Amending a whole yard from a blended reading can overlime the half that was already fine while undercorrecting the half that needed help.
After it mails
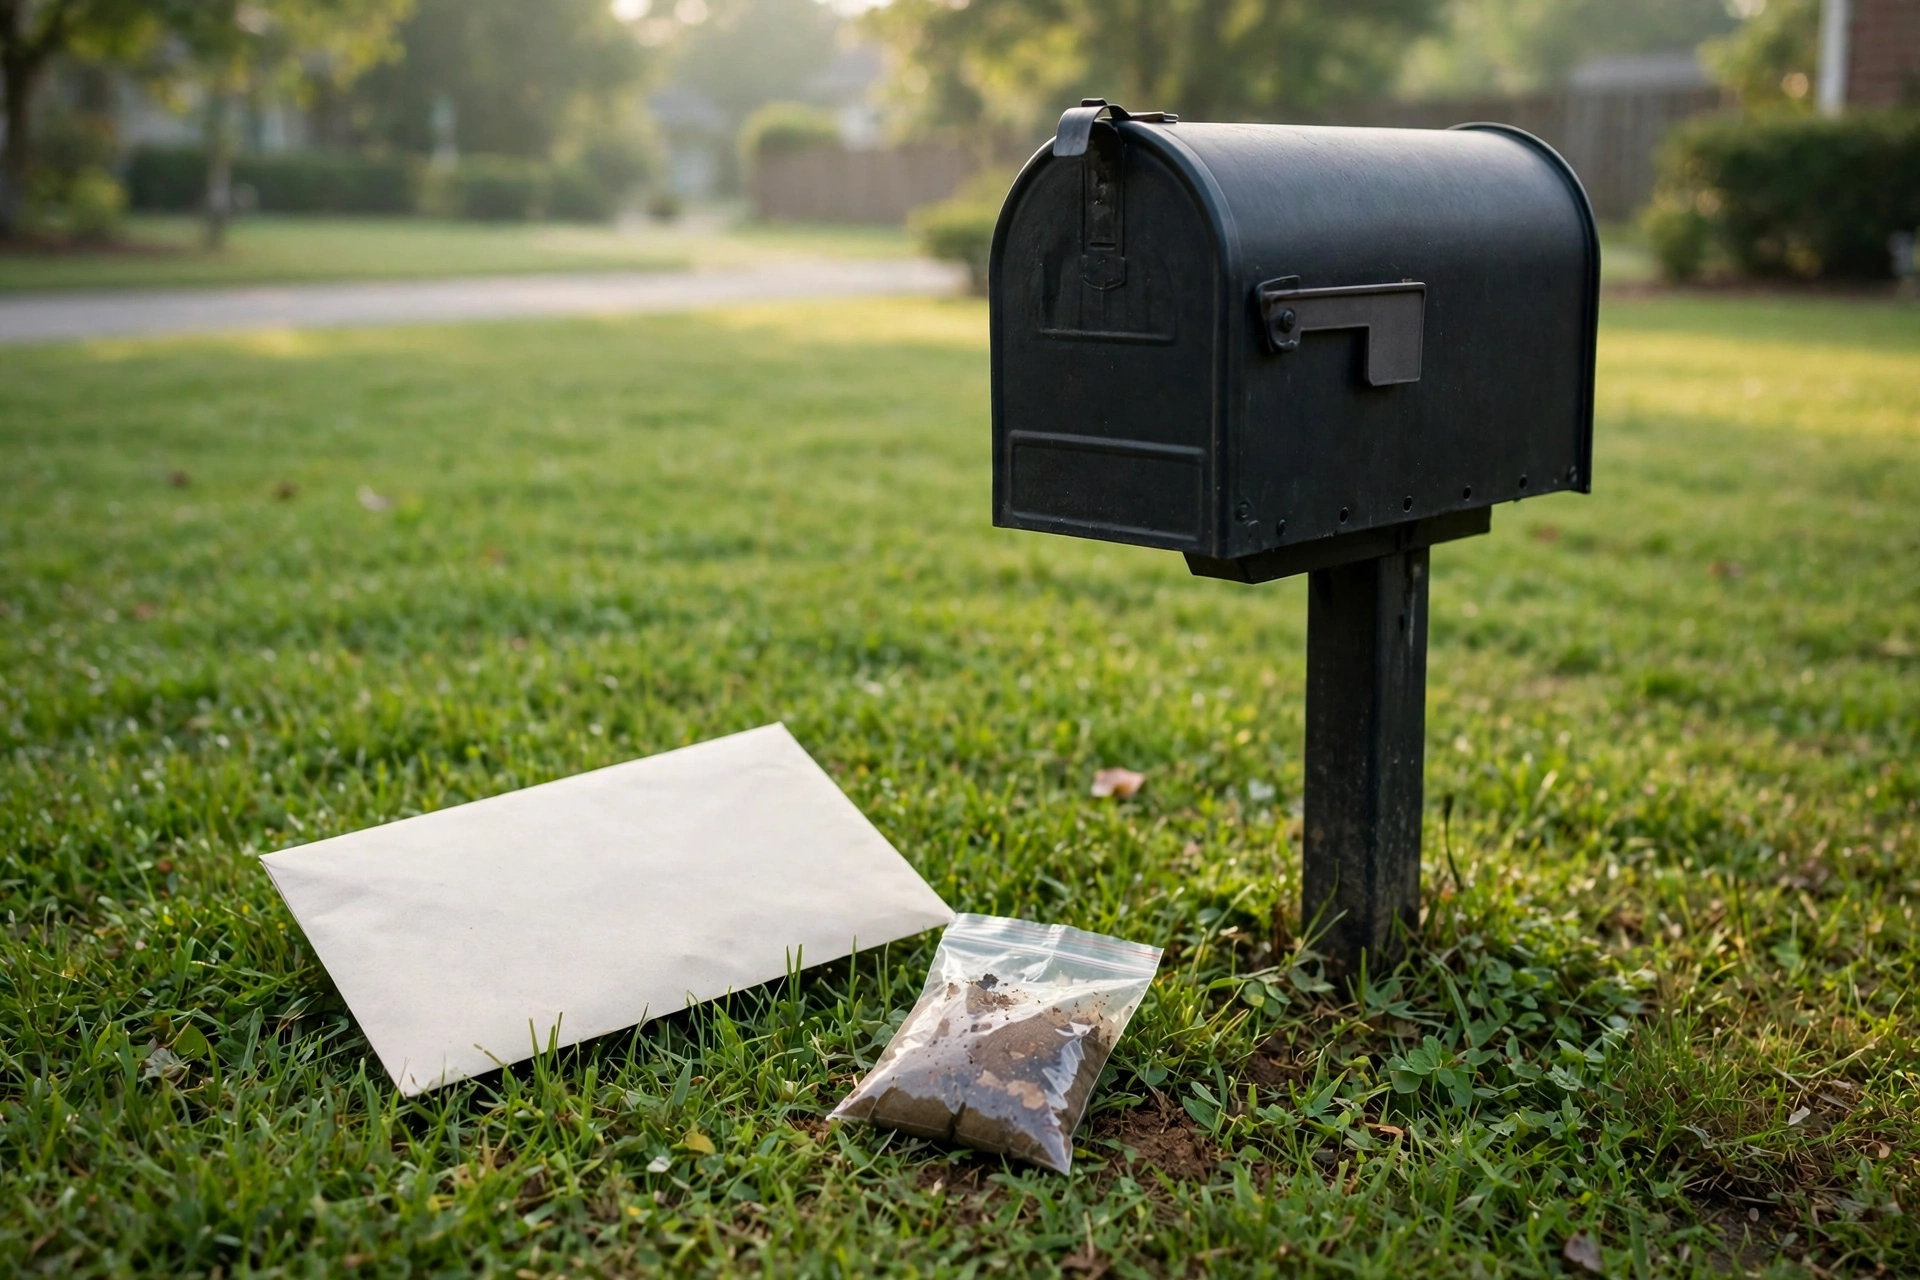
Label each bag with the area it came from before it leaves the counter — “front” and “back” written in the driveway are worth more than a good memory a week later. Note the date too, so next year’s test lands in the same season and the two reports compare cleanly.
When the report comes back, our guide to how to read a lawn soil test report turns its pH and nutrient lines into a short list of decisions. If you are still choosing the test itself, the best soil test kits for lawns roundup compares the mail-in lab panels against the at-home option.
Do the sampling this carefully and the report stops being a rough sketch. Fifteen small cores, mixed well and dried properly, give the lab a true picture — and give you recommendations you can spread with confidence instead of hope.