Two kits sit on the potting bench, one promising answers in minutes and the other asking you to wait a week for the mail, and the lawn yellowing along the fence line does not care which box looks more convenient.
Here is the verdict up front, because the rest of this page just explains it: trust a lab test for any decision that adds something to your soil — lime, sulfur, or a fertilizer change — and trust an at-home kit for one narrow job, a quick pH check that tells you whether the lab test is worth ordering.
What each method actually measures
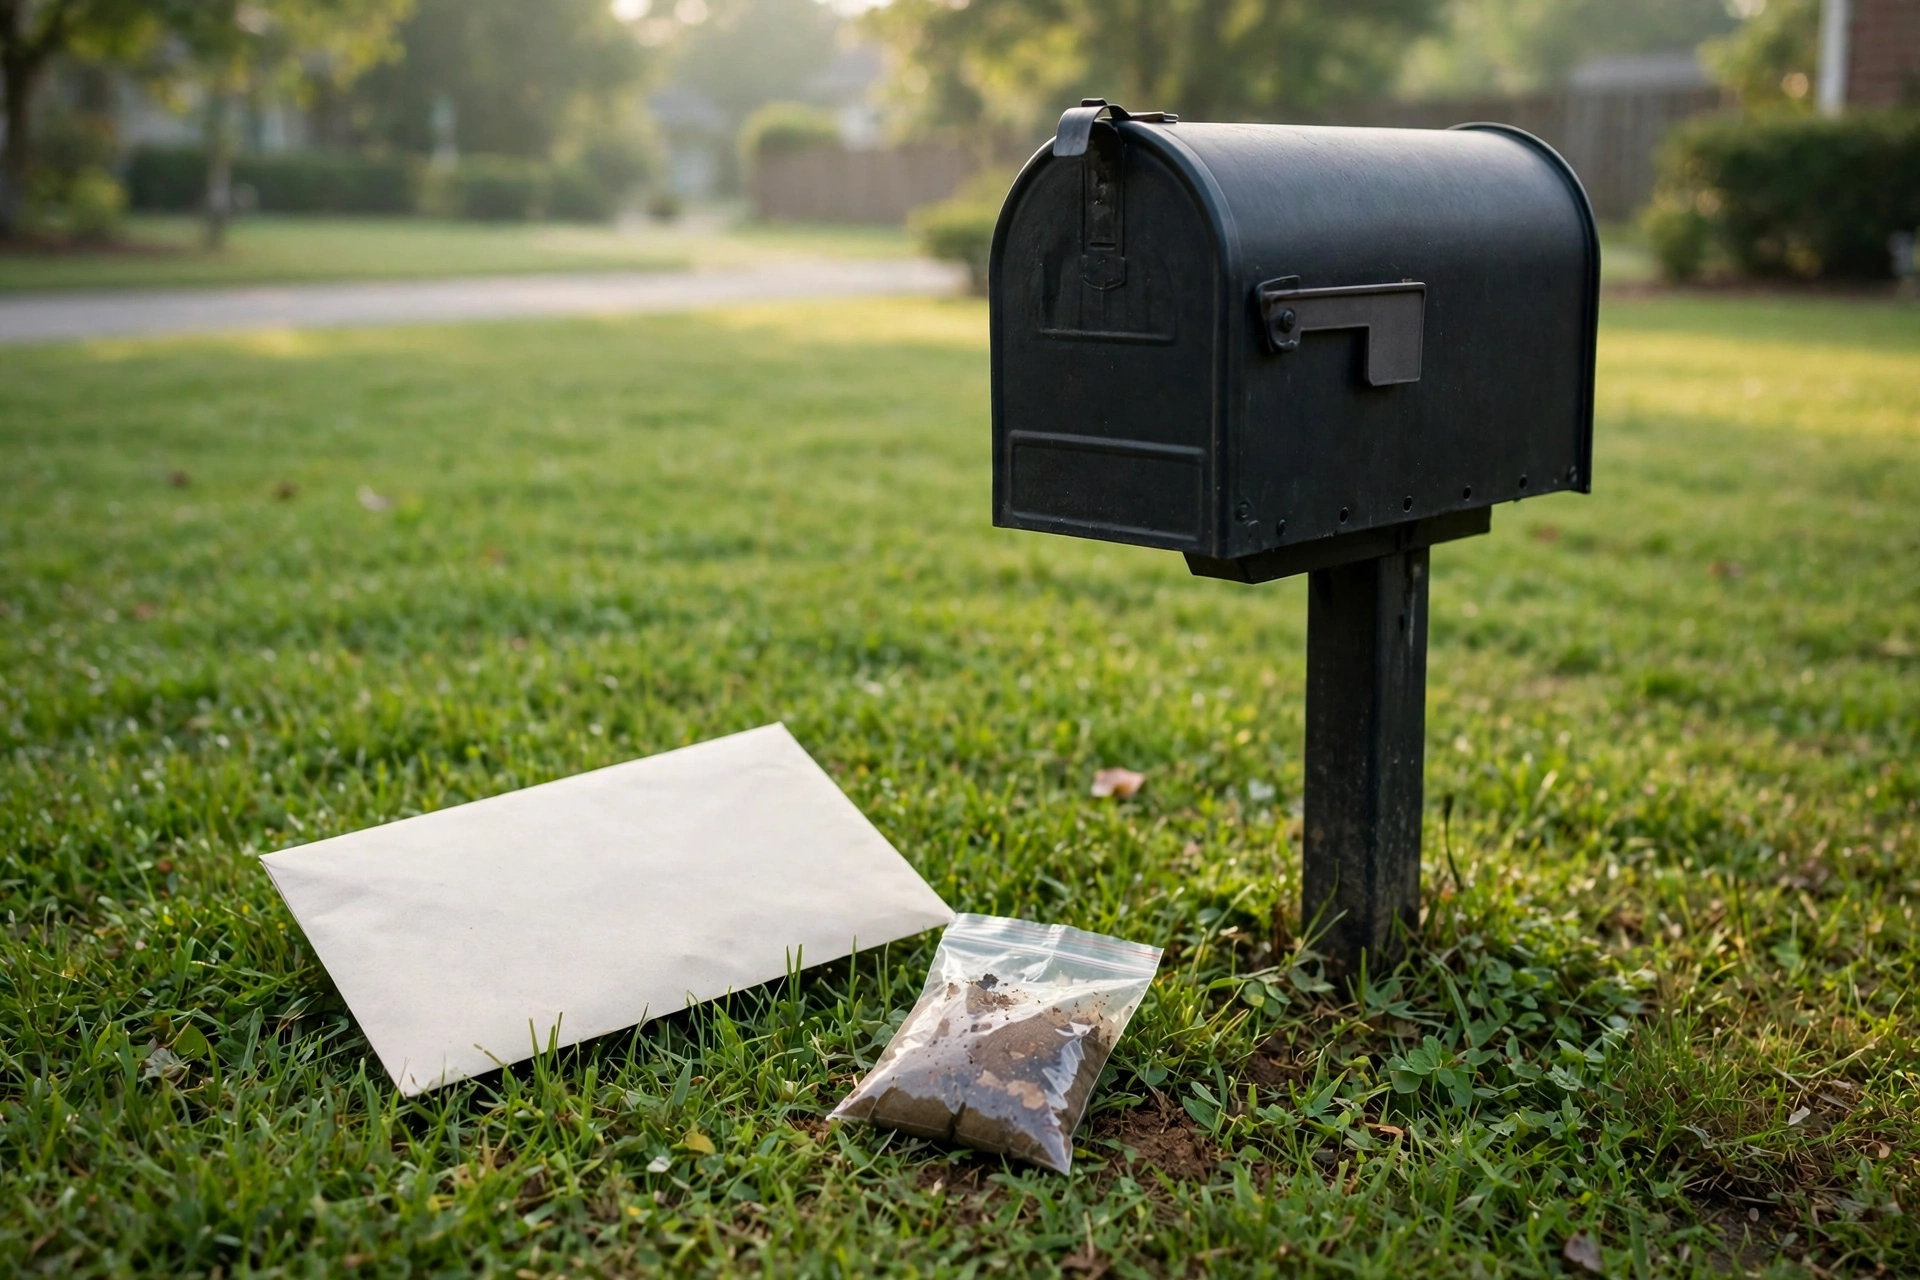
A mail-in lab test runs your dried sample through laboratory extraction and instruments, and reports a full panel: pH plus a dozen or more nutrients, each with a level and usually a recommendation. The numbers are precise enough to dose an amendment from, which is the whole point.
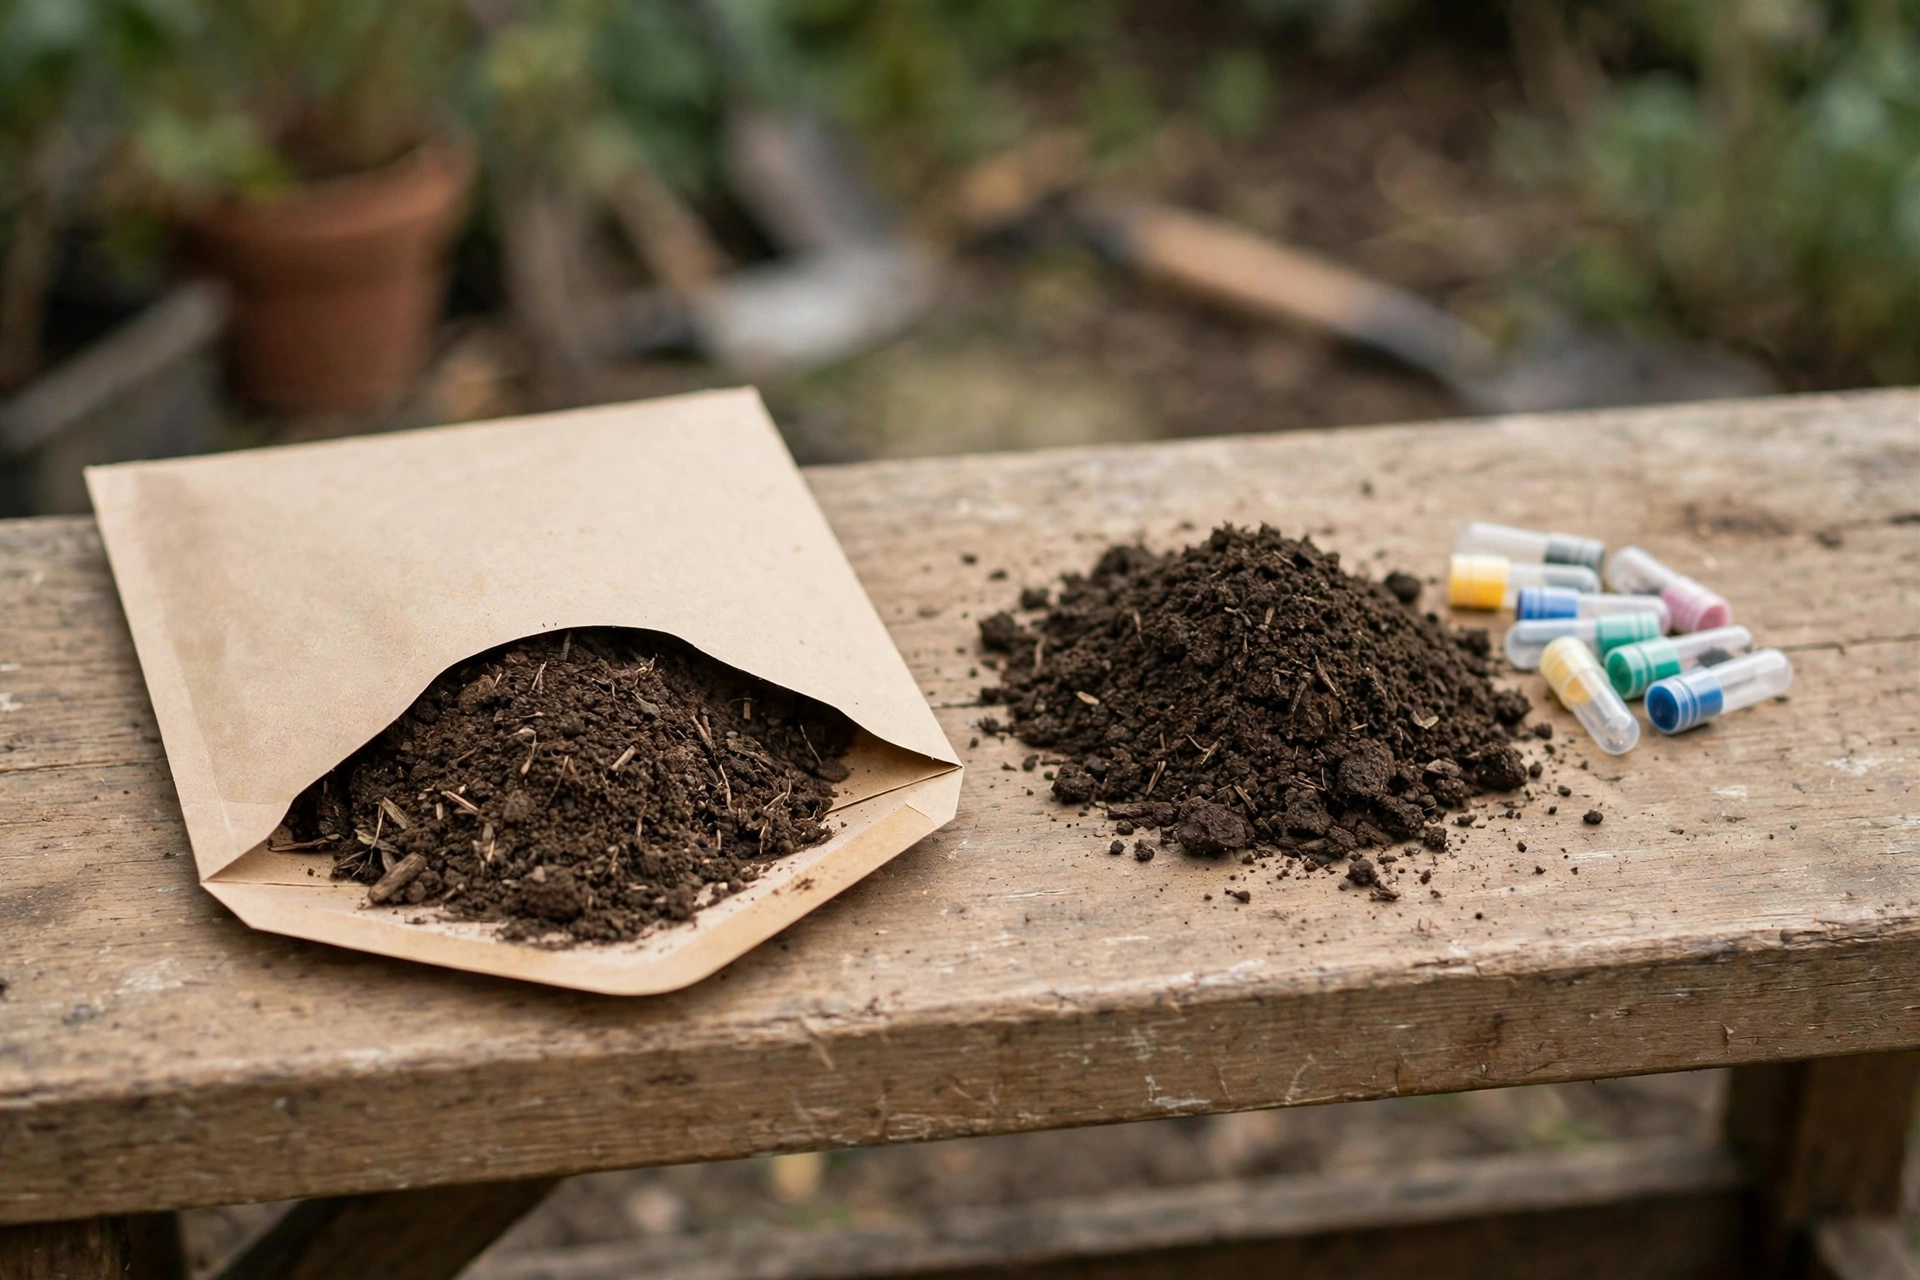
An at-home capsule kit works by color. You mix soil with water and a reagent capsule, then match the tint against a printed chart for pH, nitrogen, phosphorus, and potassium, which gives you a band — low, medium, high — rather than a figure.
That difference in kind matters more than the difference in speed. A band can tell you something is off, while a figure tells you how much lime, in pounds, will put it right.
| Question | Lab mail-in test | At-home capsule kit |
|---|---|---|
| What it measures | pH plus 13–14 nutrients | pH, N, P, K by color band |
| Precision | Measured figures you can dose from | Broad levels, read by eye |
| Turnaround | About a week by mail | Minutes at the counter |
| Best use | Lime, sulfur, and fertilizer decisions | Quick pH screening between lab tests |
Where the at-home kit earns its place
Speed has real value in one situation: the mid-season sanity check. The grass looks hungry, you limed last fall, and you want to know whether pH has slipped again before you spend money — a capsule test answers that in an afternoon.
It also works as a before picture. Run the cheap test first, and if the color lands anywhere surprising, that surprise is your signal to order the lab panel instead of guessing harder.
Where it stops working is dosing. Color steps are wide, two readers can disagree by half a step on the same vial, and half a step of pH is the difference between two quite different lime rates — so a chart reading should never be the last word before a spreader comes out.
Where only the lab will do
Lime and sulfur are season-long commitments. They move pH slowly, they are tedious to reverse, and the correct amount depends on a precise starting figure, which is exactly what a lab provides and a color chart cannot.
The same logic covers a lawn that has never been tested, a new home where you inherit unknown soil, and any yard where fertilizer keeps failing to work. A persistent symptom with an unknown cause is a diagnosis problem, and diagnosis is the lab’s job.
Cost narrows the gap less than you would expect, too. Our breakdown of how much a lawn soil test costs shows the three routes side by side, and the lab’s per-test price buys the recommendation along with the numbers.
The sample matters more than the method
Both methods read the same handful of soil, and both fail the same way when that handful lies. One scoop from beside the porch — where fertilizer spills, concrete dust raises pH, and foot traffic compacts everything — will send a good lab and a cheap kit to the same wrong conclusion.
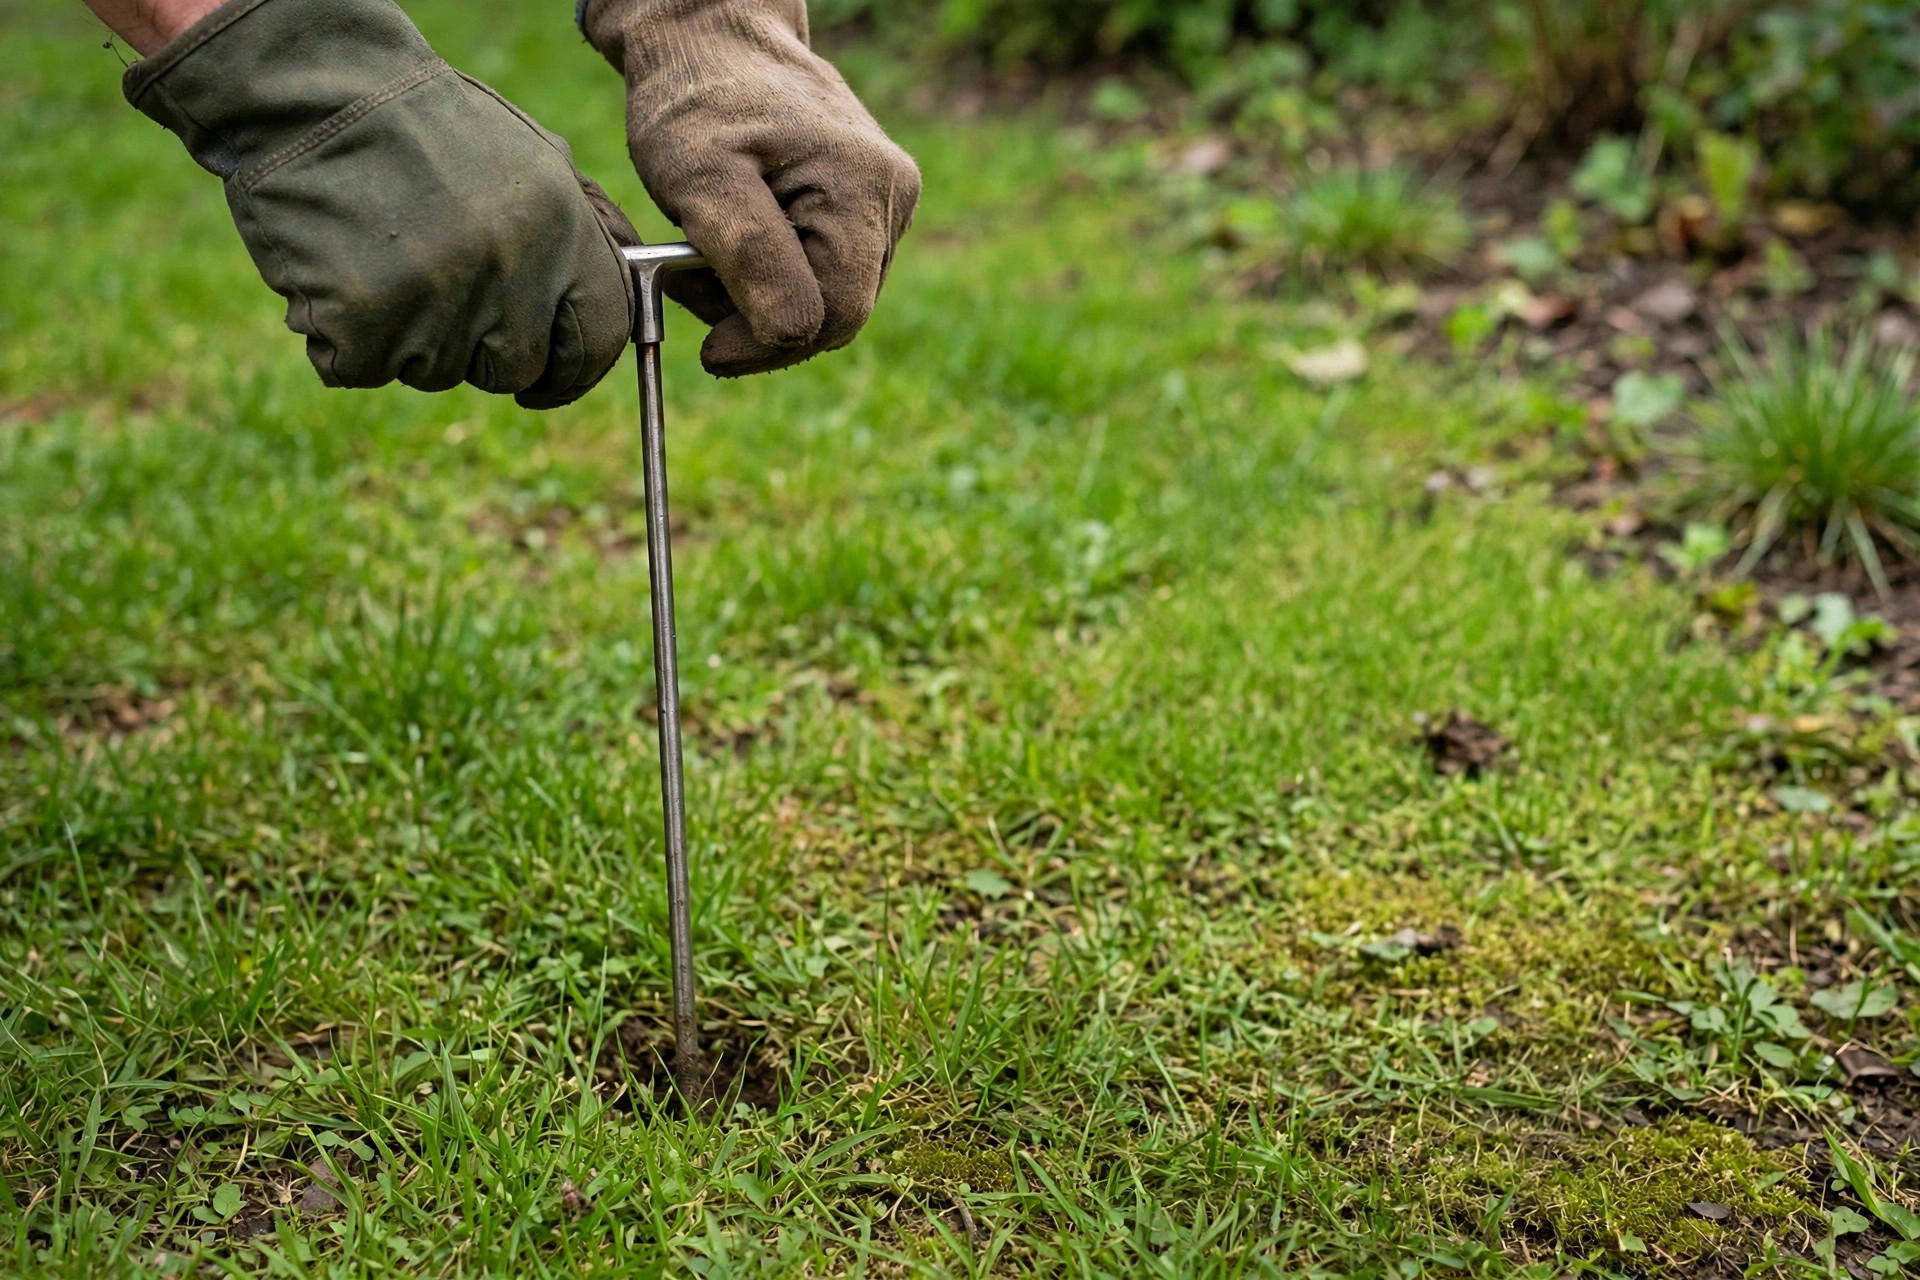
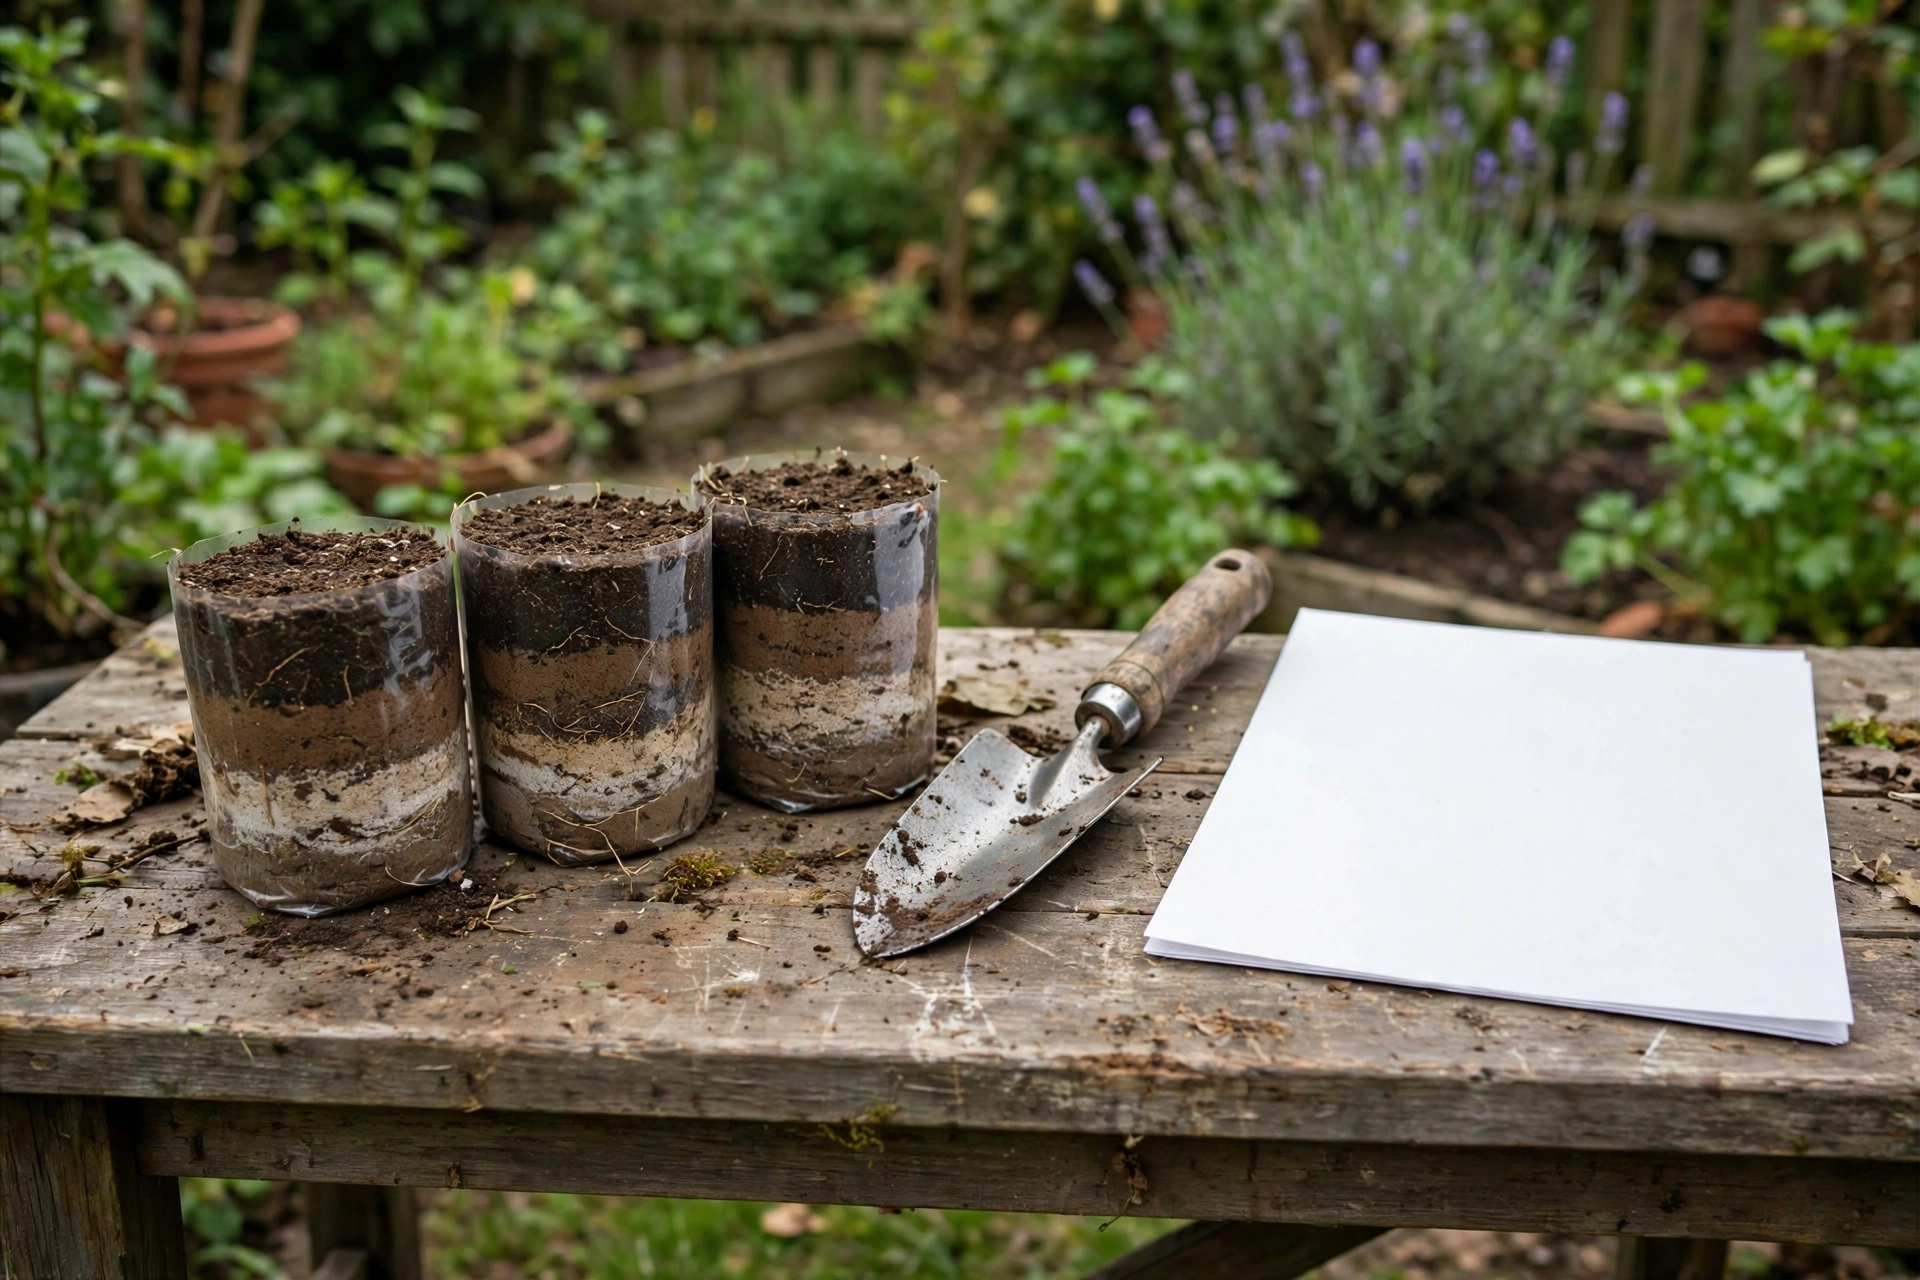
Pull 10–15 small cores from across the lawn, mix them in a clean plastic bucket, and test the blend. That ten minutes of care improves a capsule kit’s usefulness and a lab report’s accuracy by the same amount, because neither instrument can correct for a sample that never represented the yard.
Depth matters too: lawn samples come from the top 3–4 inches, the root zone the recommendations assume. A core dug twice as deep dilutes the reading with subsoil your grass barely touches, and the report that comes back describes a lawn that does not exist.
What neither method can tell you
A soil test, lab or home, says nothing about thatch, compaction, shade, or watering — four causes of a struggling lawn that no nutrient panel will ever flag. Grass starving for light under a maple tests beautifully and still thins, because its problem was never in the soil.
Read a clean report on a struggling lawn as useful elimination, not as a contradiction. The soil has been cleared as a suspect, which moves drainage, compaction, and mowing height to the front of the line where they belonged.
How to use both without wasting either
Test with a lab first, amend from its report, and then let the at-home kit handle the light monitoring in the seasons between lab tests. Most lawns settle into a rhythm of a lab test every two to three years, with a capsule pH check in between only if something looks off.
Whichever route you take, read the result the same careful way. Our guide to how to read a lawn soil test report walks through pH, the big three nutrients, and what a sufficiency rating is really telling you.
And if you are choosing a specific kit rather than a method, our roundup of the best soil test kits for lawns names the mail-in panels and the at-home box worth buying, with the trade-offs for each.
The verdict
Send the sample to a lab whenever the answer will change what you spread, because amendment decisions need figures, not color bands. Keep the at-home kit for quick pH checks between lab tests — used that way, each method covers the other’s weakness, and the yellowing along the fence gets a cause instead of another guess.