Landscape & Leisure is reader-supported. When you buy through links on our site, including Botanical Interests seed links, we may earn a commission at no extra cost to you. Prices change, so click through to confirm current pricing.
Fifteen to thirty days. That is how long celery seed takes to emerge, and it is the number that defeats more first-time celery growers than any pest or blight — the tray looks empty, the mix dries at the surface, and the whole attempt gets tossed a week before the seedlings would have shown.
Celery is a long-season crop that starts indoors 10 to 12 weeks before your average last frost date, so the decision to grow it happens in late winter, when the garden is still under snow and thick stalks feel very far away. Get the start right and the rest of the season is mostly watering and waiting.
This guide grows the two celery varieties in our roundup — Utah for the classic long-season bunch, Merengo for the shorter wait. If you are deciding between stalks and the root form instead, the celery vs. celeriac comparison makes that call, and our guide to hardening off seedlings before transplanting covers the move outdoors these long-indoor plants need.
The Season at a Glance
| Step | Timing | What matters |
|---|---|---|
| Start indoors | 10–12 weeks before last frost | Press seed into the surface; light aids germination |
| Germination | 15–30 days | Soil at 70°–75°F, mix kept evenly moist |
| Thin seedlings | At 1″ tall | One plant every 6″ for Utah; 6″–12″ for Merengo |
| Blanch | 2–3 weeks before harvest | Block light from stalks, not leaves |
| Harvest | Stalks at 6″ or bunches at 10″–12″ | Cut at the base in the morning; chill promptly |
Starting Indoors: Light, Warmth, and Patience
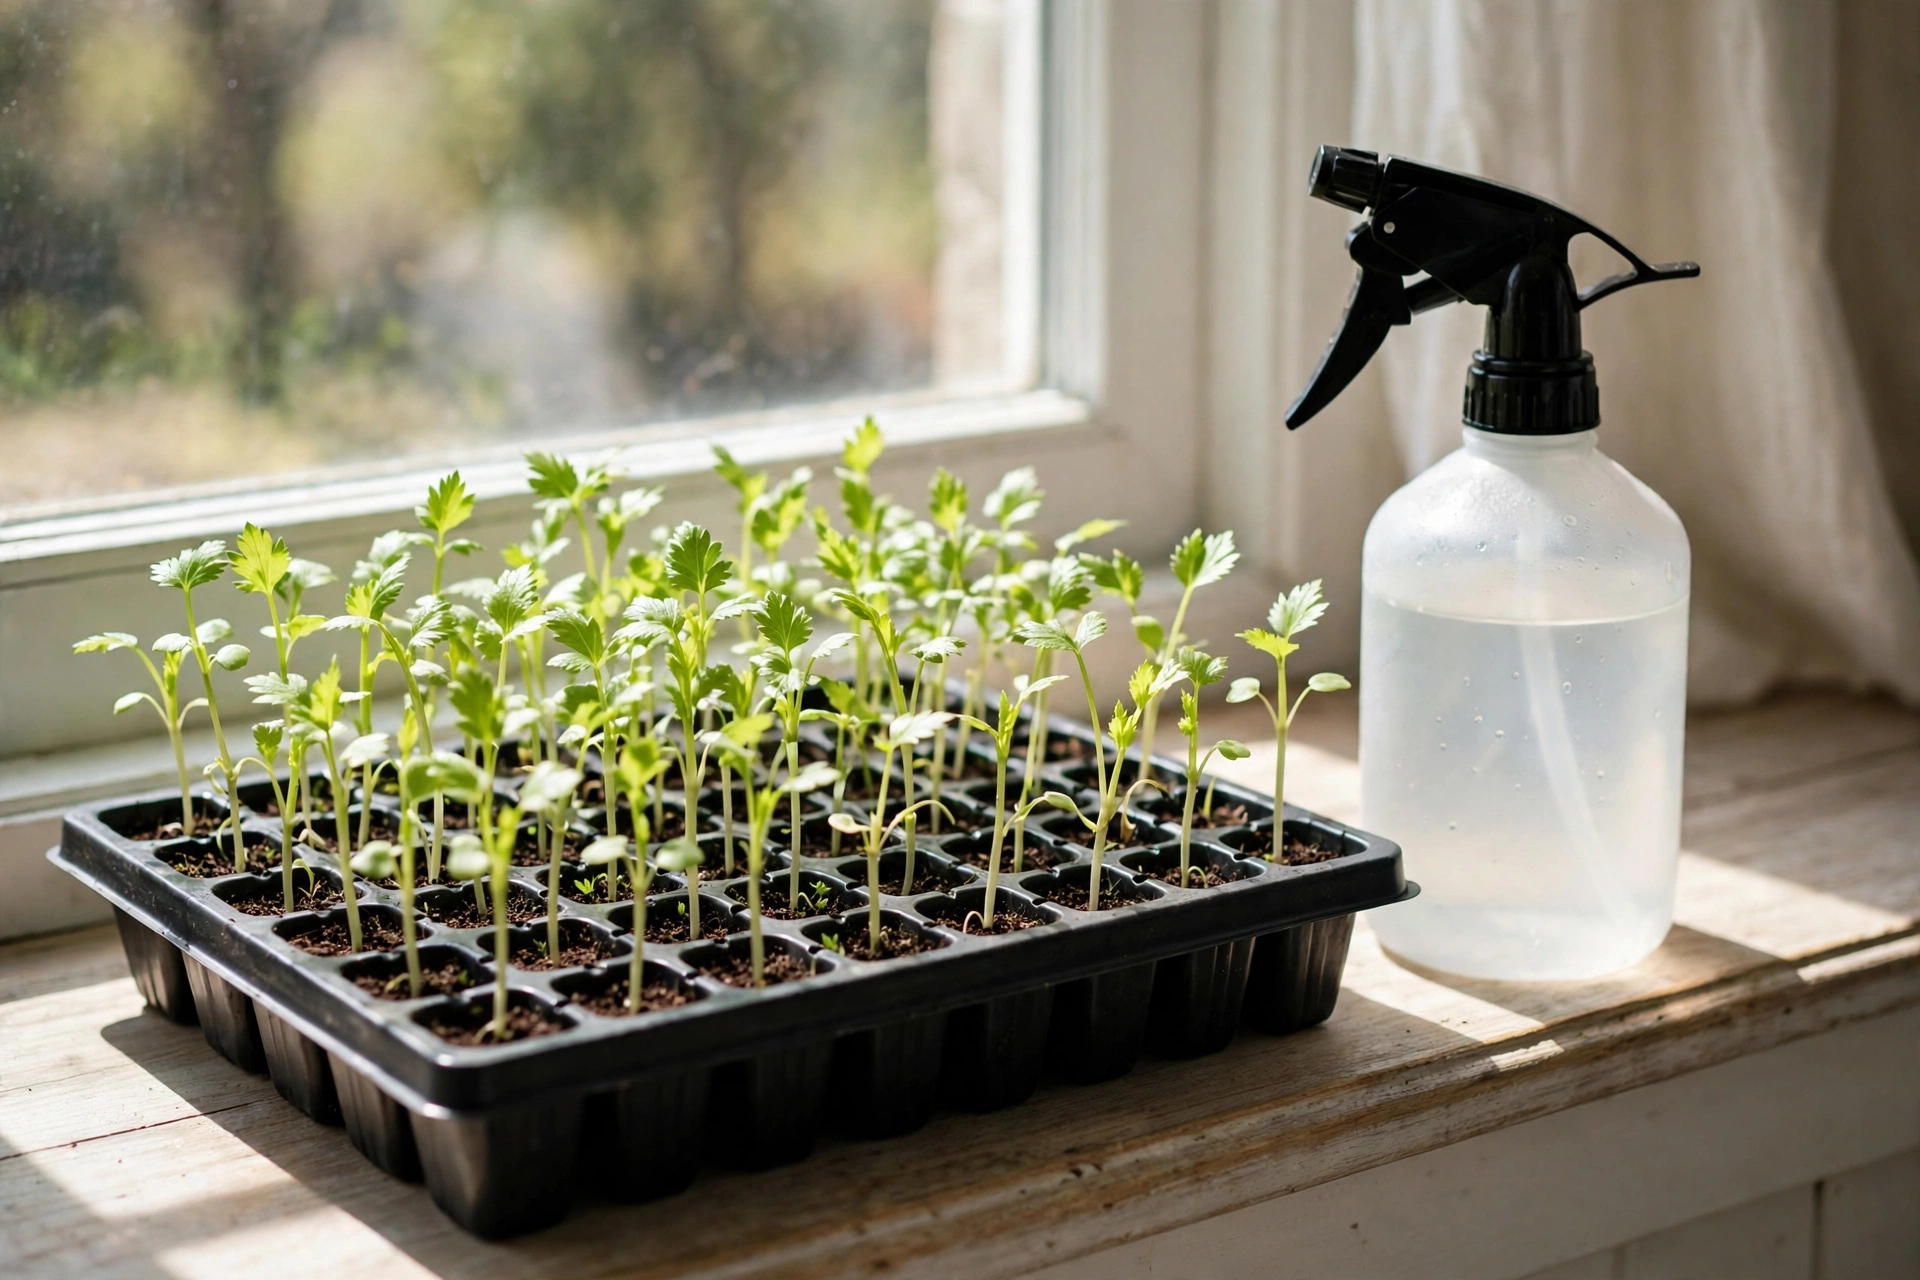
Sow on the surface. Celery seed is pressed into the mix, not buried, because light aids germination. Mist gently rather than pouring, so the seed stays where you put it, and cover the container with clear plastic wrap to hold moisture until seedlings emerge — then take the wrap off.
Hold the temperature. Germination is optimal at 70° to 75°F, and even then the wait runs 15 to 30 days. Biodegradable pots are the smart cell choice here, because they minimize root disturbance at transplanting for a crop that resents being handled.
The bench will smell faintly green for weeks before it looks like anything — a flat of celery seedlings at day twenty is mostly promise and cotyledons. Keep the mix moist, keep the lights close, and let them be small for a while. Celery does everything slowly at this stage, and slow is normal.
Utah Celery Seeds
The long-season standard this guide is built around — thick stalks, stalk-by-stalk harvest.
Seed Starting Heat Mat
Holds soil in celery’s 70°–75°F germination window through a 15 to 30 day wait — 4.7/5 from 50 reviews.
Transplanting and the Long Middle of the Season
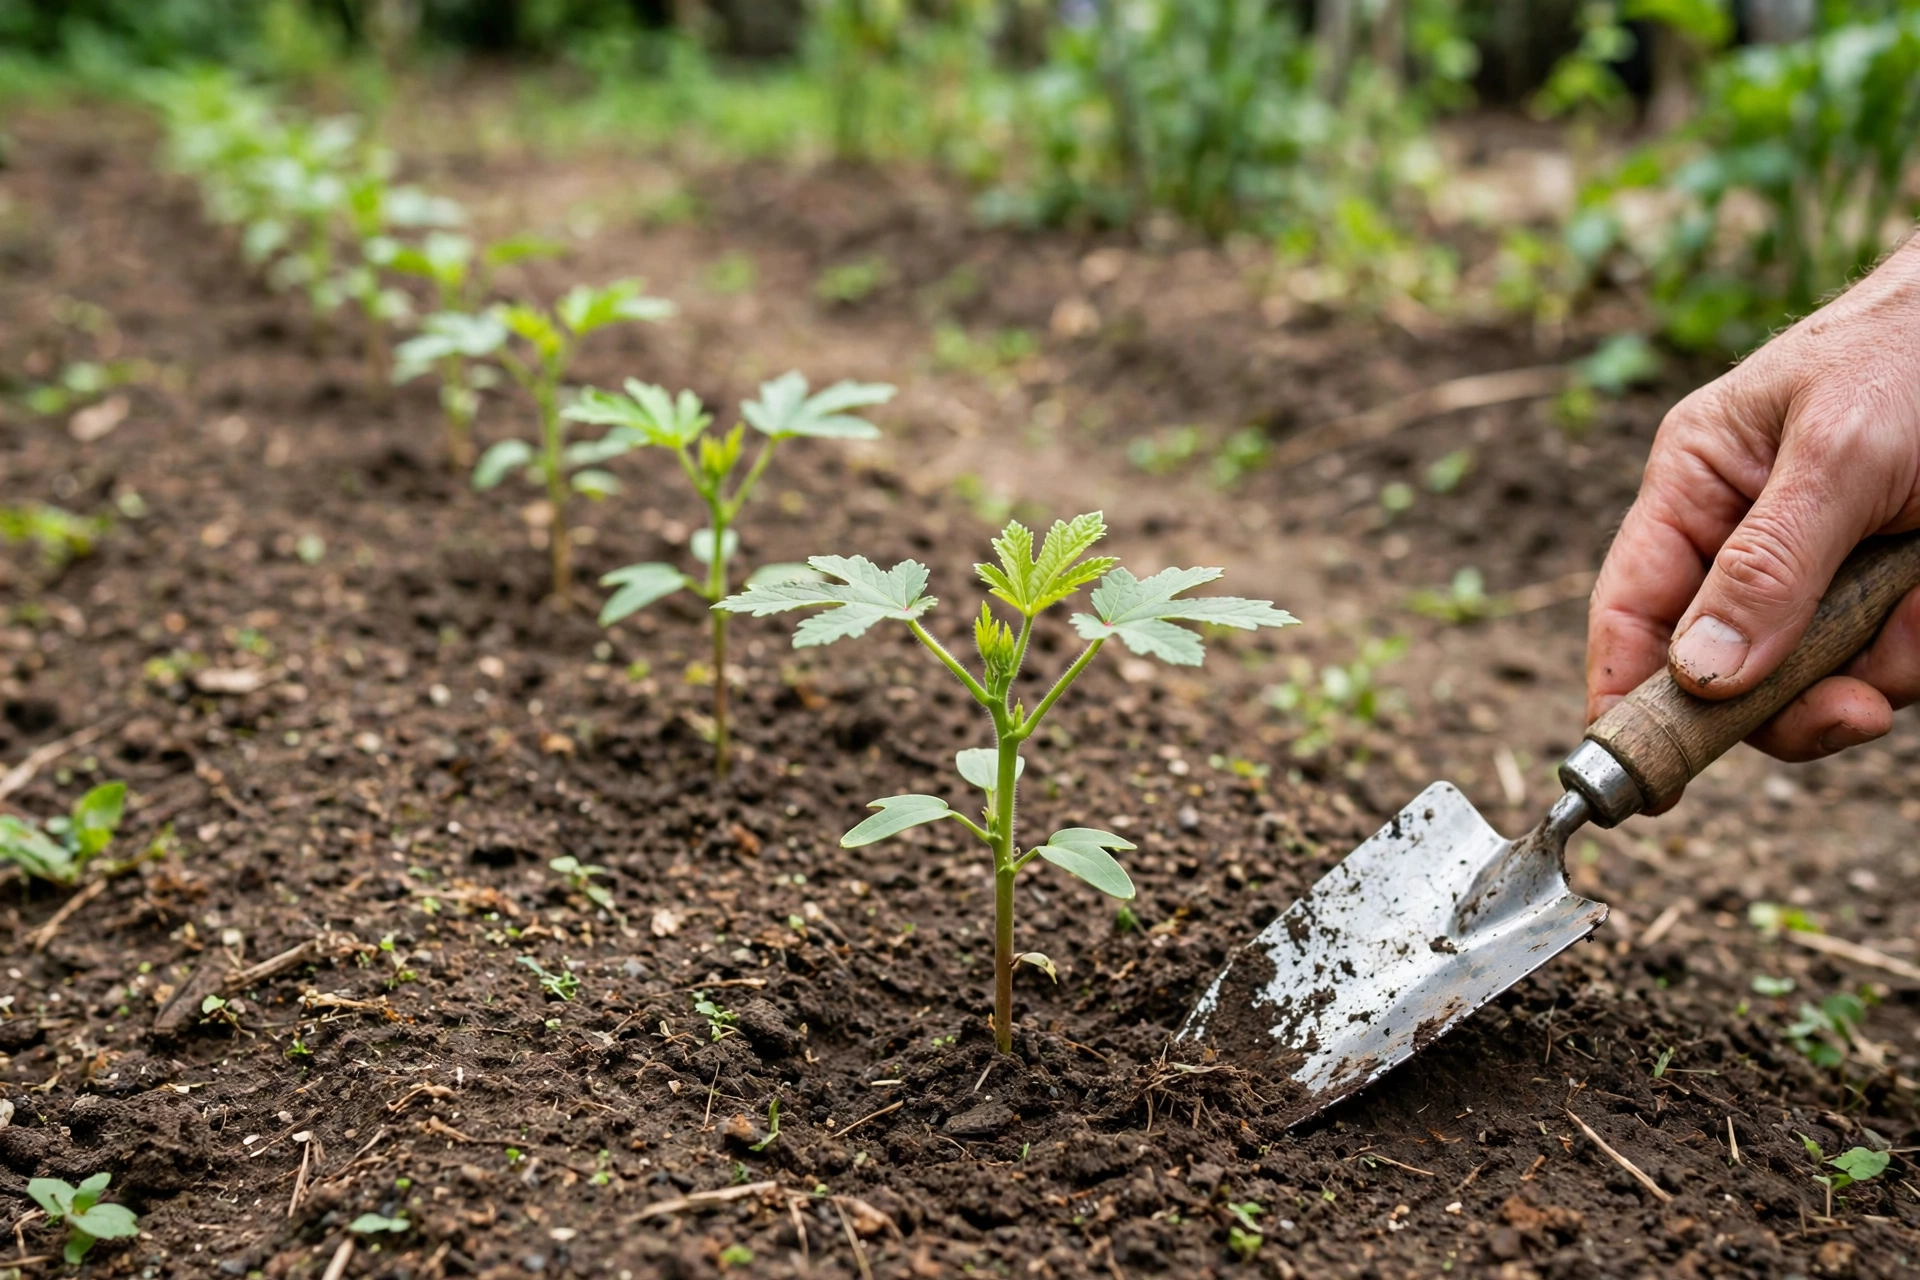
Space for the bunch. Set plants out in rows 24 to 36 inches apart, thinned to one every 6 inches for Utah or every 6 to 12 inches for Merengo. Direct sowing is recommended for mild climates only, so northern gardeners should treat the indoor start as the method, not an option.
Water like you mean it. Celery is a thirsty, shallow-rooted plant, and dry spells show up later as stringy, bitter stalks. In hot summers, mulch the rows and give the plants shade from the afternoon sun — the crop prefers a long, mild season and sulks in heat.
Mind the cold snaps. Persistent temperatures below 55°F can trigger bolting, which is one reason some gardeners find a fall harvest more successful than a spring one. A celery plant that has sat through chilly weeks may rush to flower instead of thickening, and there is no talking it out of it.
Blanching: The Optional Step That Sweetens Stalks
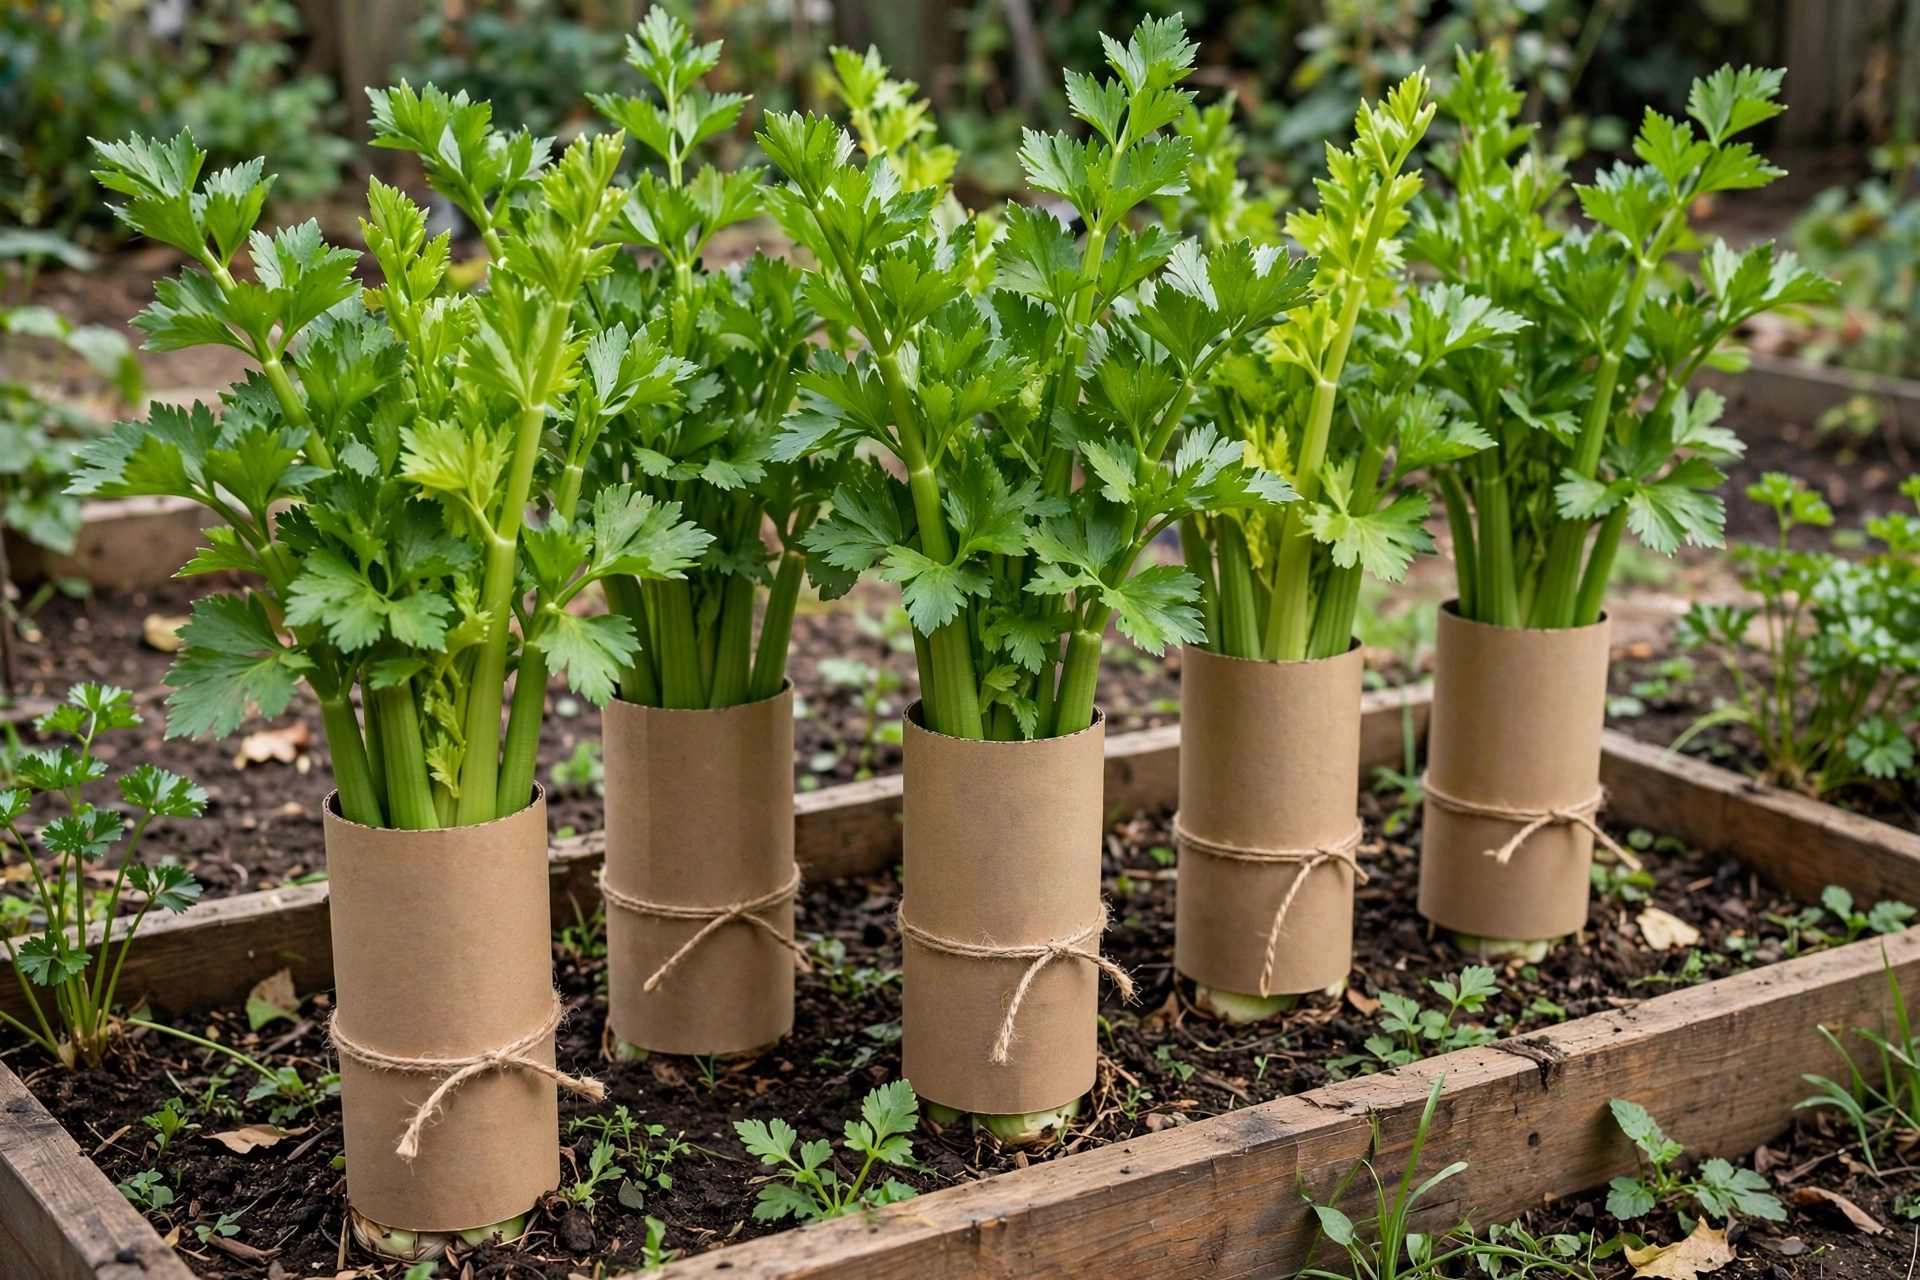
Blanching blocks sunlight from the stalks — not the leaves — for the last 2 to 3 weeks before harvest. The stalks come out lighter in color and sweeter, though a little less nutritious, so treat it as a flavor choice rather than a requirement. Plenty of gardeners skip it and eat green celery happily.
The methods are pleasingly low-tech. Wrap the bunch gently in a brown paper bag tied with garden twine or raffia, slip a cut-open paper milk carton over it as a sleeve, or hill soil about a third of the way up the stalks and repeat weekly until you reach the base of the leaves.
Epic 6-Cell Seed Starting Trays
Thick, reusable cells for a 10 to 12 week indoor start — 4.9/5 from 579 reviews.
Harvest: Stalks Now, Bunches Later
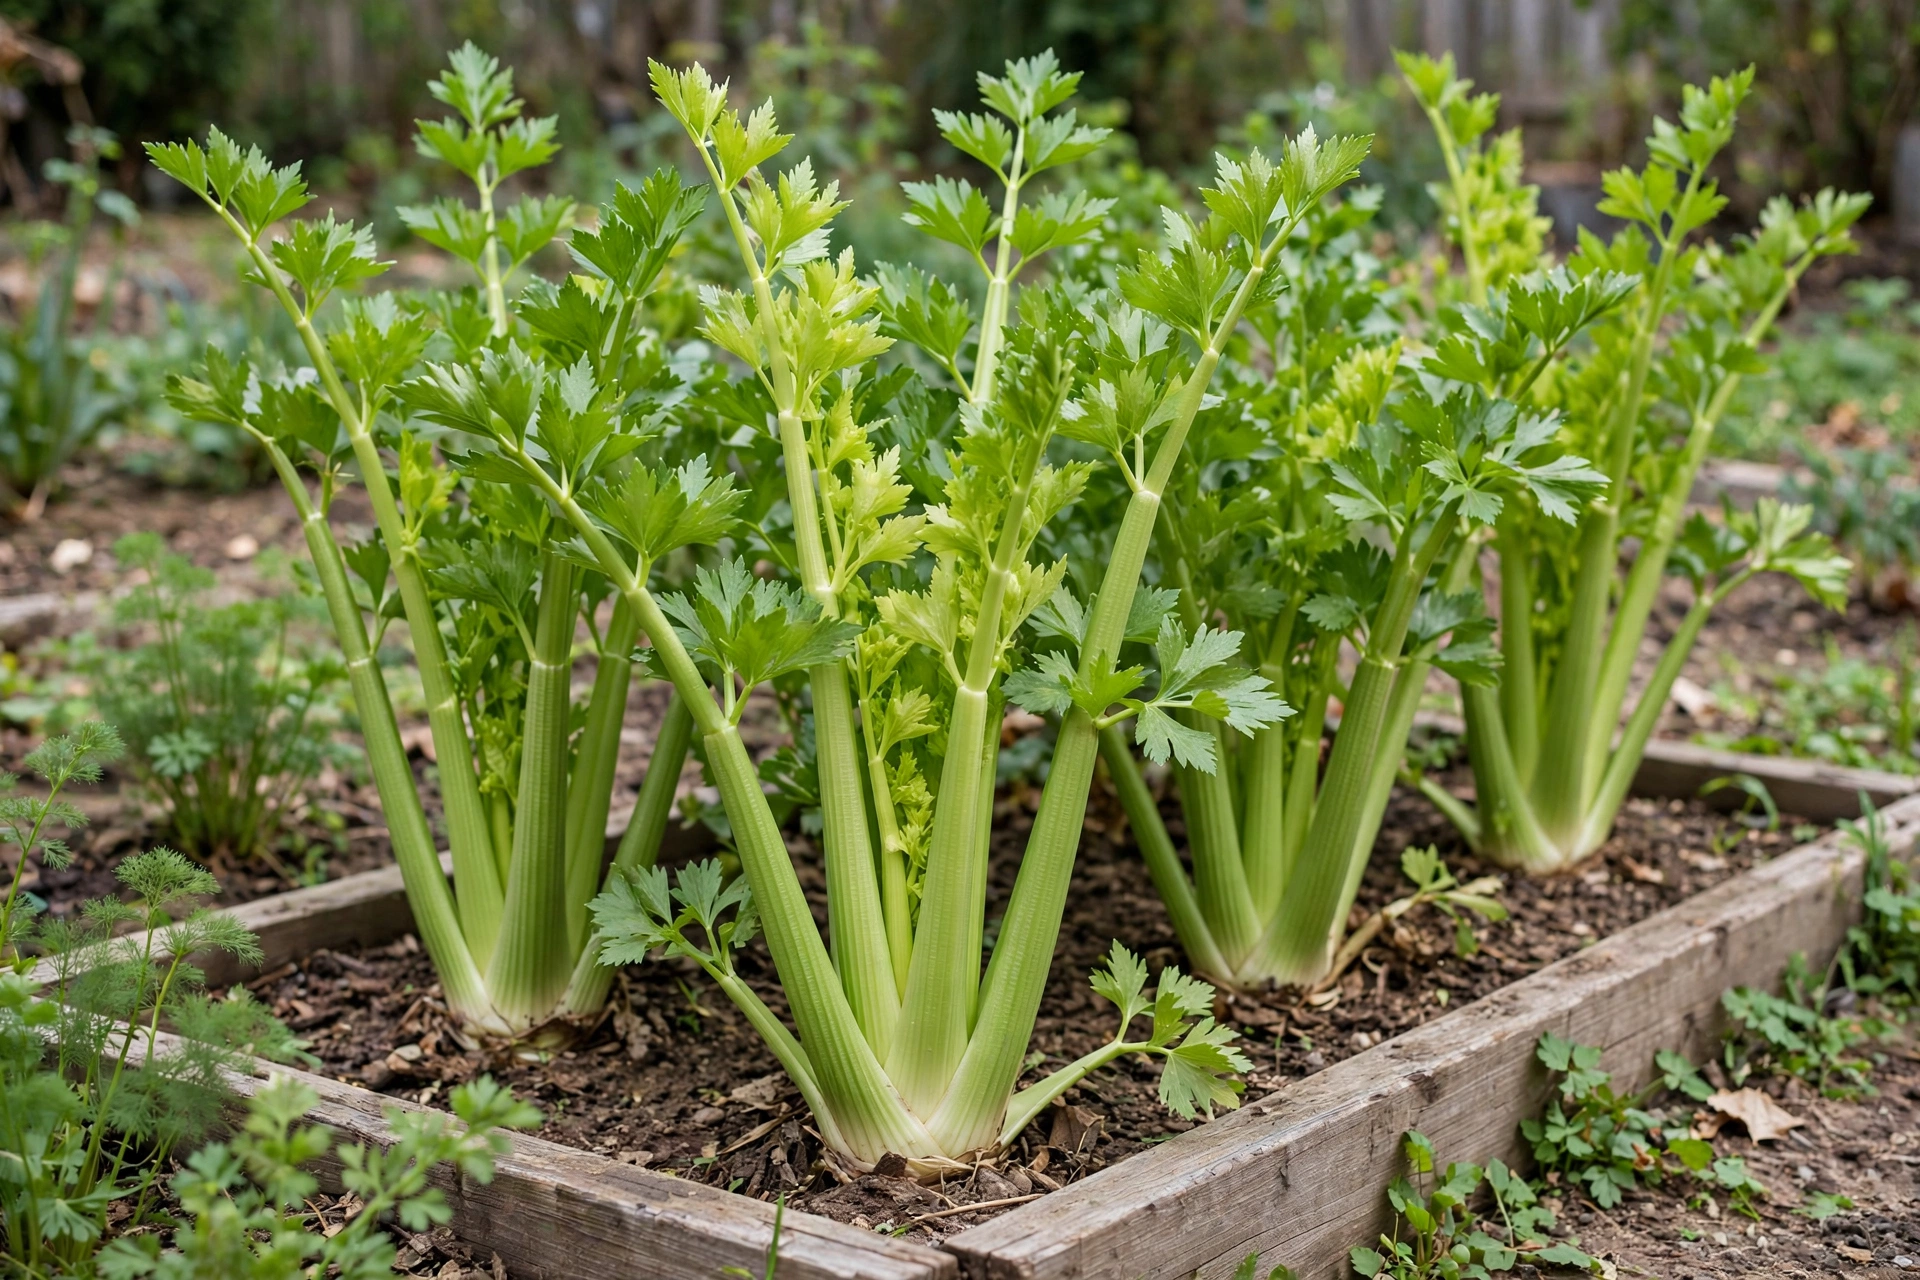
You do not have to wait for the whole plant. Outer stalks can come off once they reach 6 inches, and the plant keeps growing — or you can wait for the full bunch, cutting at the base with a sharp knife when stalks reach 10 to 12 inches.
Harvest in the morning, then dunk the celery in ice water and drain it before storing, which pulls out field heat and keeps stalks crisp. If a bunch tastes bitter, two to three days of refrigeration takes the edge off.
The Short Version
Start celery indoors 10 to 12 weeks before your last frost, press the seed into the surface, and give it warmth, light, and a full month of patience before you judge the tray. Keep the plants watered, blanch if you like your stalks pale and sweet, and begin cutting outer stalks at 6 inches. Do that, and the slowest seed on the bench becomes the most satisfying harvest of the fall.