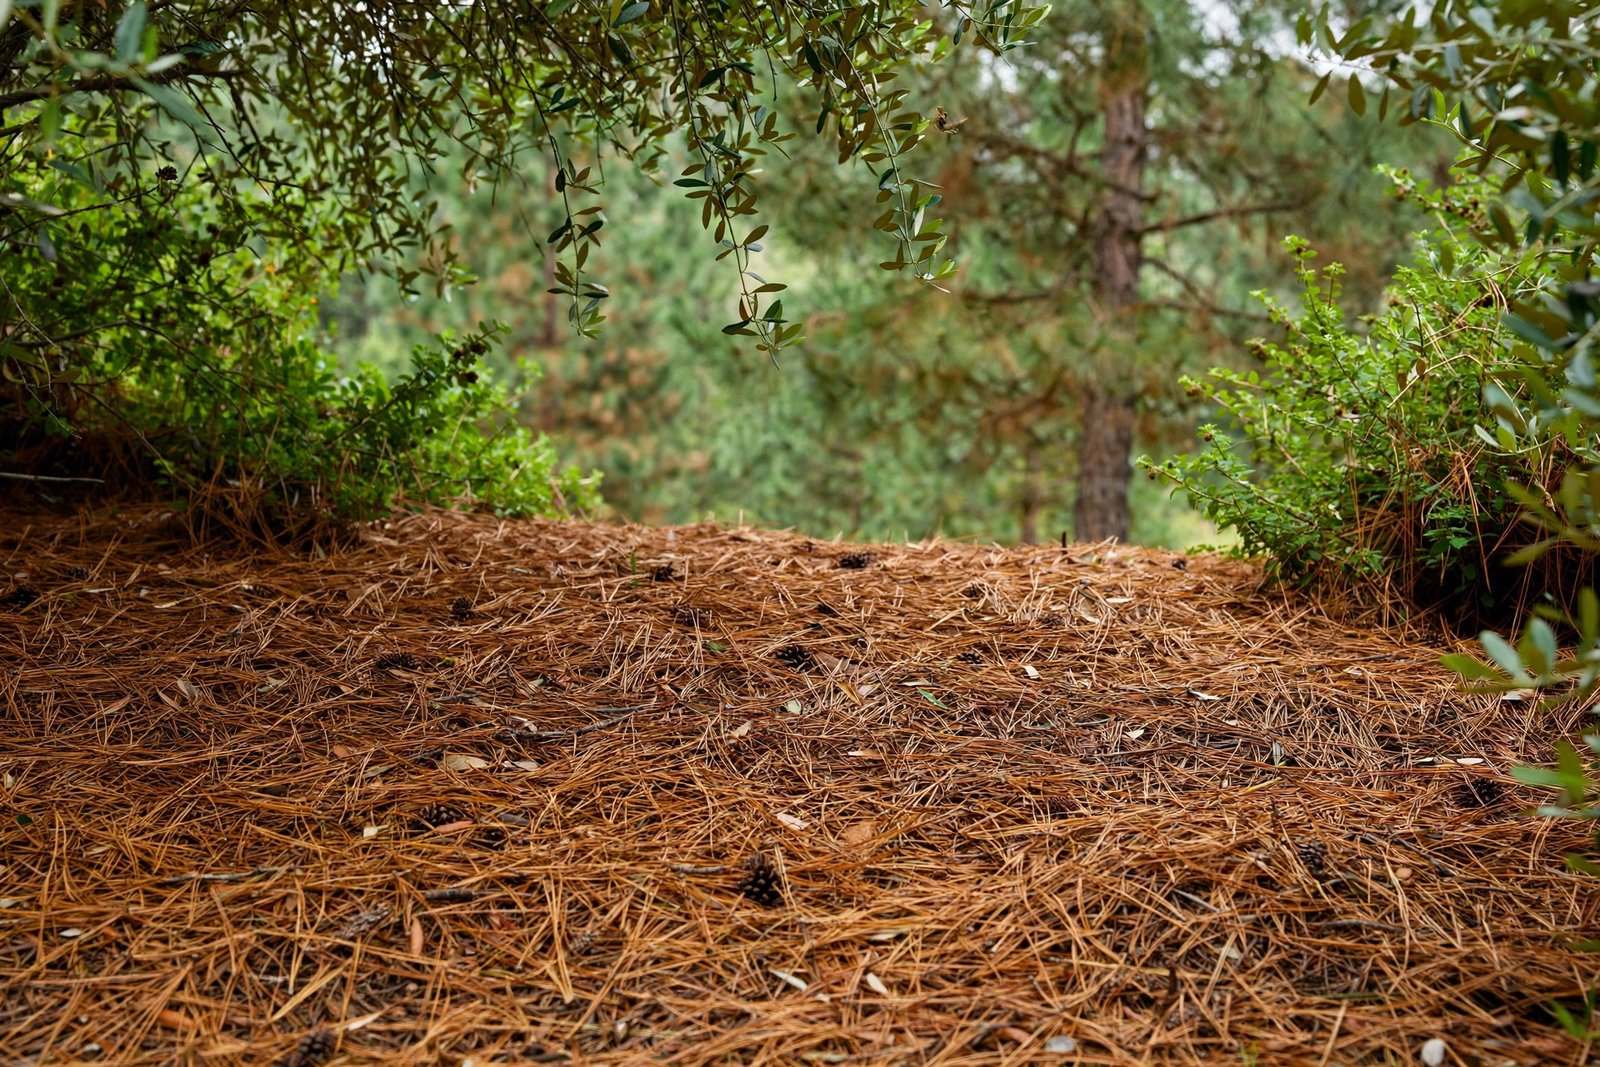
Pine needles are the compost pile’s slow guest. They arrive by the wheelbarrow every fall, sit in the pile looking exactly as they did in October, and are still recognizably needles months later while the grass clippings beside them have vanished. They do break down — eventually. The speed depends on three things you control: how small they are, what you mix them with, and how wet the pile stays.
Why pine needles are slow
Each needle wears a waxy coating that sheds water in life and resists microbes in the pile, and needles mat together into a dense layer that air cannot move through. On top of that, pine needles are carbon-heavy: their carbon-to-nitrogen ratio runs roughly 60:1 to 80:1, while a working compost pile wants an overall ratio near 25:1 to 30:1. A pile of needles alone is starved of the nitrogen microbes need to do the work, so decomposition crawls. None of this makes pine needles bad compost material — it makes them a “brown” that needs greens beside it, in the same way dry leaves do.
Shred them first — the single biggest speedup
Run a mower over a thin layer of dry needles a few times, or pass them through a shredder, until the pieces are an inch or two long. Shredding breaks the waxy coating, multiplies the surface microbes can reach, and stops the needles from matting into an airless sheet. It is the one step that changes the timeline more than any other. Whole needles in a cold, undisturbed pile can take a year or more to disappear; shredded needles in a managed pile break down in months. Do not add needles in thick, unmixed layers — layer them thinly, alternating with greens and other browns, so air and moisture reach every part of the pile.
Balance them with nitrogen-rich greens
Mix shredded needles with fresh grass clippings, kitchen scraps, or coffee grounds — the nitrogen-rich greens that feed the microbes. A practical rule is to keep pine needles to a modest share of the pile by volume, roughly a tenth to a third, with the rest made up of mixed greens and other browns. More needles than that, without enough greens, and the pile stalls: it stays cool, stays recognizable, and waits. Turning the pile every week or two re-mixes the materials, reintroduces air, and lets you check moisture at the same time. A pile that is never turned composts from the outside in, slowly; a pile that is turned composts throughout.
Keep it damp, not wet
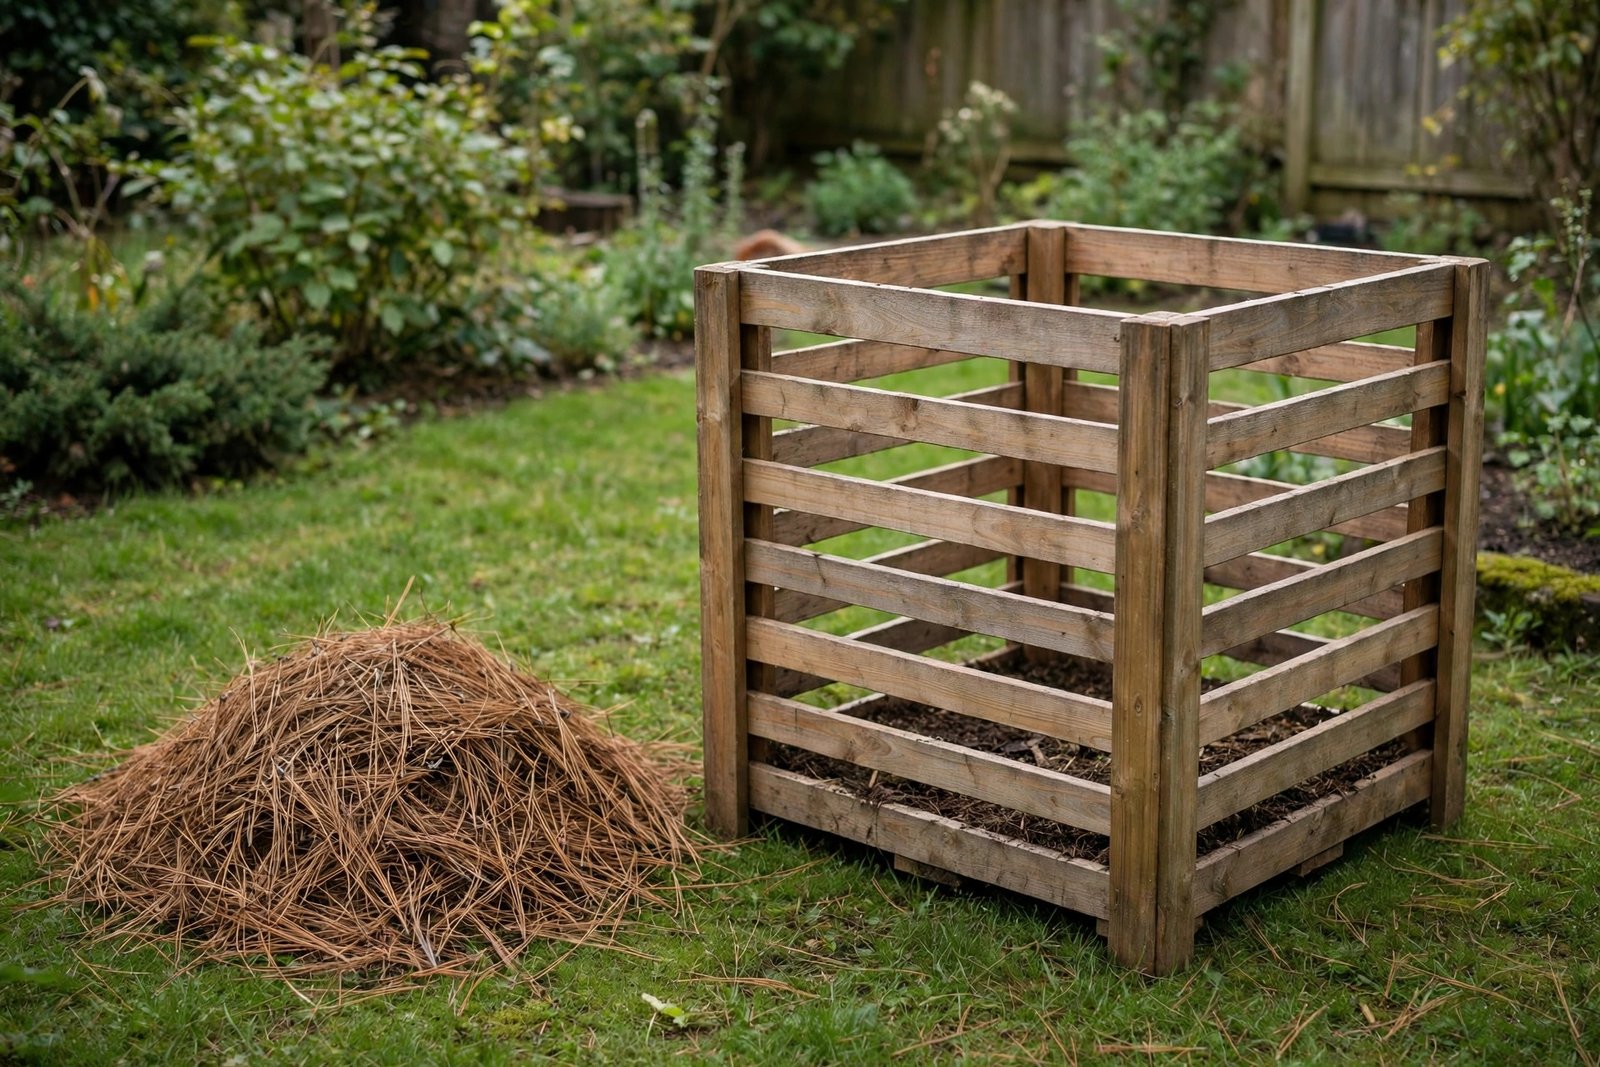
Pine needles arrive dry, especially needles collected from the ground, and a dry pile does nothing at all. Wet each layer as you build the pile, and keep the whole pile about as damp as a wrung-out sponge. Too dry, and microbes go dormant. Too wet, and air is pushed out, the pile turns slimy, and decomposition slows for the opposite reason. If water runs out when you squeeze a handful, it is too wet; if the handful crumbles dry, it is too dry. A bin with a lid or a tarp in a rainy climate helps hold the balance — the wooden bin in the featured image is the right idea, with air getting in at the sides.
The acidity question, settled
Fresh pine needles are acidic — roughly pH 3.2 to 3.8 — and that worries gardeners every fall. The acidity does not survive composting. As needles break down, the acids break down with them, and finished pine-needle compost comes out near neutral in pH, suitable for most garden beds without special treatment. The same is true of pine needles used as mulch: extension research has repeatedly found that they do not meaningfully acidify the soil beneath them, a point covered in the site’s pine-needle guides, including what grass grows under pine trees. Do not add lime to a compost pile just because it contains pine needles. If the finished compost worries you, a simple soil test on the bed it goes into will tell you more than any rule of thumb.
Hot pile vs. cold pile
A hot, actively managed pile — shredded needles, plenty of greens, regular turning, steady moisture — finishes fastest, in a matter of months. A cold pile — needles tossed on top and left alone — still finishes, but on a timescale closer to a year, and the needles on top will be the last to go. Either way works; the difference is attention, not possibility. If you have more needles than the pile can take, use the surplus as mulch instead of composting it all — pine needle mulch vs. bark mulch compares the two, and keeping pine needles out of gutters deals with the part of the fall drop that lands where it should not. Needles you cannot use in the pile or the beds can go in a fire pit only in small amounts, as kindling — see can you burn pine needles in a fire pit before lighting them.
When it is done
Finished pine-needle compost is dark, crumbly, and earthy-smelling, with no recognizable needles left. If you can still pick out whole needles, it needs more time, more greens, or more turning — usually all three, in that order. Screen out any stubborn pieces and toss them back into the next pile; they will finish there. Spread the finished compost an inch or two thick over garden beds in spring or fall, and let the worms do the last of the mixing.