A pro install quote for gutter guards can run three to four times the cost of the guards themselves, which is why most homeowners do this one from a ladder — and it is a fair DIY job, as long as you measure before you order and cut before you climb.
Most kits are built for exactly this: 4-foot panels, self-tapping screws, and nothing more specialized than a drill and a pair of tin snips. The job takes an afternoon on a single-story house. Here is the order of operations, and the mistakes that send people back to the store mid-job.
Measure first, order second
Two numbers decide the order. First, the width of your gutters — most houses have 5-inch K-style gutters, and most kits fit them. If yours are 6 or 7 inches, you need the wide version of the kit, not the standard one. Measure the trough across the top, not the fascia board behind it.
Second, the total linear feet, run by run. Walk the house with a tape measure and write down each run separately, including the garage and the porch, because a single total hides the cuts. Then order one extra box beyond your measurement. Panels overlap by about half an inch at each seam, corners eat length, and the run you mis-measured is always the one you discover last.
What you need
- The guard kit — and check whether screws are included. Raptor kits include self-tapping screws and a hex-head driver; the A-M kit does not, so buy a box of self-tapping screws with it.
- A drill with a driver bit.
- Tin snips for cutting panels to length.
- A tape measure and a pencil.
- Work gloves — cut aluminum edges are sharp.
- A sturdy extension ladder, set on level ground.
Clean the gutters before the guards go on
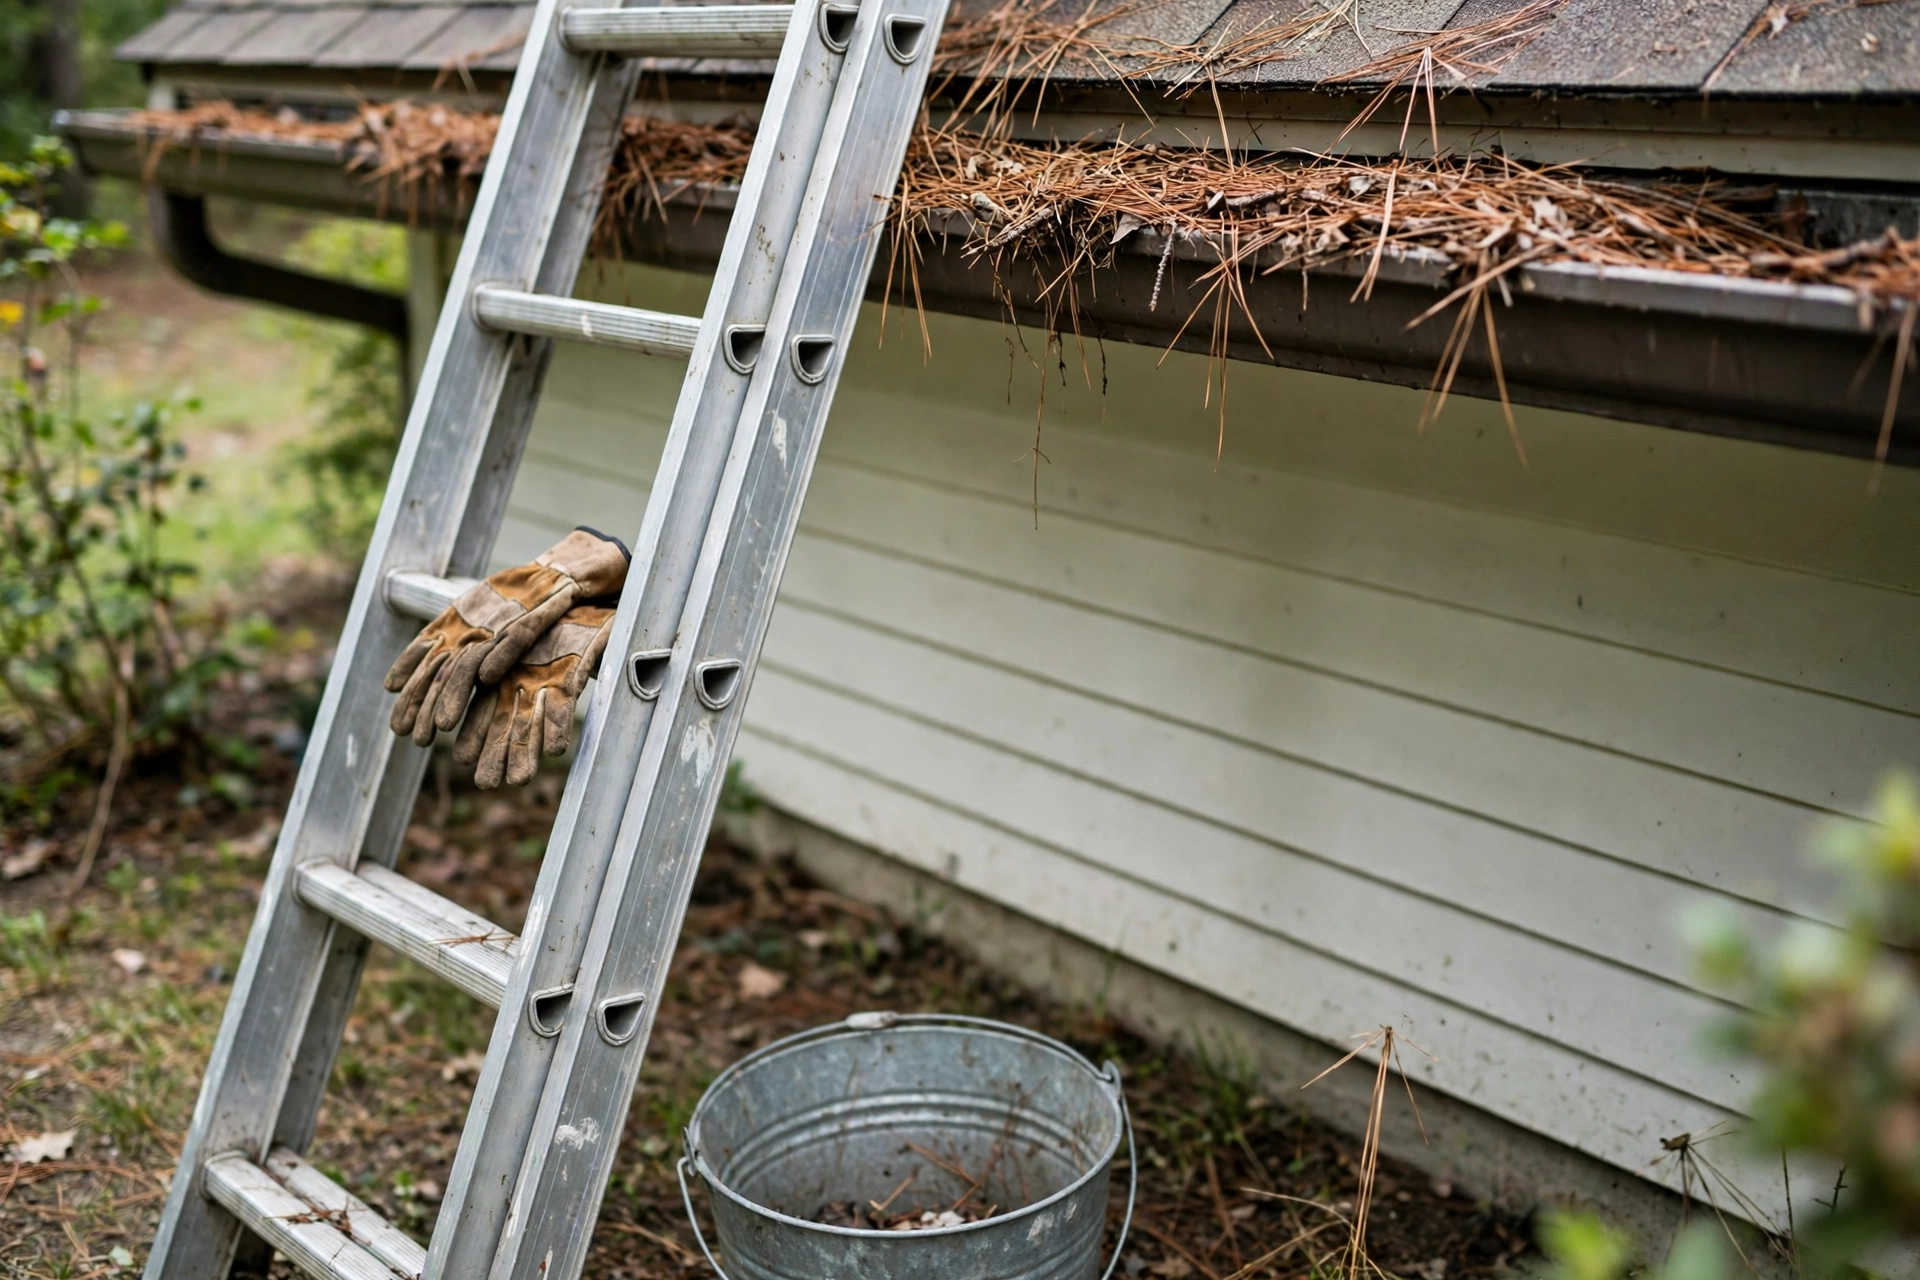
A guard over a clogged gutter just hides the clog. Scoop the trough, flush it with a hose, and check that water runs freely out of every downspout before a single panel goes up. If a downspout is slow, clear it now — you will not want to lift a screwed-down panel to do it later. This is also the moment to fix anything loose: re-seat a sagging section, tighten a hanger, and replace a cracked end cap. Guards do not fix a gutter that was already failing.
The install, step by step
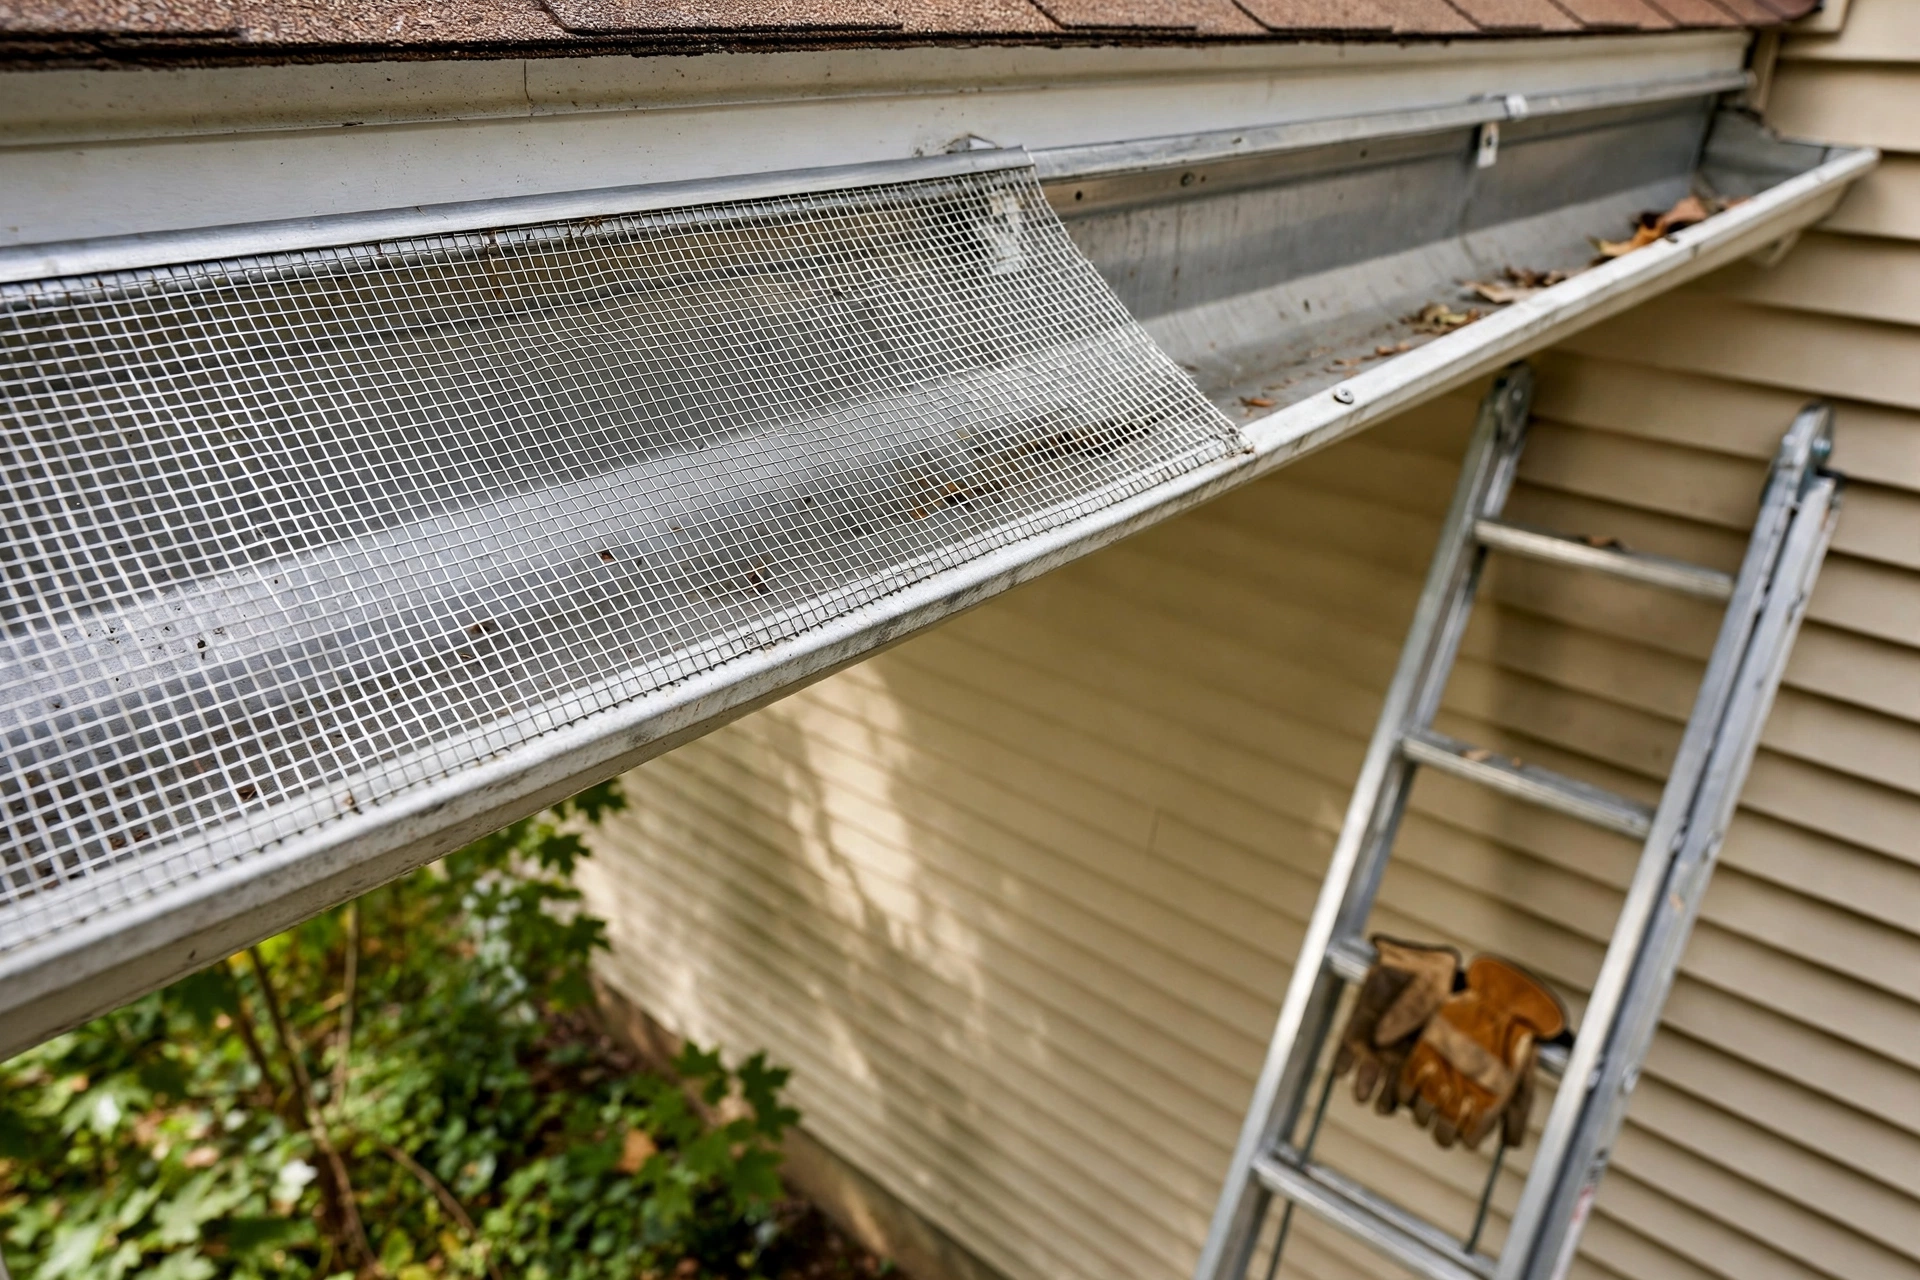
1. Start at the end farthest from the downspout. Lay the first panel flat across the gutter, with its back edge tucked under the first course of shingles or resting against the fascia, depending on the kit’s design. The front edge sits on the gutter lip.
2. Screw the front lip. Drive a self-tapping screw through the panel into the front lip of the gutter, one screw per panel near each end. Do not overtighten — a stripped screw in thin aluminum holds nothing, and you will be drilling a new hole beside it.
3. Overlap the next panel by about half an inch. Each panel’s mesh extends slightly past its frame so the seam sheds water instead of catching it. Keep the overlap consistent down the run, and keep the panels in a straight line — a wandering panel leaves a gap at the fascia that needles will find.
4. Cut the last panel to fit. Measure the remaining gap, mark the panel, and cut it with tin snips. File or fold the cut edge if it is sharp, and screw the cut piece down the same way. A cut panel still needs a screw at each end or it will lift in the wind.
5. Work around hangers and corners. Hidden hangers sit inside the trough, and the panel has to notch around them. Mark the hanger’s position on the panel, cut a small notch with the snips, and seat the panel over it. At an inside corner, cut two panels at an angle and overlap them so the seam points downhill. At an outside corner, let one panel run past the corner and cut it flush.
6. Flush-test the run. Run the hose into the gutter at the far end and watch the downspout. A steady stream means the panels are seated and the water is getting in. If water sheets over the front edge, a panel is sitting high — back the screws out, reseat it, and screw it down again.
Mistakes that cost a second trip
The most common one is ordering exactly the measured feet, with no spare box. Cuts, overlaps, and corners eat length, and a half-finished run with no panels left is a wasted afternoon. The second is installing over gutters that were never cleaned — the clog is still there, now under a screwed-down panel. The third is working in the rain or on wet shingles to beat a storm; the guards will still be there tomorrow, and a wet ladder will not forgive a slip.
And do not force a panel under the shingles. Some kits are designed to tuck under the first course, and some are designed to screw to the fascia instead. If the kit’s instructions say fascia-mount, fascia-mount it — prying a shingle up to force a panel underneath can crack the shingle and void a roof warranty.
When to hire it out
Two stories, a steep roof, or gutters that need re-pitching are the lines. A second-story run from a tall extension ladder is a different job from a single-story ranch, and a gutter that holds standing water needs its slope fixed before any guard goes on. In those cases, the pro quote buys safety and a warranty on the install — which is the one thing a DIY job cannot give you.
What to do next
Once the guards are on, the job changes from installing to maintaining. Brush the mesh off twice a year — spring and fall, or after any heavy shed — and flush the trough so you know the downspouts are open. Our guide to cleaning pine needles off gutter guards covers the routine. If you have not picked a guard yet, start with the best gutter guards for pine needles, and if you are still weighing the two main styles, micro-mesh vs screen gutter guards settles it for a house under pines.