Your lawn looks hungry, so you feed it. It stays hungry. You feed it again, and now the neighbor’s lawn looks better on half the fertilizer. The problem is rarely effort. It is information: you are feeding a lawn without knowing what its soil already has.
A soil test fixes that, but only if the sample is honest. One scoop from the worst patch tells you about one scoop. A proper composite sample tells you about the lawn. Here is the method, in the order you actually do it.
What a Good Sample Looks Like
A good sample is many small cores, mixed together, taken at the same depth, from one uniform area. Iowa State Extension puts the number at 10 to 15 cores per composite sample, all pulled at a consistent 6-inch depth, because its phosphorus and potassium recommendations are calibrated to that depth. Tennessee’s soil lab says the same: about ten locations per area, 6 inches deep, mixed into one composite.
Depth matters because nutrients, pH, and organic matter change as you go down. A core taken at 2 inches and a core taken at 6 inches are different soils. Mix them and the result describes neither. Pick the depth your lab calibrates to, usually 6 inches for lawns, and hold it for every core.
Step 1: Divide the Yard Into Sampling Areas
Split before you dig. The front lawn, the back lawn, and the garden bed are separate sampling areas if they differ in soil, history, or how they look. A shady area that stays damp, a strip where the compost pile sat, and the main lawn are not the same soil, and averaging them hides the problem you are trying to find.
Skip unusual spots when sampling for the average: fence rows, low wet hollows, the place fertilizer spilled, the edge where lime dust collected. If you want to know about an unusual spot, sample it separately and label it as its own area.
Step 2: Gather the Right Tools
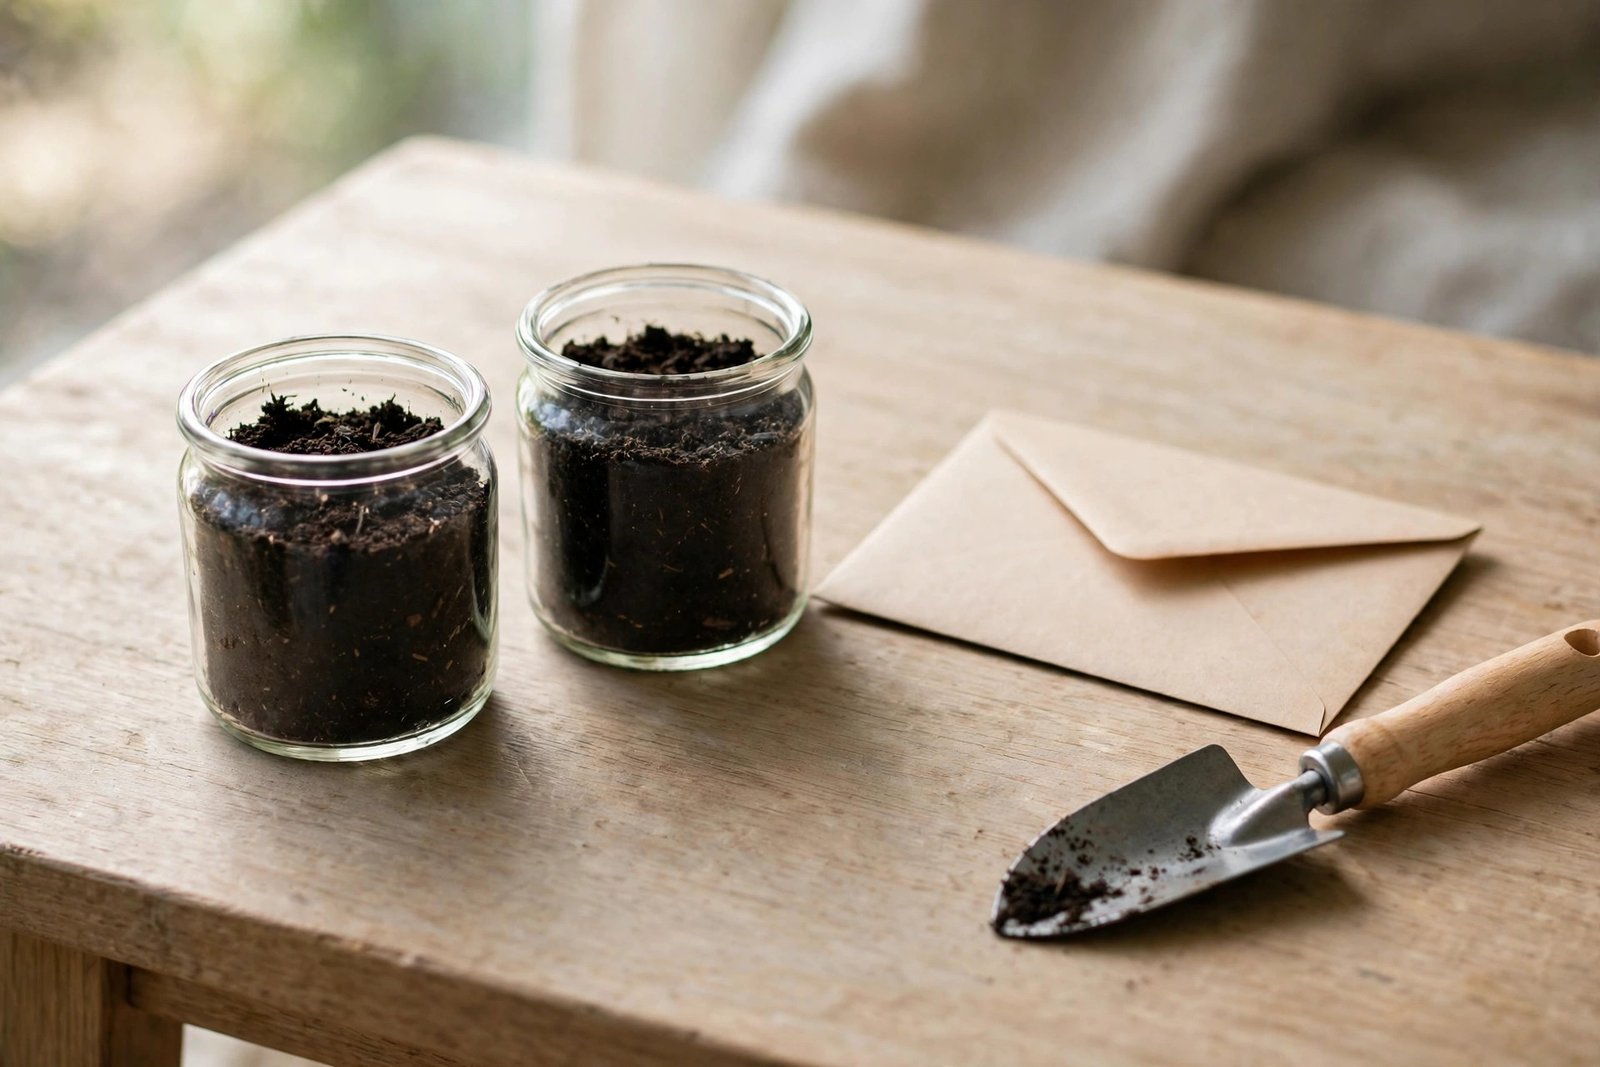
Keep it clean and plastic. You need a soil probe or a clean spade or trowel, a clean plastic bucket, and a bag or box for the mixed sample. Avoid brass, bronze, or galvanized tools, which can contaminate the sample with copper and zinc and skew the results.
Clear thatch and surface debris from each spot before you dig. You are sampling soil, not last season’s mulch. If the soil is frozen, waterlogged, or bone dry, wait for better conditions; a sample taken in extreme conditions misrepresents the ordinary soil.
Step 3: Take 10 to 15 Cores at 6 Inches
Walk a zigzag, and keep the depth steady. Push the probe straight down to 6 inches, pull the core, and drop it in the bucket. With a spade, dig a small hole and cut a thin vertical slice about an inch thick from one side, trimming the edges so you keep a ribbon of soil about 2 inches wide, the full depth.
If a core pulls differently from the rest, or looks clearly different, discard it and pull another nearby. One odd core is usually a rock, a root, or an old buried something, and it does not represent the area. Repeat until you have 10 to 15 good cores in the bucket.
Step 4: Mix, Bag, and Label
Mix thoroughly, then take your sample from the mix. Break up the cores in the bucket, pick out stones, roots, and thatch, and mix until the soil looks uniform. Scoop about a cup of the mixed soil into your sample bag or box. If the soil is wet, let it air-dry on a paper plate first; do not heat it, and do not ship a soaking sample.
Label the bag as you go: area name, depth, and date. “Front lawn, 6 in.” beats a mystery bag every time, especially if you are sending two or three samples and the lab asks which is which. Repeat the whole process for each sampling area, with a clean bucket each time.
Reading the Results: What the Numbers Mean
A lab report and an at-home kit answer different questions, and reading them the same way causes mistakes. A lab report gives numbers: pH, buffer pH, organic matter, and nutrient levels in parts per million or pounds per acre, with recommendations. Buffer pH is the one to watch for lime decisions, because it tells you how much lime the soil needs, not just that it is acidic.
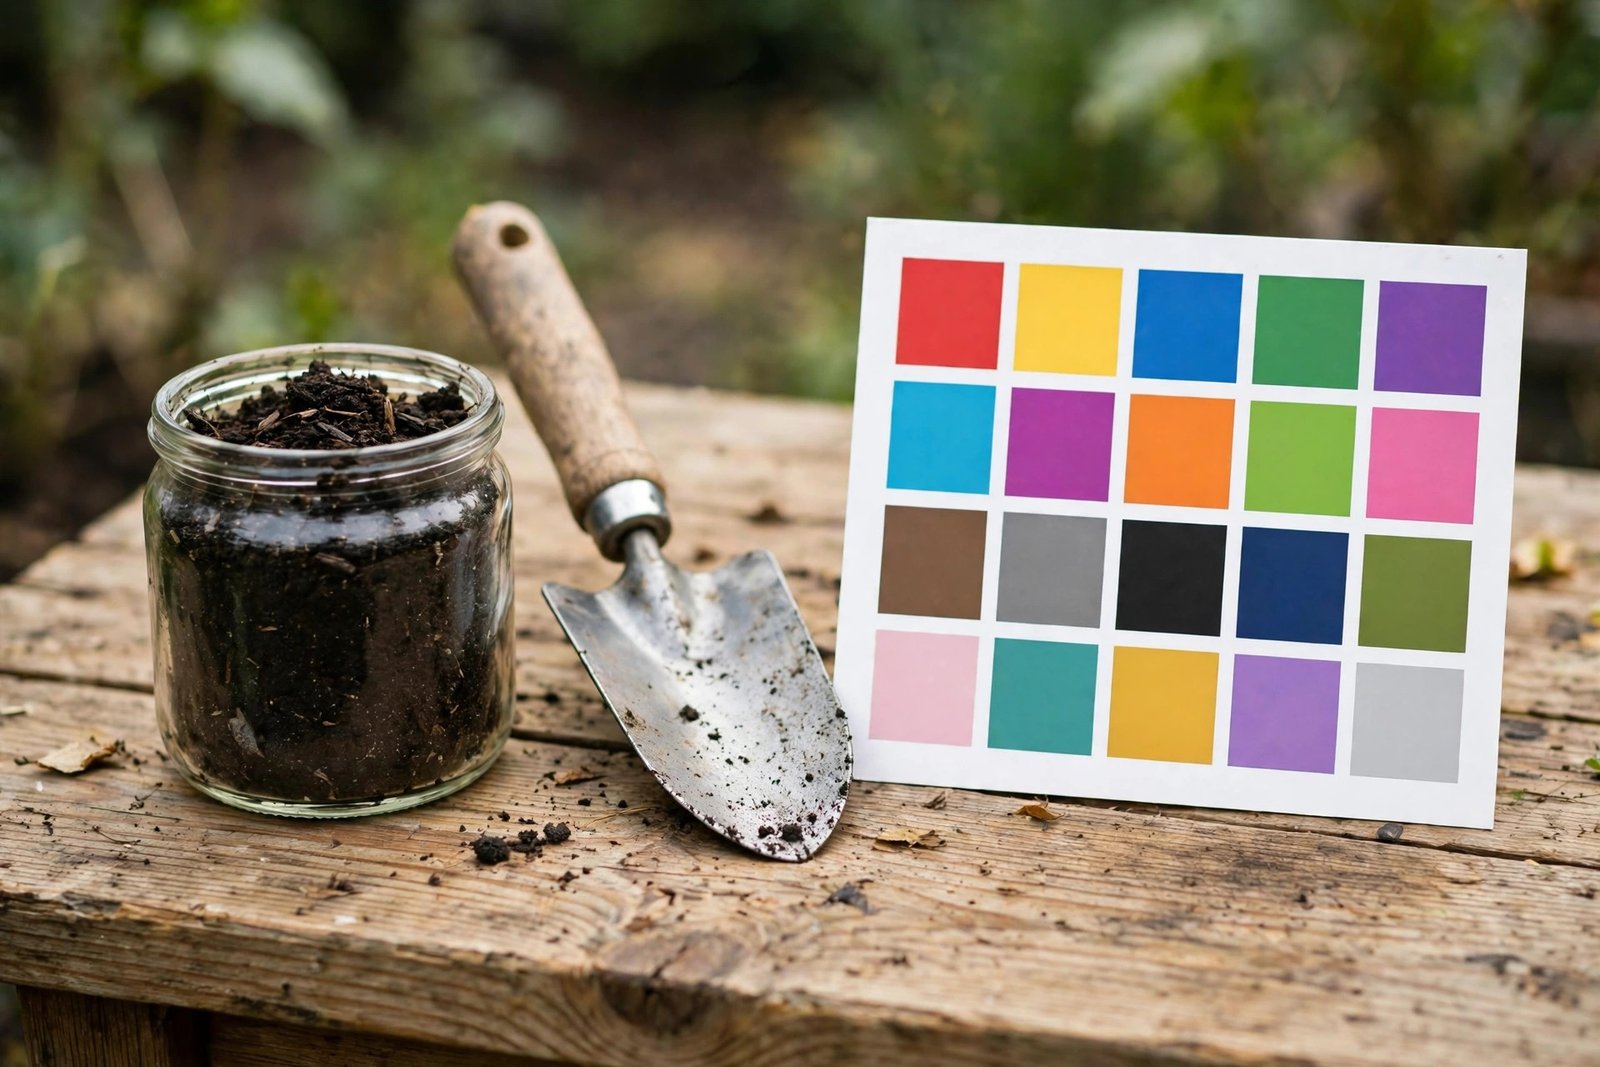
An at-home kit like the Luster Leaf Rapitest gives ranges: low, medium, or high for pH, nitrogen, phosphorus, and potash, by matching a color to a chart. Treat those ranges as a diagnosis, not a prescription. Very acidic, low nitrogen, or surplus phosphorus are all visible this way. The exact pounds of fertilizer are not.
Either way, compare the result to what the lawn is showing. Yellow, thin turf with low nitrogen on the report is a consistent story. Yellow turf with adequate nitrogen and a pH of 5.2 is a different story, and the fix is lime, not more fertilizer. That distinction is the whole value of testing, and it is why our soil test kit roundup starts with the question you are asking, not the kit.
When to Test, and How Often
Test before you start a fertilizer program, before overseeding a struggling lawn, and whenever a lawn stops responding to feeding that used to work. Fall is a good window: the results arrive in time to plan lime or fertilizer for the next season, and the soil is usually workable.
Retest every three to five years to track change, and sooner if you lime heavily or renovate. Keep each report. The trend across reports tells you more than any single result, and it is the record that stops the next round of guessing.
For the kit-versus-lab decision, read our lab vs at-home comparison, and for what the fertilizer numbers mean once you have them, our 28-0-3 vs 10-10-10 guide does the bag math. A good sample, taken well, is the cheapest lawn advice you will ever buy.