Landscape & Leisure is reader-supported. When you buy through links on our site, including Botanical Interests seed links, we may earn a commission at no extra cost to you. Prices change, so click through to confirm current pricing.
November is when the seed station goes up. The garden is put to bed, the days are short, and a shelf in the basement or a corner of the kitchen counter quietly becomes the nursery for next spring. Set it up now, while there is nothing urgent growing on it, and February’s sowing is a calm afternoon instead of a scramble for trays, lights, and an outlet that is already taken.
A station is four pieces in one spot: trays to hold the seedlings, a bottom tray to hold the water, a light to stand in for the sun, and heat for the seeds that need it. Our seed-starting supplies roundup compares the pieces themselves; this guide is about putting them together and running them through a season.
Why a Station Beats a Windowsill
A windowsill gives a seedling light from one direction, for as many hours as the winter day allows, and warmth that swings with the weather outside the glass. Seedlings stretch toward that single window, grow thin stems, and flop — the leggy seedling problem our leggy seedlings guide covers in full. A station fixes the geometry: light comes from directly above, for fourteen to sixteen hours a day, and the heat comes from below, steady, where the roots are.
The other thing a station gives you is a routine. Watering, checking, and potting up all happen in one place, on one shelf, instead of across three windowsills and a kitchen table. Seedlings that get looked at every day are seedlings whose problems get caught while they are still small.
The Four Pieces
| Piece | What it does | When you need it |
|---|---|---|
| Cell trays | Hold the seedlings, one or a few per cell | Every sowing — the 6-cell for most crops, the 4-cell for big-rooted ones |
| Bottom tray | Catches water; lets you water from below | Every sowing — one 1020 tray holds a full flat of cells |
| Grow light | Stands in for the sun, from directly above | Any time the days are short — which is most of seed-starting season |
| Heat mat | Lifts soil temperature 10–20°F | Only for heat-lovers: peppers, eggplant, tomatoes |
The Light: One Fixture That Does Two Jobs
The light is the piece most people put off buying, and it is the piece that matters most. A seedling under weak light does not just grow slowly — it grows wrong, stretching tall and pale toward the nearest window, and no amount of later sun fixes a stem that started out thin. Fourteen to sixteen hours of light a day, from directly above and close to the leaves, is what keeps a seedling short and stocky.
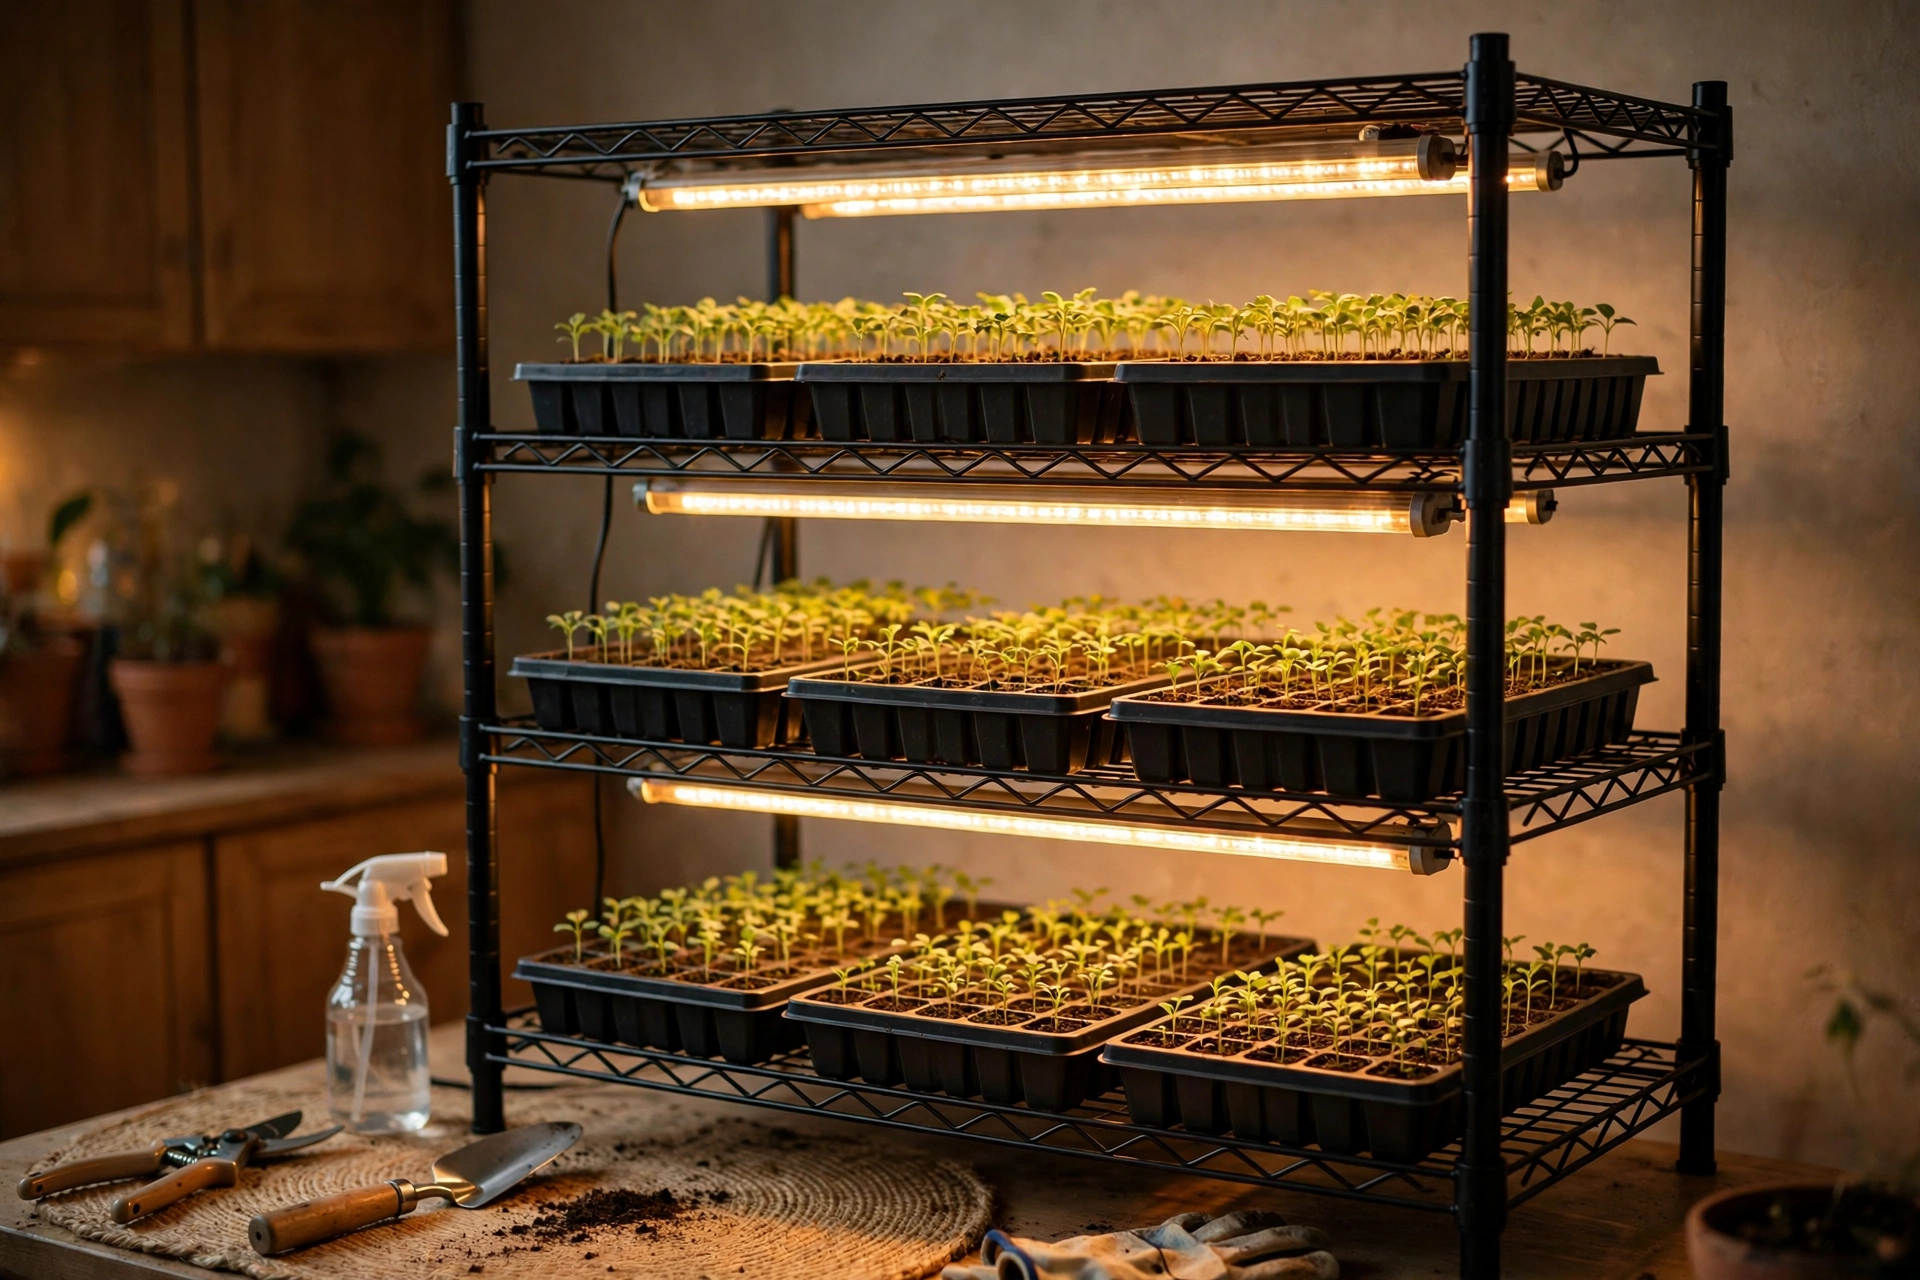
The simplest way to get there on a small shelf is a light built for the job. The Epic Grow Light with Tray pairs bright, energy-efficient LEDs with a watertight bottom tray built in — the tray alone holds twelve 6-cell trays or eight 4-cell trays, so a whole sowing fits under one light. The LEDs are made for seedlings, bright without excess heat, so the fixture sits close over the trays without scorching them. It screws together with no tools, plugs into a standard outlet, and switches on and off with one switch. At $129.99 it is the priciest piece in the station, and it is also the one that decides whether your seedlings look like plants or like pale string. Gardeners rate it 4.0 from 107 reviews.
Pros: LEDs bright enough for seedlings without excess heat; built-in bottom tray holds twelve 6-cell or eight 4-cell trays; no tools to set up; low profile for a countertop or shelf.
Cons: $129.99 is a real outlay for a first station — though it replaces a separate light and a separate bottom tray.
BEST FOR SMALL SPACES
Epic Grow Light with Tray
Light and bottom tray in one low-profile fixture — a whole sowing fits under it on a shelf or countertop.
Set It Up, Step by Step
1. Pick the spot. A shelf near an outlet, out of the path of daily traffic, where a little spilled water will not matter. A basement shelf, a spare-room table, or a kitchen counter all work — the station is small, and a single light covers a whole flat.
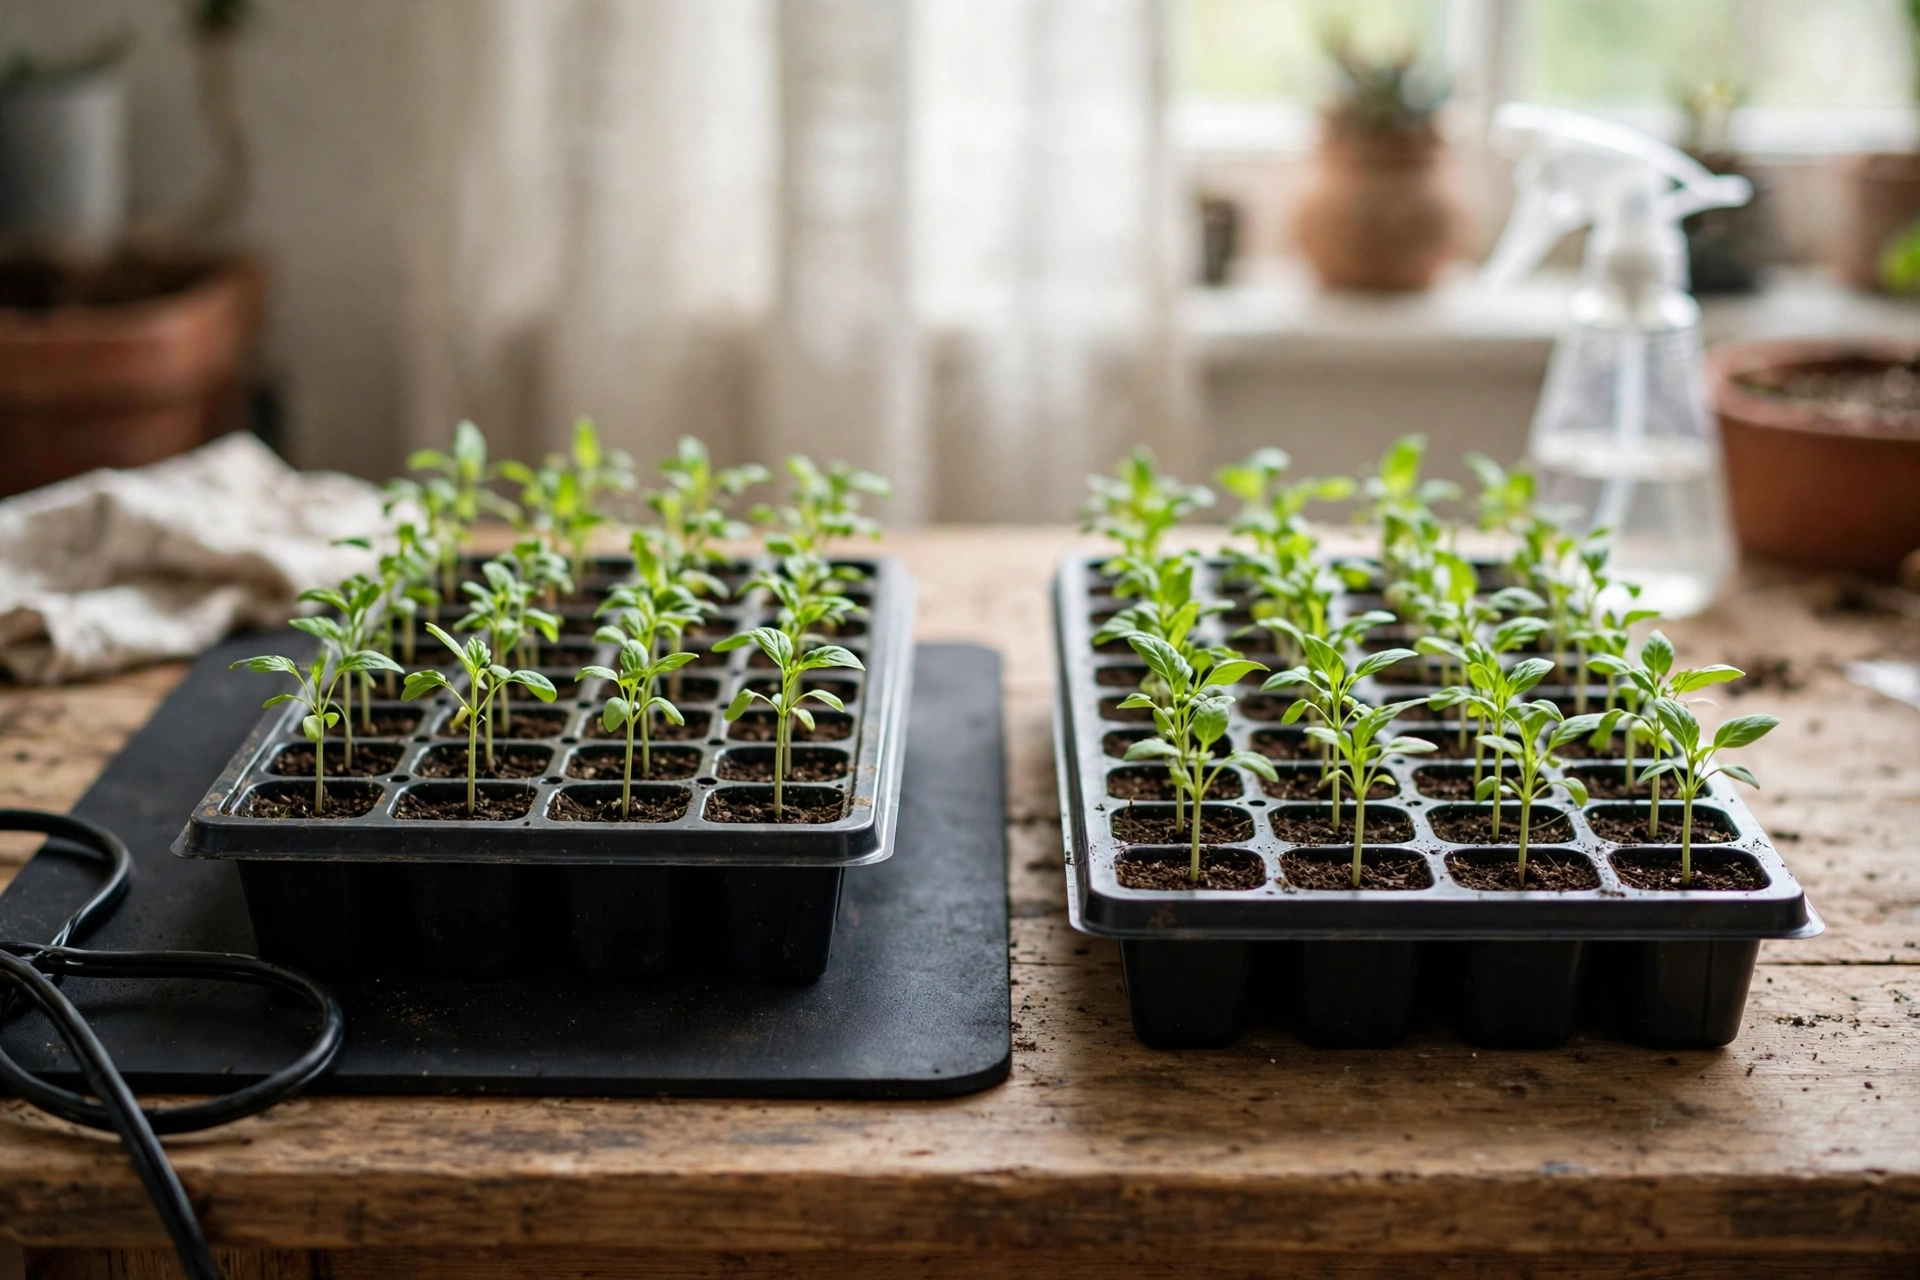
2. Lay the heat mat first, if you are using one. The mat goes under the bottom tray, not under the seedlings directly. It is ten by twenty and three-quarter inches, sized to fit a 1020 tray exactly, and it draws just 20 watts. Only set it under the heat-lovers — peppers, eggplant, and tomatoes. Our heat mat comparison settles which seeds earn the mat and which do fine without it.
3. Fill the cells with seed-starting mix. Use a fine, sterile mix, not garden soil and not potting soil — the difference matters, and our seed-starting mix comparison explains why. Moisten the mix before you sow, so it is damp all the way through but not dripping.
4. Sow at the depth on the packet. Most vegetable seeds go about a quarter inch deep. Press surface-sown seeds against the damp mix and leave them uncovered, since some seeds need light to germinate. Keep the strongest seedling in each cell and snip the extras with scissors, so you never disturb the roots of the one you keep.
5. Set the light close above the trays. The Epic light is built to sit right over the seedlings without burning them — the LEDs give bright light without excess heat. If you are using a shop light instead, hang it a few inches above the leaves and raise it as the plants grow. Light from above, fourteen to sixteen hours a day, is what keeps seedlings stocky.
6. Water from below. Pour water into the bottom tray and let the mix draw it up. Leaves stay dry, the mix stays evenly moist, and you can see at a glance when the tray needs refilling. Top-watering washes seeds around and wets foliage, which is how damping-off gets its start.
The Trays and the Heat
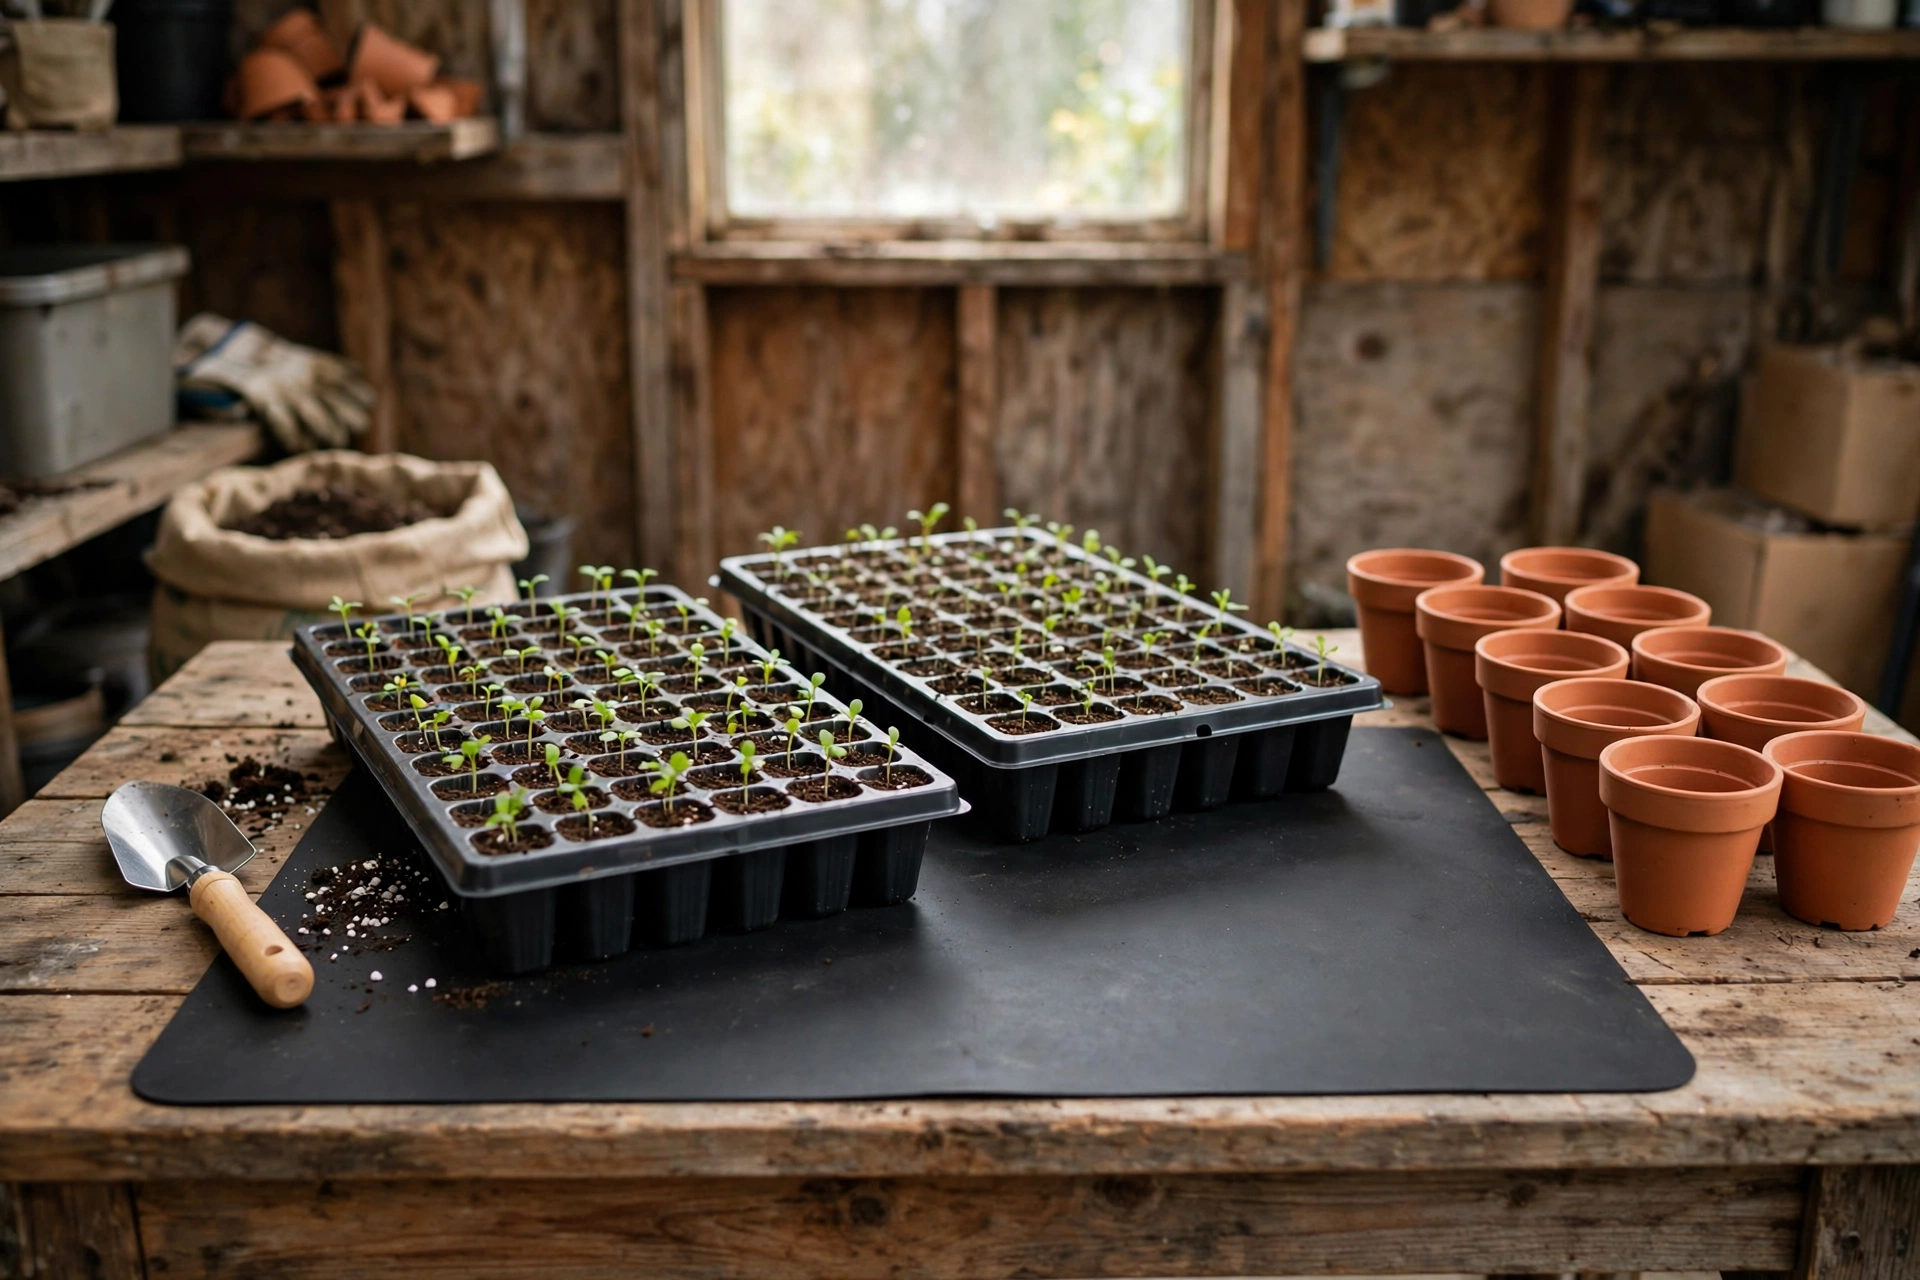
The 6-cell trays are the default for most sowings — thick recycled plastic, five times thicker than a standard tray, with air-pruning slots that stop roots from circling and finger holes that let you push each seedling out without tearing it. Twelve fit one bottom tray. When a seedling fills its cell but the weather is still weeks from transplanting, the 4-cell tray is the pot-up step: deeper cells, two and three-eighths inches square, built for melons, cucumbers, and tomatoes that need more root room.
Pros: 500% thicker than standard trays, with air-pruning slots and finger holes; 4.9 from 579 reviews; twelve fit one bottom tray; multi-pack pricing down to $2 a tray.
Cons: a six-tray pack is more than a one-window gardener needs in a year — split it with a neighbor.
BEST OVERALL
Epic 6-Cell Seed Starting Trays
The tray everything else is built around — thick, reusable, and sized for a full flat of seedlings.
The heat mat is the smallest piece of the station and the easiest to misuse. It lifts the soil ten to twenty degrees, which is exactly what peppers, eggplant, and tomatoes need to germinate in a cool house — and exactly what lettuce and greens do not need. At $29.99, with a 4.7 rating from 50 reviews, it is cheap insurance for the heat-lovers and a waste of an outlet for everything else. Once the seeds are up, unplug it: its job is germination, not growing on.
Pros: lifts soil 10–20°F on 20 watts; fits a 1020 tray exactly; 4.7 from 50 reviews; $29.99.
Cons: no thermostat or timer — one steady setting, so you manage it by unplugging.
BEST FOR HEAT-LOVERS
Epic Seed Starting Heat Mat
Ten to twenty degrees of bottom heat for peppers, eggplant, and tomatoes — the fix for a cold windowsill.
When to Start, and When to Move Them Out
Count back from your last frost. Most vegetables start six to eight weeks before it; heat-lovers stretch longer — eggplant wants ten to twelve weeks indoors. The exact windows for the warm-season crops are in our eggplant timing guide and our pepper timing guide, and the beginner’s guide to starting seeds indoors covers the first season start to finish.
Transplant when seedlings stand three to four inches tall — that is the size the Epic trays are designed to deliver, and the point where a seedling has roots enough to handle the move. From there it goes into a bigger pot or a lined grow bag, and then, after seven to ten days of hardening off, into the garden. Our hardening-off guide walks through that last week, which is the step most often skipped and most often regretted.
What to Watch Next
A working station shows itself quickly: short, stocky stems, deep green first true leaves, and mix that dries evenly between waterings. The one mistake that undoes it is leaving the dome or plastic cover on after the seeds sprout — humidity that helped germination turns into the damp, still air where damping-off thrives. Take the cover off the day you see green, keep the air moving, and let the station do the quiet work it was set up for.