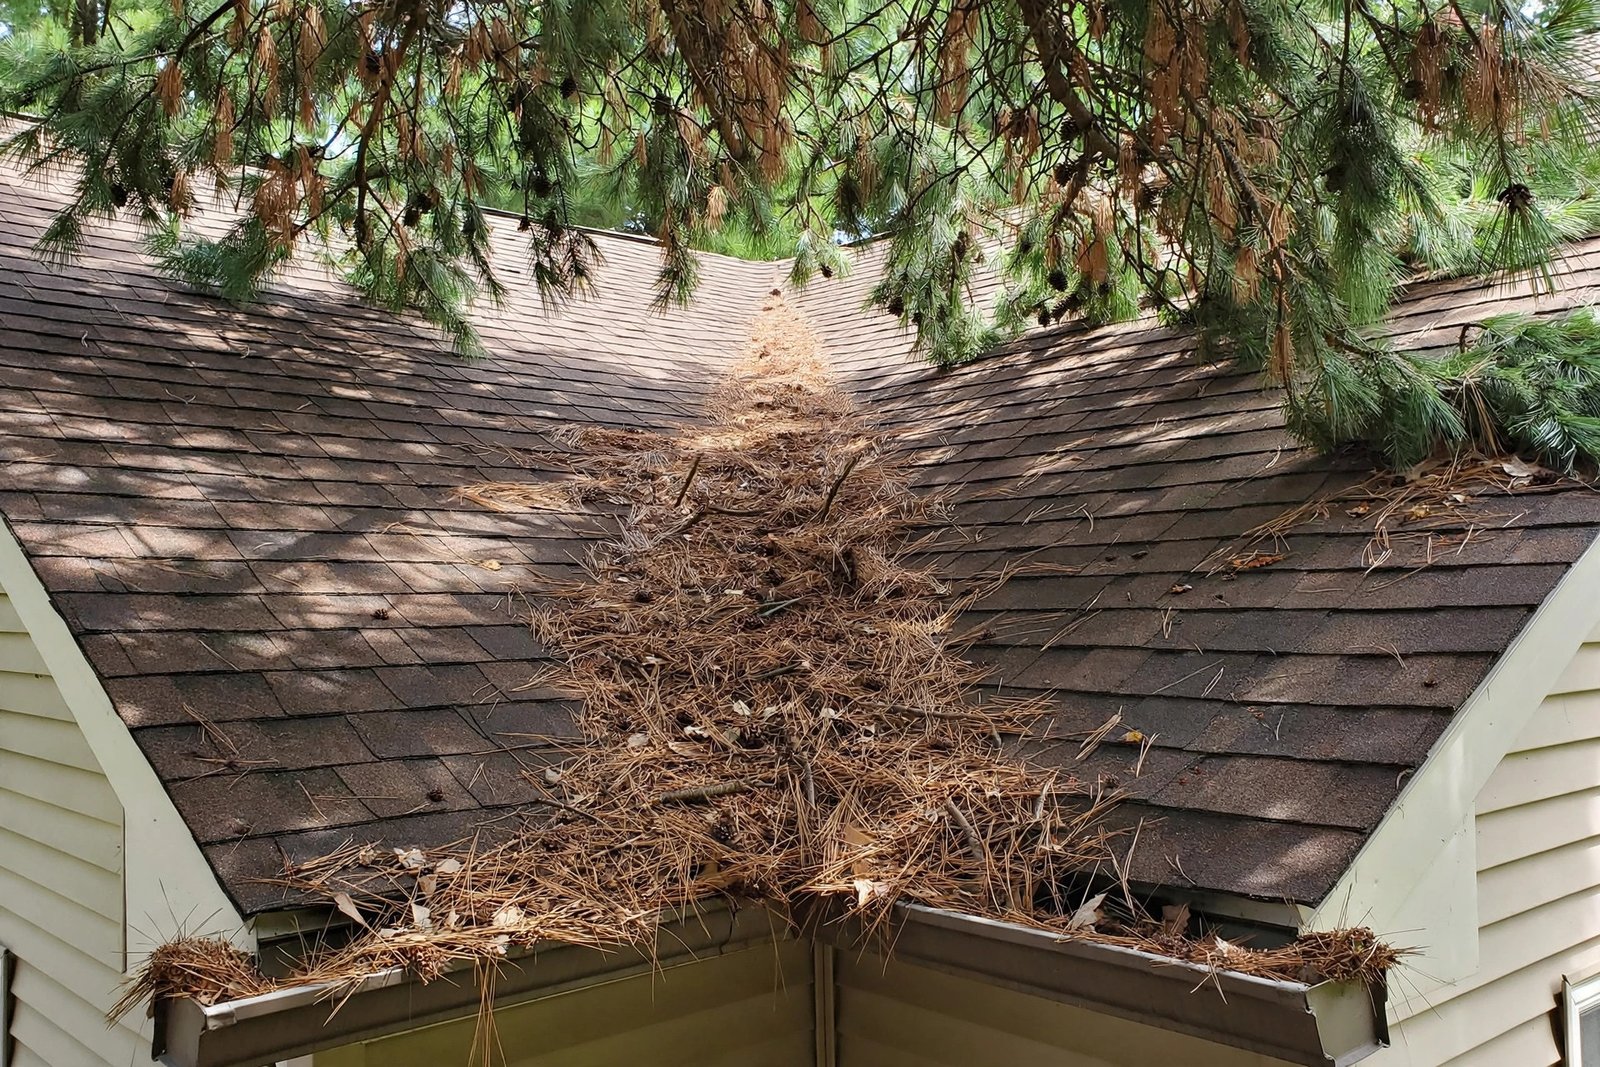
By the time the air turns crisp, the valleys on a pine-shaded roof are already filling. Needles drift down, catch in the seams, and stay put through the next rain. Left alone, that drift holds water where the roof is supposed to shed it.
Clearing it is straightforward work, but only with the right tools and only when the roof is safe to work on. This guide covers both, plus the point where calling a professional is the right call.
Why Needles Are Harder on a Roof Than Leaves
Leaves blow off a roof or wash down it in a storm. Needles interlock into a dense mat that stays put, and that mat holds moisture against the shingles long after the rain stops.
That trapped dampness is the real problem. It encourages mold, mildew, and moss growth, which wear down the shingle surface and loosen the protective granules. Over time, needles can also work their way under shingle edges and trap water there.
Valleys suffer first because everything drains into them. A valley full of needles acts like a small dam, slowing water and sending it sideways under shingles instead of down into the gutters.
First Decision: Stay Off the Roof or Not
Before you touch a tool, decide honestly whether you should be up there at all. Stay off the roof and call a professional if the pitch is steep, the roof is two stories or higher, the shingles are old or visibly fragile, or the surface is wet, icy, or mossy underfoot.
A roof that looks fine from the ground can be slick with a thin layer of damp needles. If you feel unsure on the ladder, that is the answer — do the ground-level work below and hire out the rest.
Never work on a roof alone. Someone on the ground holding the ladder and watching for trouble is not optional, it is the basic safety setup for this job.
Tools That Work
A leaf blower on a low setting is the gentlest way to move dry, loose needles. Aim the air down the slope or across it, never upward against the shingle tabs, which can lift edges and drive needles underneath.
A soft-bristle push broom handles the matted needles a blower leaves behind. Sweep gently downhill with light pressure and let the bristles do the work.
A roof rake with a long handle lets you pull needles down from the eaves while standing on the ground or a stable ladder. It is the best option for a low, single-story roof you would rather not walk on.
Clearing the Roof, Step by Step
Start high and work down. Begin at the ridge and move toward the gutters so debris travels in one direction and you are not re-covering ground you already cleared.
Clear the valleys first. Valleys collect the most needles and cause the most trouble, so give them the first pass with the blower or broom before moving to the open slopes.
Blow loose needles, then broom the mat. Use the blower for what moves easily, then switch to the soft broom for the matted layer that stays behind.
Work in sections. Clear one slope or valley at a time, moving debris down to the eaves and off the roof rather than pushing it sideways into another valley.
Check the edges and flashing. Needles collect around chimneys, vents, and skylights, where they hold water against flashing. Clear those pockets gently by hand or with the broom.
What to Avoid
Never use a pressure washer on an asphalt shingle roof. The Asphalt Roofing Manufacturers Association warns that pressure washers should never be used on asphalt shingles, because the high-pressure stream strips protective granules and can lead to premature failure of the roofing system. GAF’s technical guidance says the same: do not power wash shingles.
Never use metal scrapers, shovels, or stiff wire brushes on shingles. Metal tools gouge the granule surface, and every gouge is a spot where water and sun wear the shingle faster.
Never blow or sweep upward against the shingle laps. Shingles are layered to shed water downward, and anything that lifts a tab or pushes debris under it works against that design.
Never walk a steep, wet, or moss-covered roof to chase the last needles. A few needles left in place are harmless compared with a fall or a cracked shingle from a misplaced step.
When to Call a Professional
Call a roofer or a roof-cleaning service if the roof is steep or two stories, if shingles are curling, cracked, or losing granules in handfuls, or if you see dark stains, moss, or signs of a leak inside the house.
Those signs mean the job is no longer simple debris removal. A professional can clean safely and tell you whether the roof needs repair rather than just a clearing.
For a straightforward single-story roof with loose needles and sound shingles, the DIY method above is enough. For anything beyond that, the cost of a pro is small next to the cost of a damaged roof.
Finish With the Gutters
Everything you clear off the roof ends up in the gutters, so finish there. Scoop out the needles, flush the downspouts with a garden hose, and check that water runs freely instead of overflowing the eaves.
Needles are small enough to slip through many gutter screens, so this step matters more than it does for leaves. Our guide to keeping pine needles out of your gutters covers guards and habits that cut this job down over time.
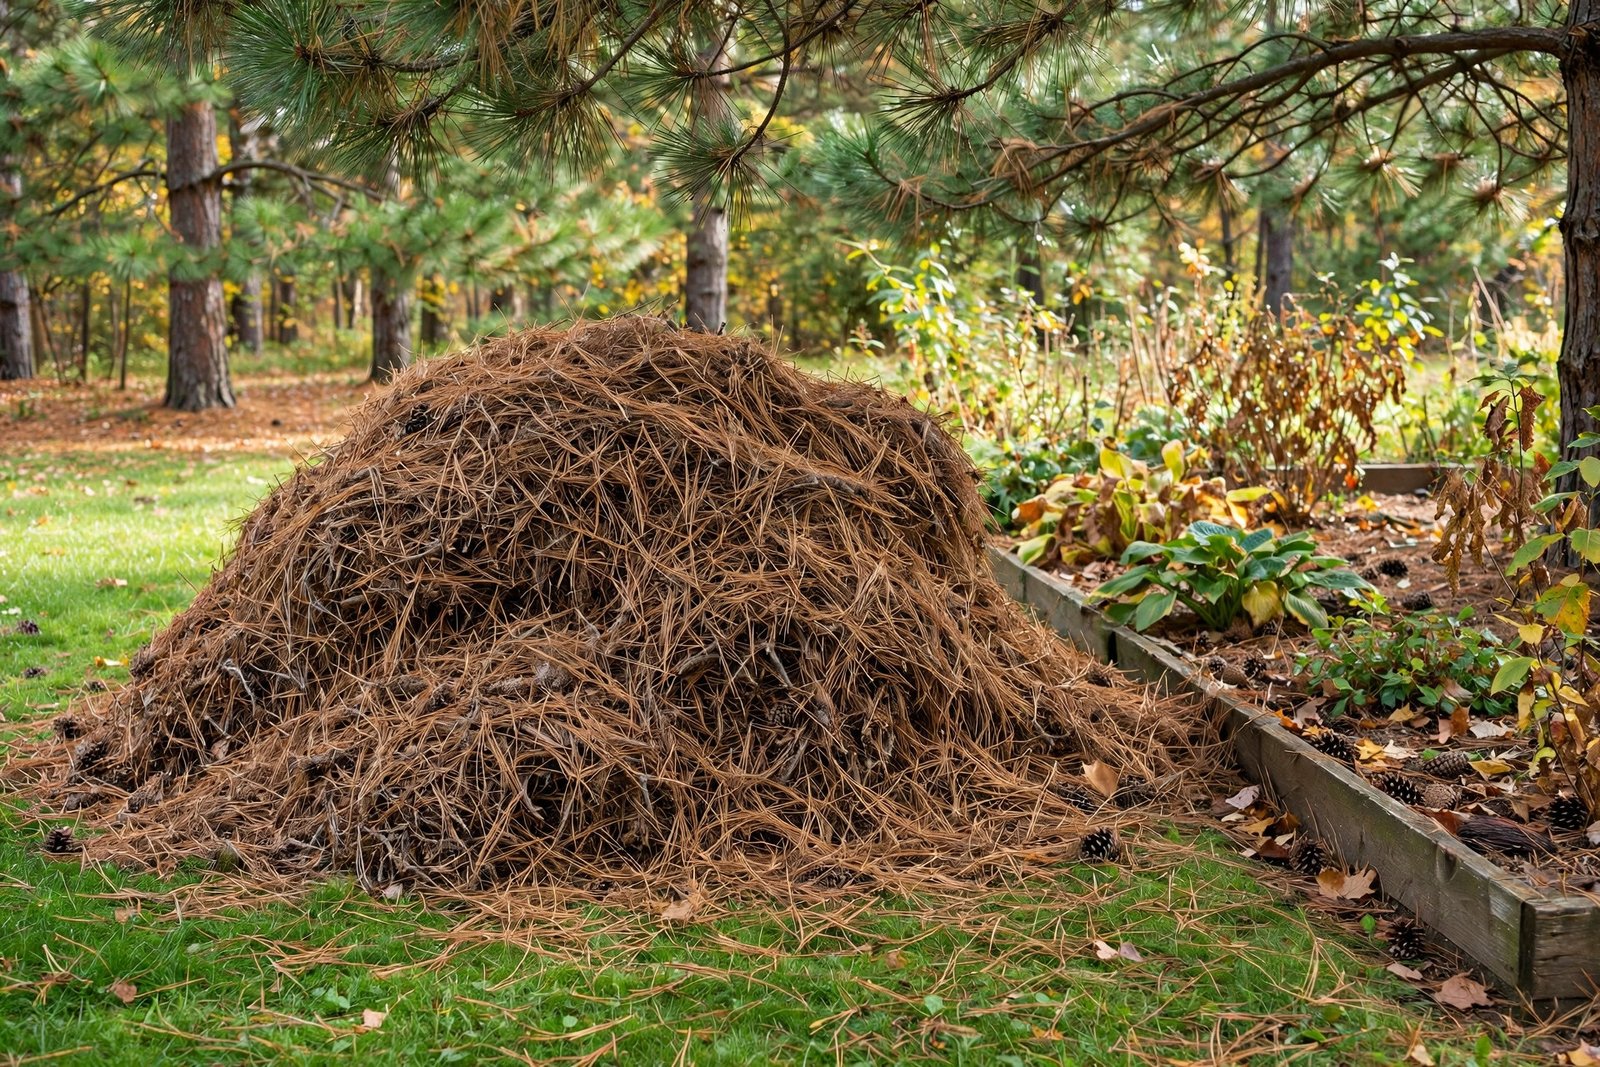
The needles you collect do not have to go to waste. They compost well with the right handling — see how to compost pine needles faster — and the ground-level cleanup uses the same thinking as choosing a pine needle rake that actually grips the mat.
The Seasonal Habit Worth Keeping
Clear the roof once in late fall, after the heaviest needle drop, and check it again in spring before storm season. Two short sessions a year keep valleys clear and shingles dry.
Trim back branches that overhang the roof when you can. Less overhang means fewer needles up there in the first place, and more sun and air reaching the shingles so they dry faster after rain.
That is the whole job: keep the valleys clear, use soft tools and low air, stay off any roof that is not safe to walk, and let a professional handle the rest.