Come July, the garden starts keeping score. The leaves stay wet, the roots stay thirsty, and the tomatoes let you know first. A sprinkler waters everything except the place the plant actually drinks from — and wet leaves are where most garden diseases get their start. Drip irrigation flips that around: slow water, right at the roots, leaves dry. A small vegetable garden takes one Saturday to set up, and the parts cost less than a season of replacing blighted tomato plants.
Why drip works for vegetables
Vegetables are thirsty in a specific way. They need steady moisture at the root zone, and they punish you for wet foliage — tomatoes, cucumbers, and squash are all prone to the leaf diseases that spread when water sits on the leaves. Drip lines solve both problems at once by putting water in the soil and keeping it off the plant.
It is also the most efficient way to water a garden. Utah State University Extension puts a well-designed drip system at 85 to 90 percent efficient, meaning nearly all the water that runs through it reaches a root zone — compare that with a sprinkler, which loses a share of every gallon to evaporation and overspray before it touches soil. Most drip systems run at just 10 to 30 PSI, a fraction of household water pressure, which is why the pressure regulator in the parts list below is not optional.
What you need
Buy the parts as a kit or piece by piece — either way, the list is the same. For a garden of four to six raised beds, expect one trip to the hardware store and an afternoon of assembly.
- Head assembly: a backflow preventer, a filter, and a pressure regulator, in that order from the spigot. The filter keeps grit out of the emitters; the regulator drops household pressure down to the 10 to 30 PSI drip range.
- Mainline tubing: half-inch poly tubing that runs from the spigot along the ends of the beds. This is the highway; everything else branches off it.
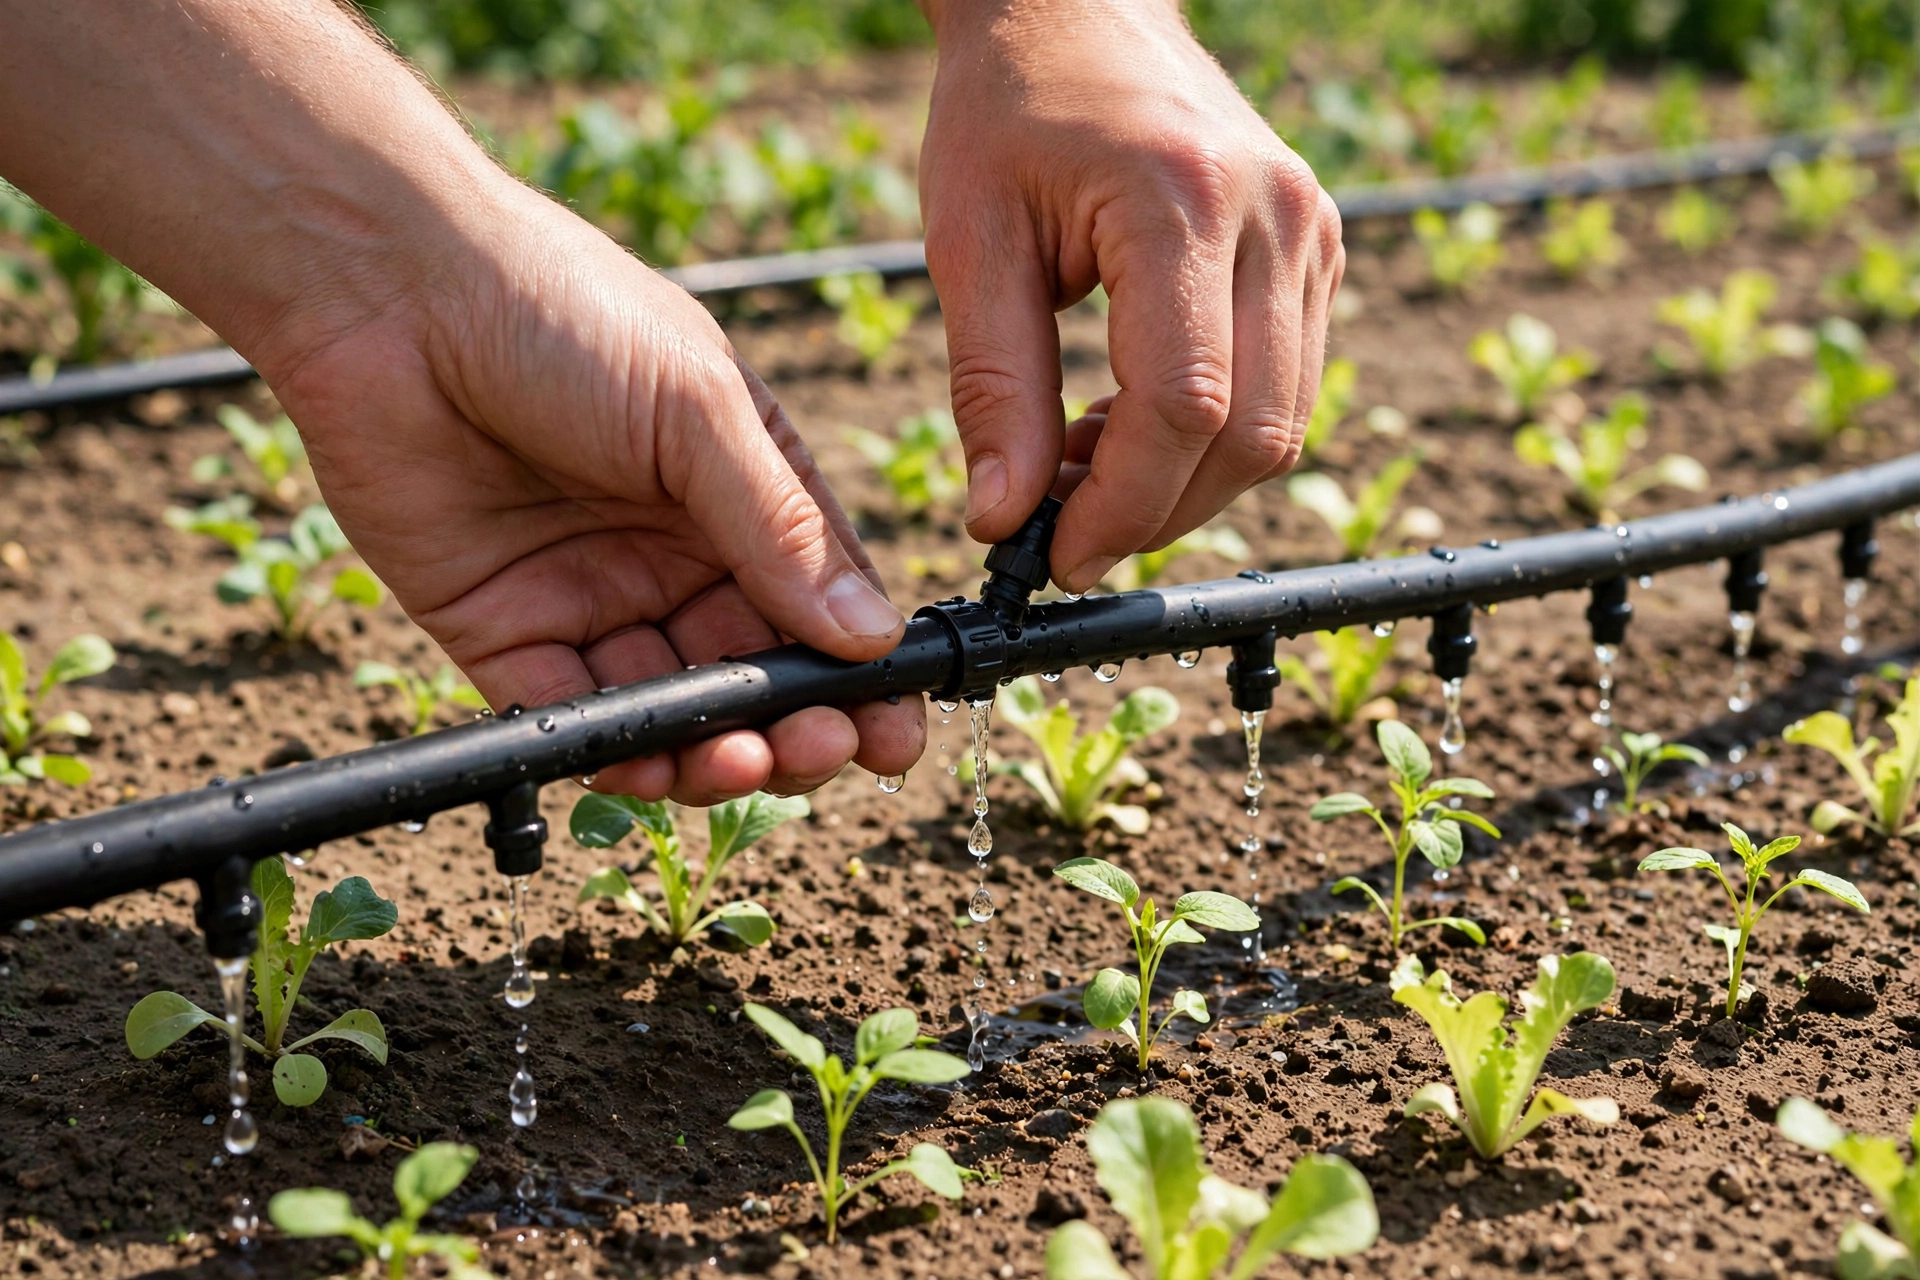
- Drip tape or emitter tubing: the lines that run down each row. Drip tape is flat, inexpensive, and made for straight vegetable rows; emitter tubing has built-in drippers and lasts longer. Either works for vegetables.
- Fittings: tees, elbows, and connectors to join mainline to laterals, plus end caps or figure-eight closures for the far end of every line.
- Stakes or staples: to pin the lines in place so they stay put when you weed around them.
- A timer (optional, but worth it): a simple hose timer turns the system into something you set once and forget. The filter is not optional; the timer is the luxury.
Lay out the lines before you cut anything
Walk the garden with the mainline tubing still coiled and plan the route. Run the mainline along the ends of the beds, not through them, so you can reach every bed from one line. Each lateral runs down one row, with emitters or drip holes spaced about 12 inches apart — close enough that the wet spots overlap into one continuous damp band along the row.
Keep each zone small enough that the water pressure stays even from the first emitter to the last. If one run has to stretch a long way, split it into two shorter runs off the same mainline rather than one long one that dribbles at the far end. As plants grow, add emitters at the dripline — the outer edge of the leaves — instead of leaving them crowded at the stem. Utah State Extension flags this as the mistake that kills plants a few years in: the emitters never moved outward as the plant grew, so the roots outgrew the water.
The installation, step by step
1. Connect the head assembly at the spigot. Backflow preventer first, then the filter, then the pressure regulator. Hand-tighten everything, then give each fitting a quarter turn with pliers — overtightening cracks plastic fittings.
2. Run the mainline. Lay the half-inch tubing from the spigot along the bed ends, pinning it down every few feet. Cut it with a sharp knife or tubing cutter, not scissors, so the ends stay round and the fittings seat properly.
3. Punch in the laterals. Use a hole punch made for drip tubing — a nail makes a ragged hole that leaks. Push a connector into each hole, run the drip tape or emitter tubing down the row, and cap the far end.
4. Flush before you finish. Leave the end caps open and run the water for a minute. This pushes out the plastic shavings and dirt that would otherwise clog the first emitters. Then close the ends.
5. Turn it on and walk the rows. Every emitter should drip, not spray. If one is dry, it is usually a kink in the line or a clogged hole — straighten the kink, or poke the hole clear with a pin. Check the joints for drips and snug them up.
6. Mulch over the lines. A layer of straw or shredded leaves over the drip tape keeps the sun off it, slows evaporation further, and hides the whole system. Leave the emitters visible enough to check them, but the lines themselves can disappear under mulch.
How long to run it
Vegetables need roughly 1 to 1.5 inches of water a week, according to Penn State Extension — more in a hot, windy stretch, less after rain. With drip, that weekly total is easier to hit than it sounds: one inch of water over one square foot is 0.623 gallons, so a 4-by-8-foot bed needs about 20 gallons a week. Split that into two or three sessions rather than one long soak, and the soil has time to absorb each round instead of letting it run past the roots.
Watch the soil, not the clock. Push a finger two inches down beside a plant after a session. Damp at two inches means the water is reaching the roots; dry means the session was too short or the emitters are too far apart. Wet at the surface and dry underneath means you ran it too fast — slow the flow or split the session in two.
Mistakes that undo a good install
Skipping the filter. One grain of grit in an emitter stops the water to a whole row, and you will not notice until the plants at the far end wilt. The filter is the cheapest part of the system and the one that saves the most trouble.
Running it like a sprinkler. Drip is slow on purpose. A half-hour session that soaks the top inch and leaves the roots dry is worse than a shorter, slower run that actually reaches depth. If the water is pooling on the surface, the session is too long for the soil to take in.
Forgetting the system exists. Emitters clog, lines get nicked by a hoe, a fitting works loose. Walk the rows once a week while the system runs and look for dry spots and puddles. A five-minute check catches a problem while it is still a five-minute fix.
What to do next
Start with one bed, not the whole garden. Get the head assembly right, run one row of tape, and watch it for a week — the tomatoes will tell you whether the spacing and the timing are right before you commit to the rest. If you are choosing between drip tape and a full kit, our drip irrigation systems roundup compares the kits side by side. And if you want to check how much water your sprinklers are actually putting down on the lawn, the catch-can calculator does the same kind of measuring for the other half of the yard.
One Saturday, one bed, and the watering takes care of itself from here.