Landscape & Leisure is reader-supported. When you buy through links on our site, including Botanical Interests seed links, we may earn a commission at no extra cost to you. Prices change, so click through to confirm current pricing.
Once the soil warms past 70 degrees, a pumpkin vine stops asking permission and starts taking the garden. That is the whole challenge of growing pumpkins: the plant does the growing, and your job is the timing — sowing late enough to miss the frost, giving it room before it needs it, making sure the flowers meet a bee, and getting the fruit off the vine before the first cold night.
Get those four moments right and pumpkins are forgiving. Get one wrong and you get vines with no fruit, or fruit that never ripens. Our pumpkin variety roundup picks the seeds, and the pie-versus-carving comparison sorts out which type to grow. This guide covers the growing itself.
When to Sow: Wait for Warm Soil
Pumpkins are frost-sensitive, so the calendar date matters less than the soil temperature. Direct sow 2 to 4 weeks after your average last frost date, when the soil has reached 70 to 90 degrees. Seeds sown into cold soil sit and rot instead of sprouting, which is the most common reason a pumpkin patch fails before it starts.
Sow the seeds 1 inch deep, 2 to 3 seeds per mound, and thin to 1 or 2 plants per mound once several leaves appear. Germination takes 7 to 14 days in warm soil. Starting indoors is not recommended except in very short growing seasons — and then only 2 to 4 weeks before the last frost, in biodegradable pots that go straight into the ground, because pumpkin roots resent being disturbed. For most gardeners, direct sowing is the simpler and better route. If you are new to starting seeds of any kind, our beginner’s guide to starting seeds indoors covers the timing habits that carry over.
Spacing: Give the Vine Room Before It Needs It
A pumpkin vine will cover whatever you give it, and then some. Plan on mounds 4 to 6 feet apart at minimum, and up to 8 to 12 feet for the most vigorous vines — the spacing the seed packets call for. Crowding is not just untidy: tight plants hold damp air between the leaves, and damp, still air is where fungal disease gets going, so space is also your first defense against mildew.
That is also why the small varieties matter. If your garden is a few raised beds, a sprawling Howden vine will eat the whole season, while a compact variety fits the space you actually have.
BEST FOR SMALL SPACES
Jack Be Little Pumpkin Seeds
Compact 3- to 5-foot vines and 6 to 10 mini pumpkins per plant — the variety for a container, a trellis, or a small bed.
Black weed barrier fabric helps on the spacing front too: laid over the planting area with 4- to 6-inch holes cut 4 to 5 feet apart, it warms the soil, holds down weeds, and keeps moisture in. Water underneath it with a soaker hose or drip irrigation, which keeps the leaves dry. Our drip irrigation guide for vegetable gardens shows how to set that up. Remove the fabric at the end of the season.
Pollination: Why the First Flowers Make No Fruit
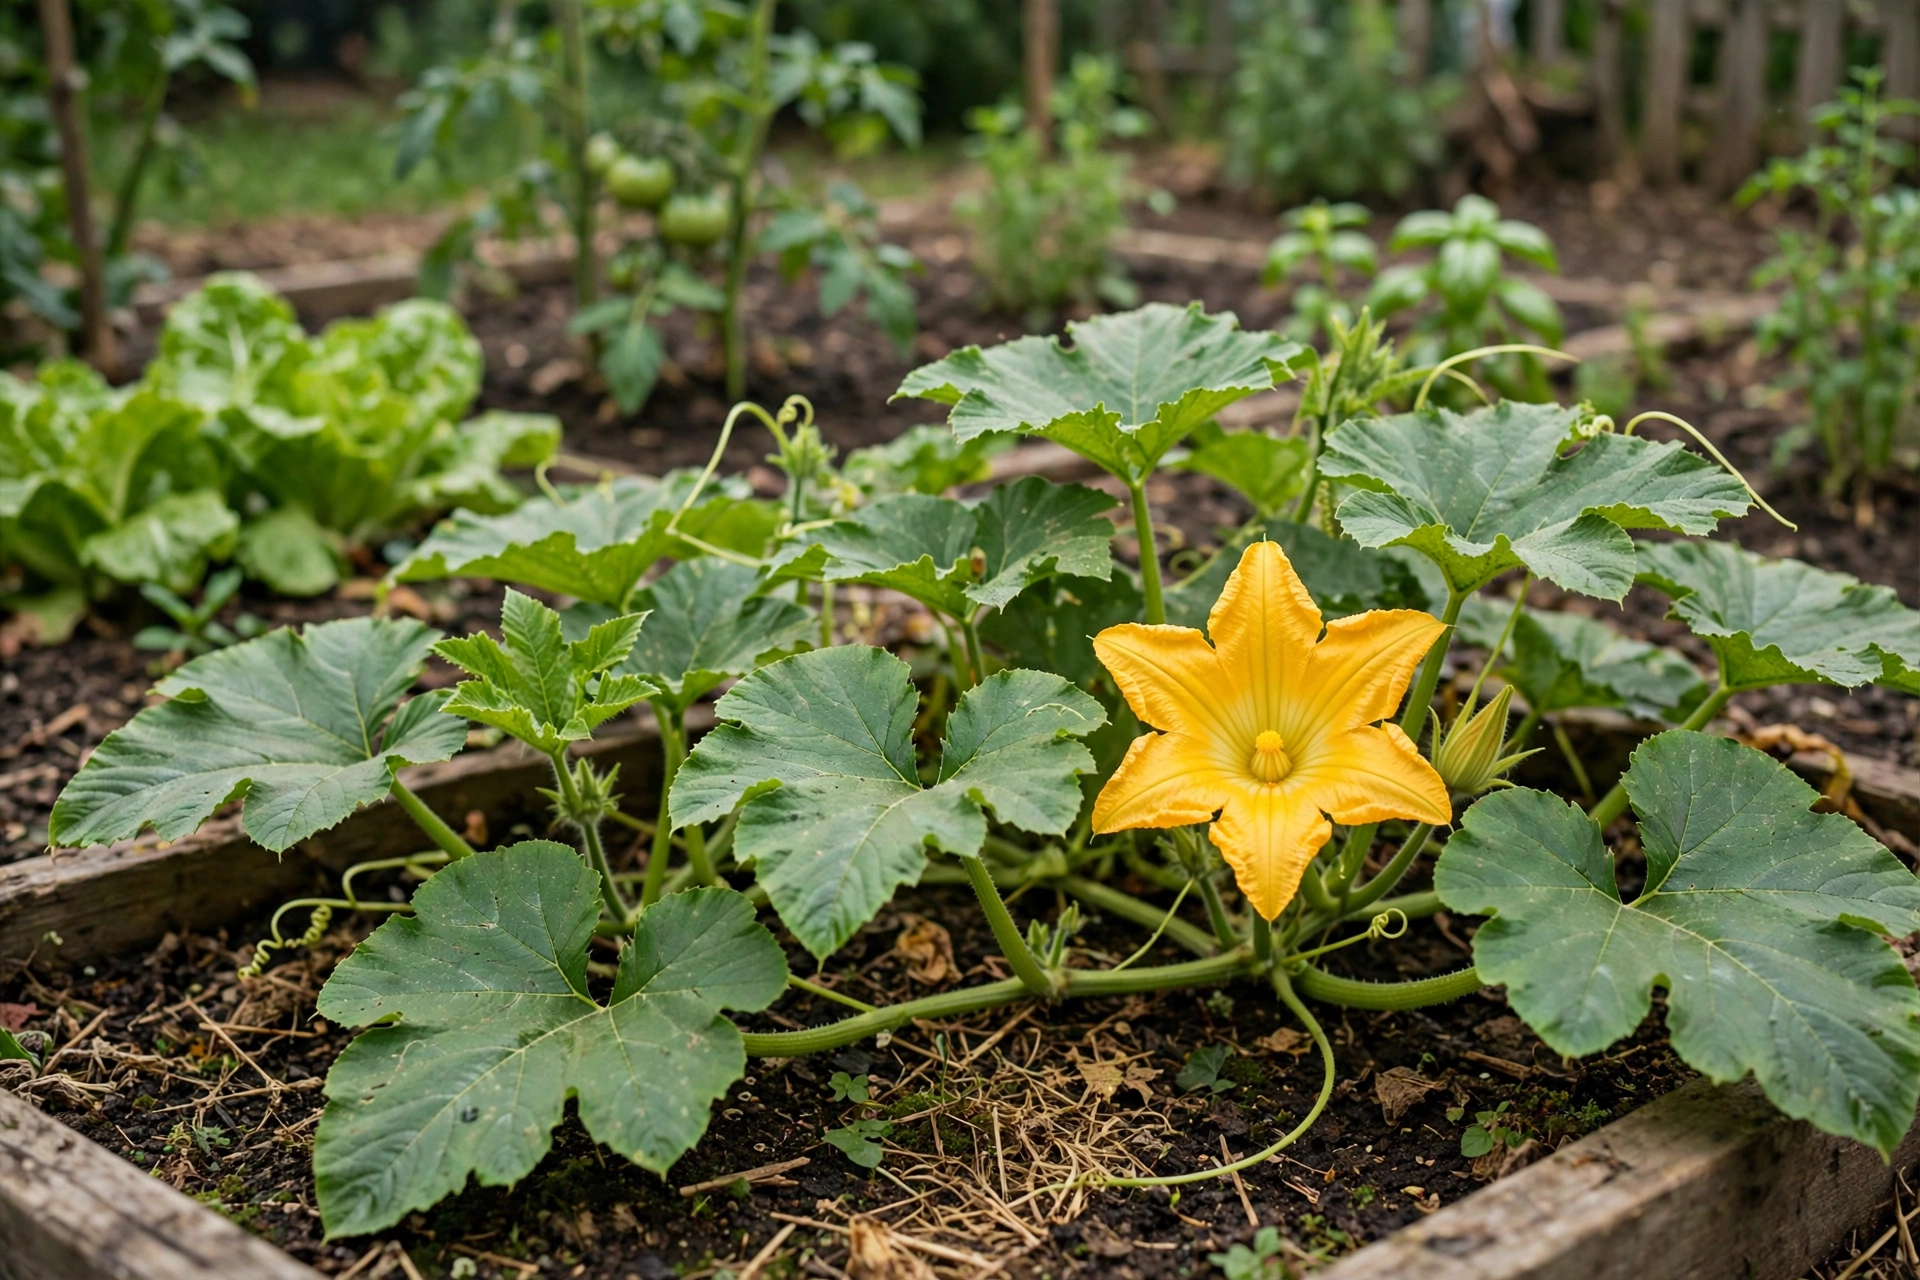
The first flowers on a pumpkin vine are all male, and they will never make a pumpkin. That is by design — the male flowers open first to draw bees into the patch — and it confuses every first-time pumpkin grower who watches a week of blooms and sees nothing swelling behind them. Pumpkins carry separate male and female flowers on the same plant, and a female flower only sets fruit when pollen reaches it.
You can tell them apart by what sits behind the petals: a female flower carries a tiny pumpkin at its base, while a male flower sits on a plain thin stem. Once the female flowers open, bees do the work, and planting pollinator-attracting flowers near the patch brings more of them in, which means a bigger harvest and better-shaped fruit.

If bees are scarce, hand pollination takes five minutes in the morning. Pick a freshly opened male flower, peel back the petals, and touch its pollen-covered center to the center of an open female flower. Do it while the flowers are open in the morning, and mark the pollinated fruit so you know which ones took. A flower that was not pollinated will yellow and drop off within a few days, which is normal — the plant makes far more female flowers than it can carry to full size.
One more timing point: floating row covers protect young plants from squash vine borer and cucumber beetles, but they also keep bees out, so take the covers off as soon as the plants begin flowering. Covering the base of the stems near the ground with mulch or fabric also helps against vine borers, since that is where the eggs are laid.
BEST FOR SHORT SEASONS
Black Kat Pumpkin Seeds
The fastest pumpkin here at 75 to 80 days, and it resists powdery mildew — the disease that usually ends the season early.
Watering and Feeding: Deep, at the Roots
Pumpkins are thirsty, but wet leaves are the problem, not dry ones. Water at the base, deeply, and let the top inch of soil dry between waterings. Drip irrigation or a soaker hose does this best, and it is worth the setup for a crop that drinks all summer. Overhead watering that soaks the leaves every evening invites the mildew that ends pumpkin season early, especially on crowded vines.
Feed lightly and early. A rich bed with compost worked in before sowing carries a pumpkin a long way, and a side-dressing as the vines start to run is enough. Heavy feeding late in the season pushes leaf growth when the plant should be putting its energy into the fruit.
Harvest: Before the Frost, With the Stem On
Harvest pumpkins before the first fall frost, when the foliage has begun to dry out. A ripe pumpkin sounds hollow when thumped, the skin resists a fingernail dent, and the stem has started to dry and harden. Cut the stem with a knife, leaving 3 to 4 inches on the fruit, and never carry a pumpkin by its stem — if the stem breaks off, or the skin bruises, the pumpkin will rot from that spot.
Brush off dirt and leaves, and do not let harvested fruit get wet. Then cure the pumpkins for 1 to 2 weeks at 80 to 85 degrees and 80 to 85 percent humidity, or in a warm, sunny spot with good air circulation. Curing hardens the skin and heals small nicks, which is what lets a pumpkin store for months instead of weeks. Our winter squash harvest and curing guide covers the same routine in more detail, since pumpkins and winter squash cure the same way.
BEST FOR THE KITCHEN
Sugar Pie Pumpkin Seeds
Thick, sweet, fine-grained flesh in a 6- to 7-inch fruit — the pie pumpkin that stores for months after curing.
The Season at a Glance
| Step | When | How |
|---|---|---|
| Sow | 2–4 weeks after last frost, soil 70°–90°F | 1″ deep, 2–3 seeds per mound |
| Thin | When several leaves appear | Thin to 1–2 plants per mound |
| Sprout | 7–14 days after sowing | Warm soil; cold soil rots the seed |
| Pollinate | Male flowers first, then female | Bees do it, or hand-pollinate in the morning |
| Harvest | Before first fall frost, foliage drying | Cut stem, leave 3″–4″ on the fruit |
| Cure | 1–2 weeks after harvest | 80°–85°F, 80–85% humidity, good air flow |
What to Watch Next
The two signs that the season went right are a fruit that sounds hollow when thumped and a stem that has dried hard. The one mistake that undoes it all is leaving fruit out past the first frost — a single cold night softens the skin and the pumpkin will not store. Pick on time, cure in the warmth, and the harvest you grew in summer will still be on the shelf when the pies start.