The mistake is edging flush against the fence. Put a blade or a spinning trimmer line right on the boards or chain-link and you will nick the fence, scalp the grass, or do both in the same pass.
A fence line is where lawns lose their edge first. Grass creeps under the bottom rail, the mower cannot reach the last few inches, and the strip along the fence turns shaggy while the rest of the yard looks finished.
The fix costs nothing. Leave a deliberate guard gap, work at an angle that throws mistakes away from the fence, and use hand tools for the few inches around each post.
Why fence lines get scalped and fences get nicked
A trimmer line extends farther than it looks. At full throttle, nylon line flexes and stretches past the guard, so a head that appears to clear the fence can still slap it on every revolution.
Metal blades are less forgiving. A stick edger blade set tight to a post will bite wood or chip paint the moment the tool tips, and chain-link catches a blade edge and yanks the cut off line.
Scalping has a simpler cause. To reach grass growing under a bottom rail, most people tip the tool in and cut lower, taking the strip down to bare soil that weeds colonize within weeks.
The grass along a fence also grows differently. It gets less mower traffic and more shade, so it lies flatter, and a cut that looks level against upright grass takes this flatter growth too short.
Set a guard distance and keep it
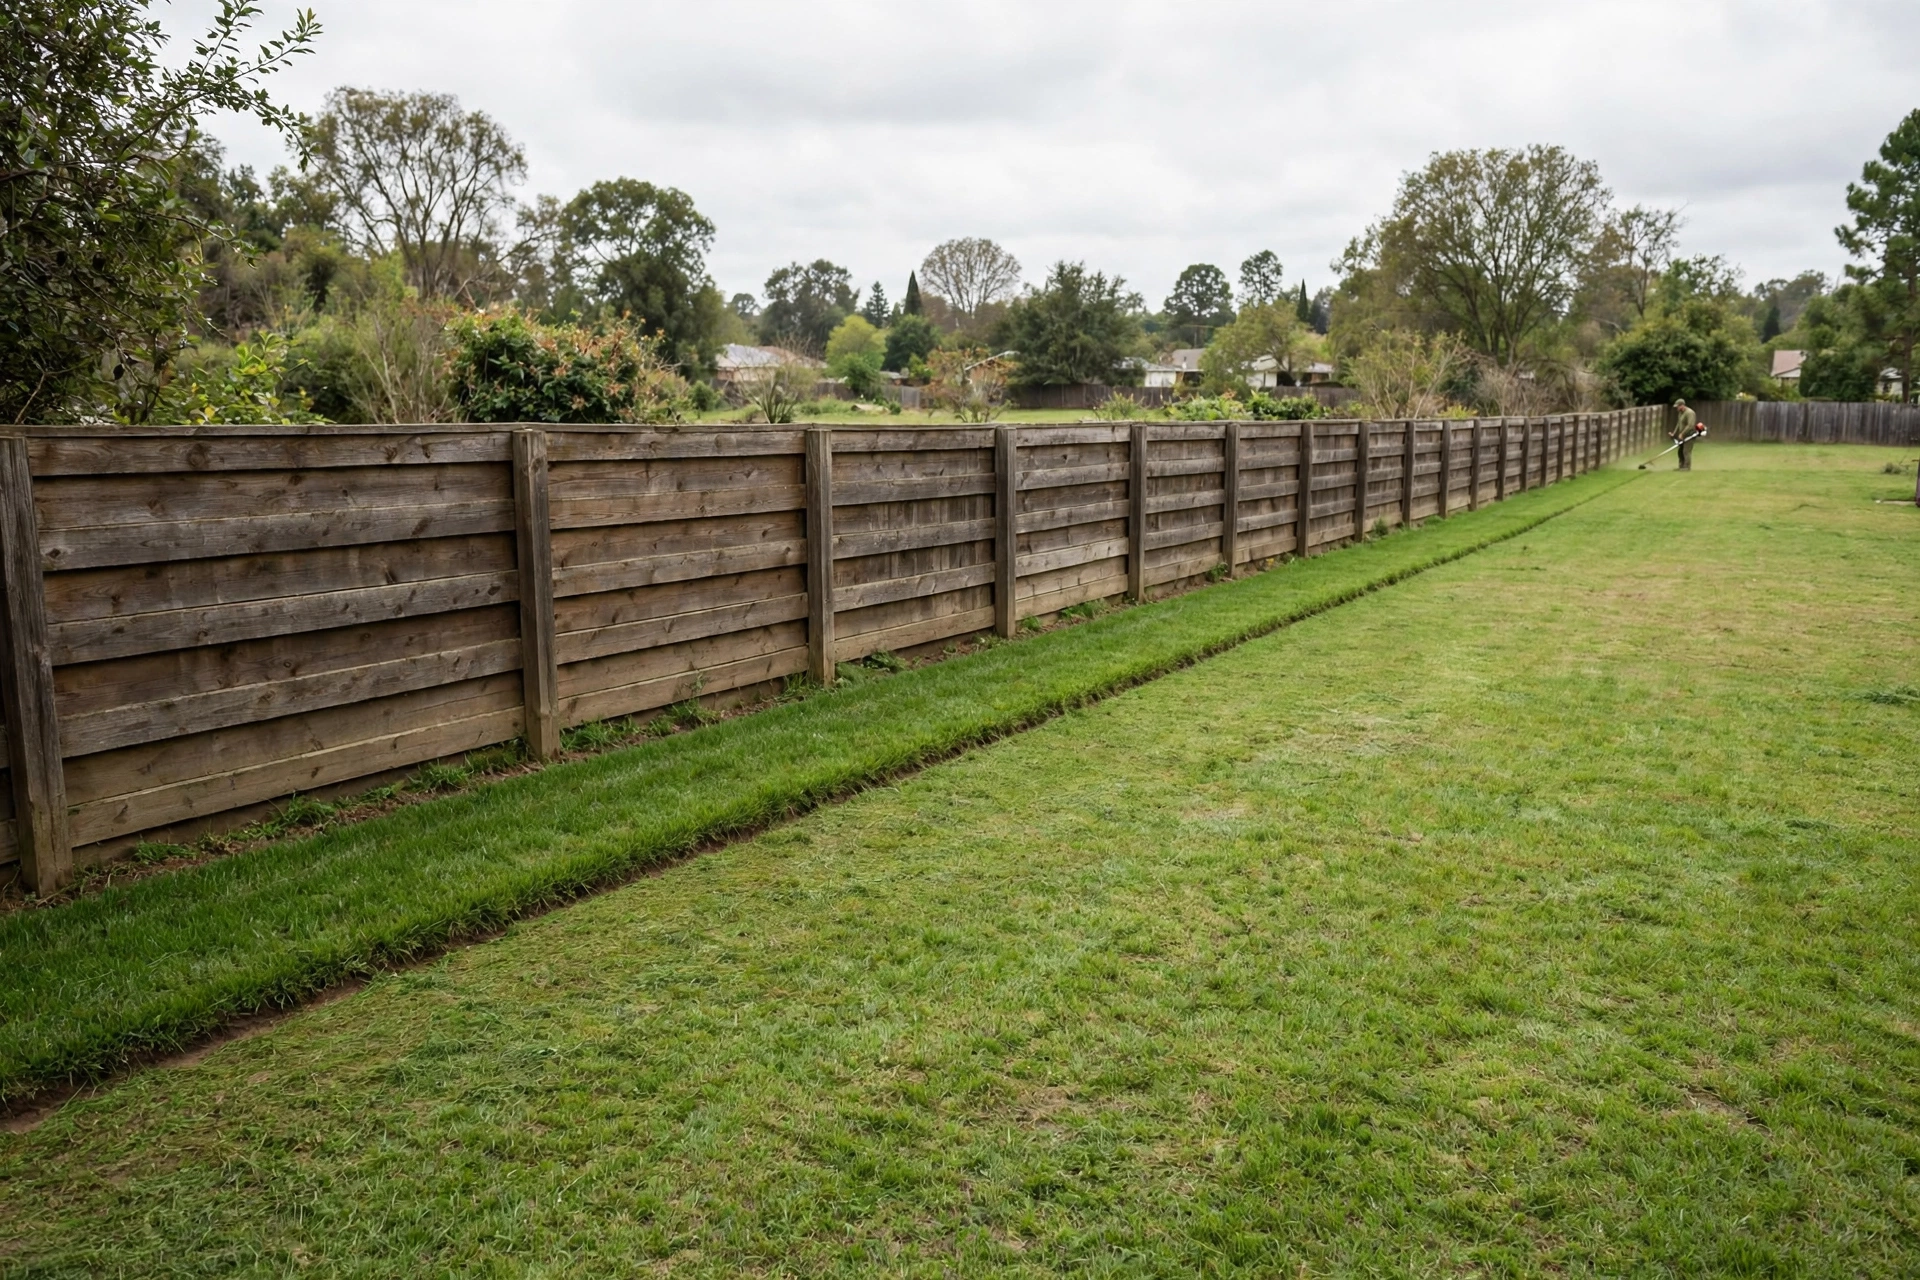
Work to a gap of about 1 to 2 inches between your cut line and the fence itself. That strip is narrow enough to read as a clean edge from the yard, and wide enough that a small wobble does not reach the boards.
Mark the line before you start cutting. A garden hose or a length of rope laid along the fence at your chosen distance gives your eye something to follow, which matters more than tool choice on a long run.
Consistency beats closeness. A straight line 2 inches off the fence looks deliberate, while a line that wanders between flush and 3 inches out looks like a series of near misses.
For the general timing and frequency behind a maintained edge, when to edge your lawn covers how often a line like this needs attention through the season.
Stick edger angle along a fence
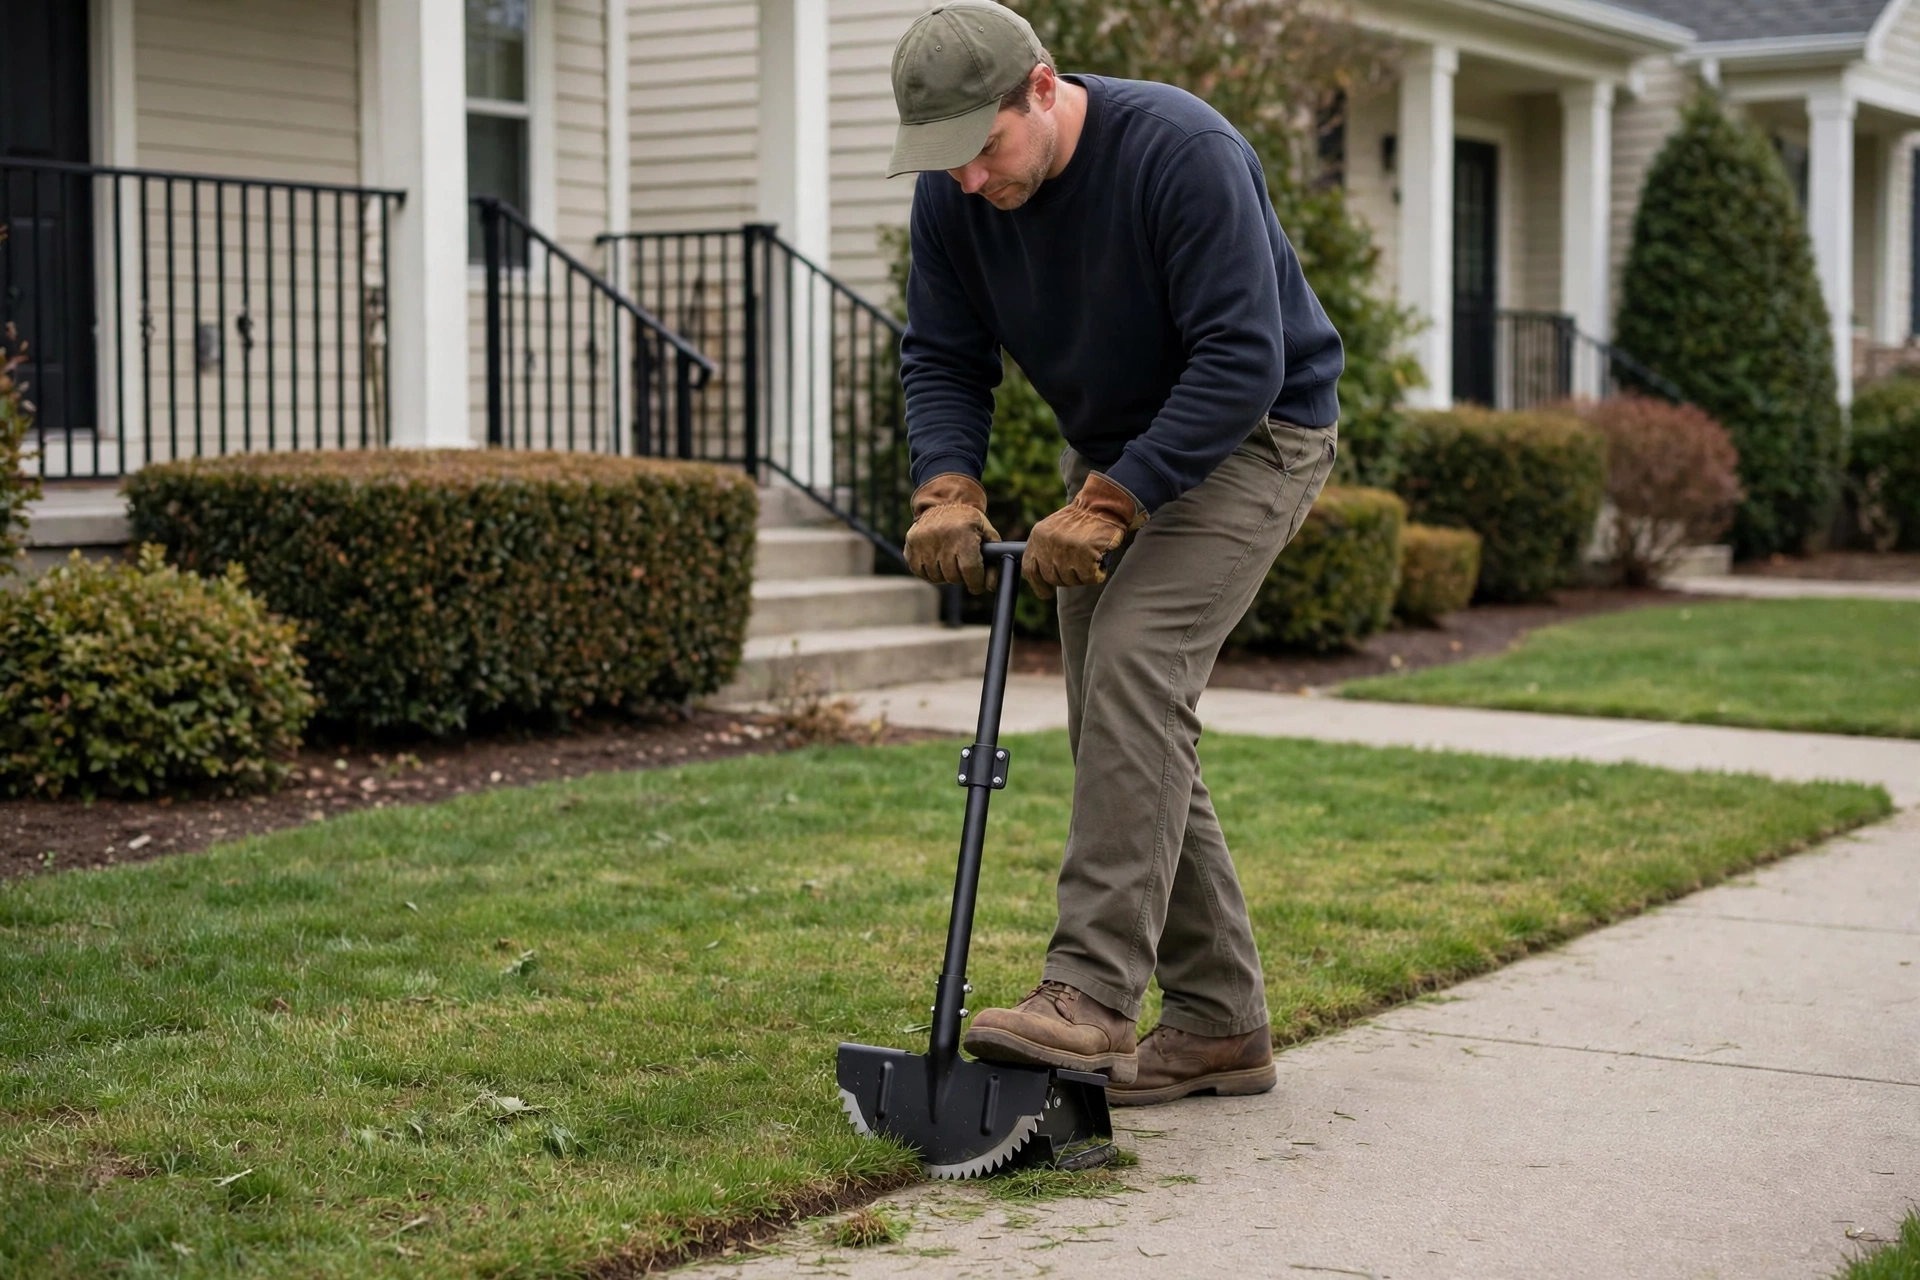
Hold the stick edger so the blade sits in your marked line, then angle the tool slightly away from the fence, with the top of the shaft leaning toward the yard. If the blade grabs or kicks, it moves into open lawn, not into a post.
Walk the line at a steady, slow pace and let the blade depth stay shallow on the first pass. A second light pass deepens a clean cut; one deep pass in overgrown turf is where the tool jumps and the fence gets hit.
Keep both wheels or the guide, where your model has one, on the lawn side. Running a guide along the fence itself transfers every bump in the fence straight into your cut line.
The differences between this tool and a walk-behind model are covered in stick edger vs walk-behind edger. Along a fence, the stick edger wins on control, because you can lift and reset it at every post instead of muscling a heavier machine around each one.
String trimmer guard and flip technique
Use the guard as your spacer. The edge of the trimmer guard is a fixed distance from the line’s reach, so run the guard at your marked gap instead of judging the spinning line by eye.
Flip the trimmer for vertical cuts. Turn the head so the line spins in a vertical plane, then walk backward slowly, watching the line meet the grass at your marked distance. Cutting vertically severs the overhang instead of knocking it flat.
Cut at half throttle near the fence. Lower speed shortens how far the line flexes outward, which shrinks the gap between where the line looks like it is and where it actually reaches.
Work away from the fence, not toward it. Move so debris and any kick travel into the yard. A trimmer advanced into the fence line throws clippings and small stones against the boards and back at your legs.
The head dips as fatigue sets in, usually somewhere past the second fence panel, and that dip is when the line finds the bottom rail. Short runs with a reset at each post keep the cut height where you set it.
Hand edging near posts
Stop powered tools a few inches short of every post and finish by hand. A half-moon edger or hand shears cut the grass around a post base without any part of the tool swinging past it.
Set the half-moon blade in your marked line and rock it once, then turn and cut the other side of the post the same way. Two short cuts meeting at the post look cleaner than one long cut steered around it.
Grass that has grown through chain-link needs pulling, not cutting. Cut it flush and the stems stay woven in the wire; grip the tuft, pull it back into the yard, then trim what remains on your side.
How to edge a lawn by hand covers the basic hand-edging motion in full. Near a fence, that same motion works because your hands, not a motor, decide how close the blade gets.
Gates and corners
Corners collect the worst growth because mowers swing wide around them. Cut a corner in two straight passes that meet at a point, one along each fence run, rather than trying to steer a single curved cut through it.
At a gate, edge the opening with the gate closed, then open it and check the swing path. Grass and raised soil inside the swing are what make a gate drag, so clear the arc to your line even if that strip sits slightly wider than the rest.
Watch the bottom of the gate itself. If the gate clears the ground by less than an inch, hand tools are the only safe choice in the arc, because a trimmer guard or edger wheel will strike it.
Similar care around fixed obstacles is covered in how to edge around trees, flower beds, and curbs, where the same guard-distance habit protects bark and bed edges.
Maintaining the gap
A fence-line edge holds if you refresh it little and often. A light trimmer pass at your marked distance every second or third mow keeps the gap from closing, and takes minutes once the line is established.
Let it go for a month and the work changes character. Creeping grass roots into the bare strip, the line disappears, and you are cutting a new edge again instead of maintaining one.
Clear the clippings off the strip after each pass. A mat of wet clippings sitting against a wood fence holds moisture on the boards, and the grass under it yellows into a stripe that looks worse than the shaggy edge you started with.
Check the gap distance at the start of each session, not by memory. Posts, rails, and ground level shift enough along a long fence that last month’s comfortable distance can be this month’s nicked board.
Bottom line
Edge to a marked line 1 to 2 inches off the fence, angle powered tools so mistakes travel into the yard, and finish every post and gate arc by hand. Do that and the fence line stays clean without a single new nick in the boards.